
Add your item catalog in bulk using a spreadsheet.
This process allows you to import multiple items at once, saving you time.
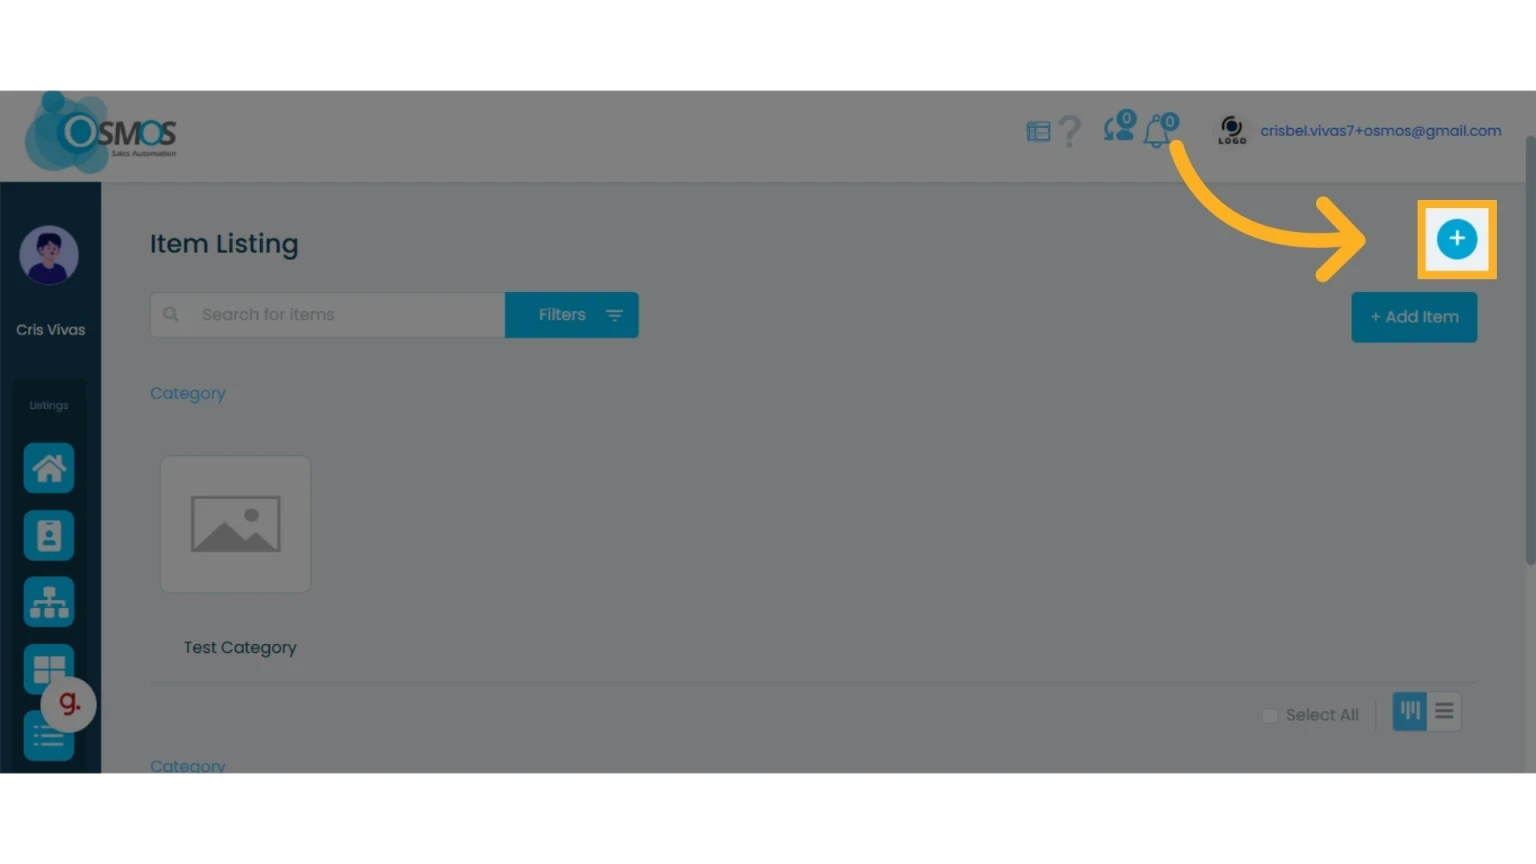
1. Click the “+” icon and select “Upload”
2. Download the sample CSV file
We recommend downloading the sample CSV file and using it as a template without changing the column header names.

Tip: Before uploading your document, make sure to add the necessary custom fields to your items.
Learn how to add items.
Learn how to add custom fields.
Follow these tips to complete the template:
The first row must include the column headers for the item information you want to upload (e.g., item name, price, description, etc.).
You can add as many columns as you want, but do not leave any headers blank.
The only required fields when uploading your document are the item name, category, and Price A.
IMPORTANT: If you do not complete these fields, you will not be able to upload the document.
3. Upload the CSV file with your data
Once your file is ready, click “My Computer” and select your file to upload it.

4. Match the column headers to the available fields in your workspace
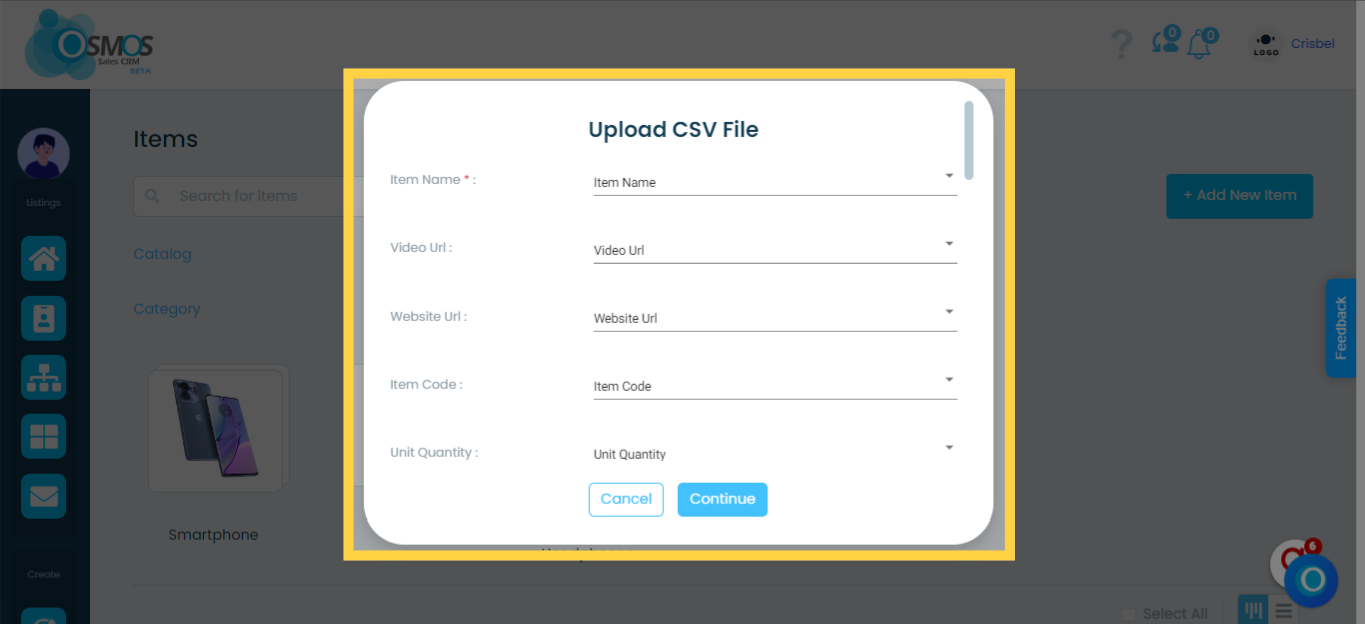
To ensure that the fields in your file are saved correctly in your workspace, follow these steps:
From the dropdown list, match each Osmos field (on the left) with the corresponding column from your file (on the right).
For example, if your file has a column called “Name”, you can match it with the “Item Name” field in Osmos.
NOTE: If you leave any field unmatched, that data will not be saved in Osmos.
Osmos will automatically match column headers to available platform fields as long as they match exactly.
If any field is not matched correctly or does not have a direct equivalent, you can assign it manually by selecting the appropriate field in your workspace. For example, if your file includes a column titled “item”, you can choose to map its data to the “Item Name” field in Osmos.
Any title in your document that does not match an Osmos field will remain unassigned.
5. CSV file confirmation
A preview of the items will be shown. Verify that the column headers in your file match the correct field information.
Click “Continue.”

6. Add a tag
Assign a tag to identify the items you are uploading. Then, check the box to confirm that you understand the upload may take a few minutes to complete.
Click “Continue” to proceed.
