The contact list is a fundamental tool within Osmos, allowing you to manage, organize, and visualize all relevant information about your contacts.
In this guide, we will explore the different components of the "contact list."
Search Box
You can search for a specific record by using this box. Enter the contact’s name or email address.

Filters
To sort the list, you can apply multiple filters. After creating and applying a filter to your search, you have the option to save the filter for future use or reset the search query.
You can choose from the following filter types:
Member: Filter the list based on the member assigned to the contact. Learn how to assign a contact to a member.
Organization: Filter the list based on the organization assigned to the contact. Learn how to convert a contact into an organization.
Lead: Filter the list by contacts marked as leads. Learn how to create a lead.
Contact Source: Filter the list based on the contact’s source (email, WhatsApp, among others).
Rating (1 to 5 stars): Filter the list based on the rating previously assigned to the contact.
Tags: Filter the list using tags previously created and assigned to contacts.
Custom Field: Filter the list based on specific characteristics such as assigned color, date, or customer type. Learn how to add custom fields to contacts.
Creation Date: Filter the list by the date the contact was created, whether a specific date or a selected range. Learn how to create a contact.
Last Update: Filter the list based on the last update date of the contact, whether a specific date or a selected range.

To save the filter, click on "Save Filter". Saved filters will appear under the search box. To use a saved filter, simply click on it.


Gear Icon
The gear icon allows you to customize the columns you want to display in your list. You can reorder the columns by selecting their name and dragging them within the list.

Add Contact List or Download Contacts
Click on the "+" button located at the top of the list. From here, you can add a contact list using a CSV file or download your contact list.

Three-Dot Menu (...)

From this menu, you can modify one or more contacts. Select the contacts you want to edit and choose an action from the three-dot menu.
Mark as Lead: Label selected contacts as leads. Learn how to mark contacts as leads.
Convert to Organization: Transform a contact into an organization. Learn how to convert a contact into an organization.
Clone Contact: Duplicate a contact to create a copy.
Delete Contact: Permanently remove the contact from your workspace. Learn how to delete a contact.
Assign a Member: Select a contact and assign a workspace member. Learn how to assign a contact to a member.
Sorting list by Columns in Ascending or Descending Order
Click on any column to sort the table. In the upper left corner of the table, you will see which column is currently being used for sorting.

View the Contact Overview
To view a summary of a lead/contact, click on the icon next to their name. This will open a new window where you can see more details about the contact.
Learn more about the contact overview.

Add Tags to a Contact
Click on the blue pencil located below the contact’s profile image. From here, you can add tags to the contact. Tags are used for filtering.

Rate Contacts
Click on the blue pencil next to the star. From here, you can rate contacts from 0 to 5 stars.

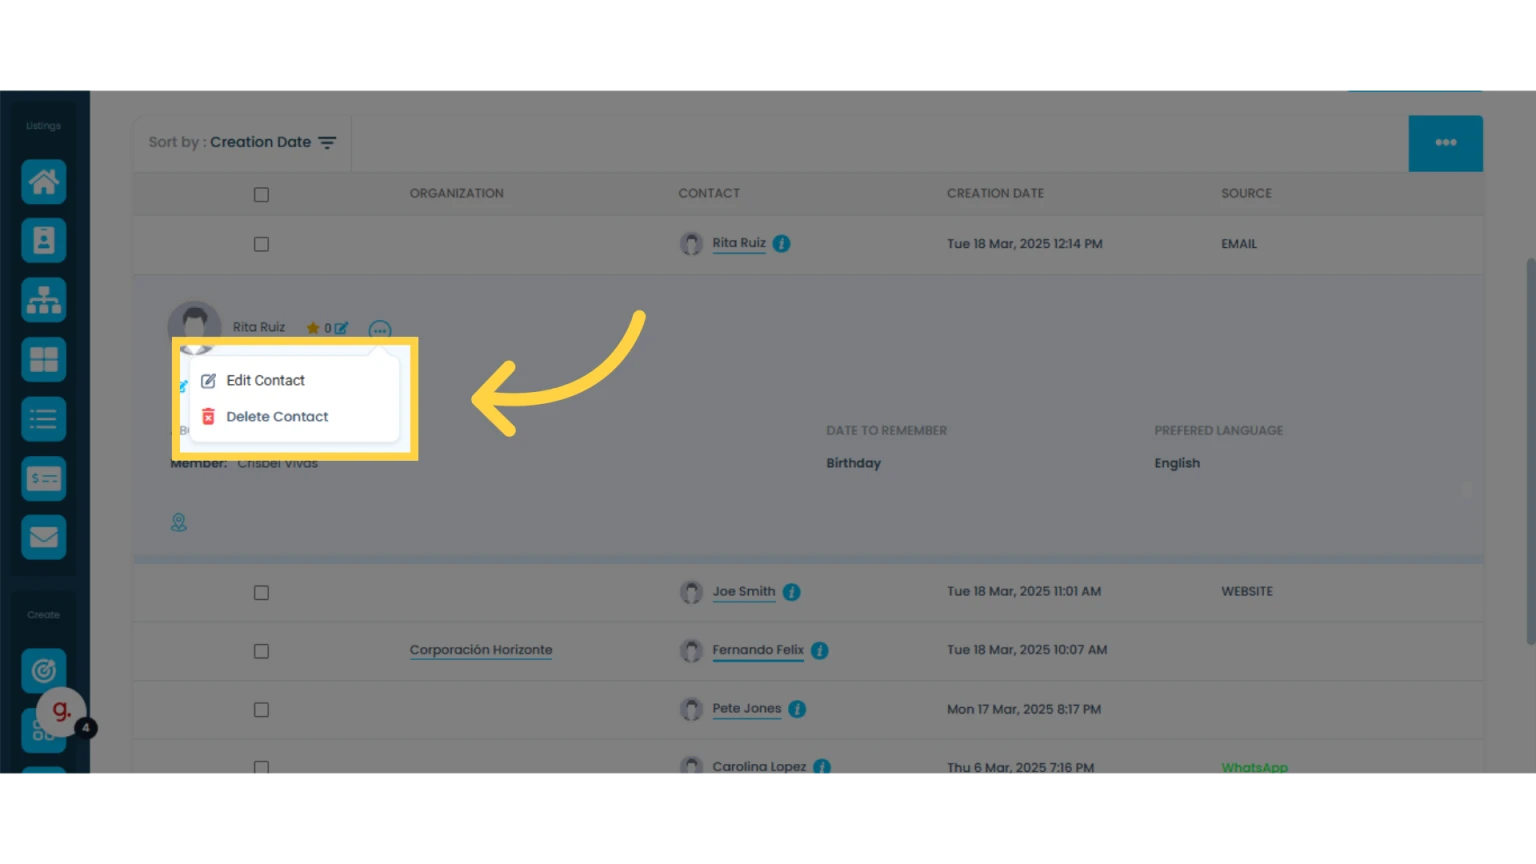
Edit or Delete a Contact
To edit a contact, click on the contact to expand the view. To the right of the name, you will find a three-dot icon. Click on it to display options. From here, you can edit or delete the contact.
Learn how to delete a contact.