
The lead form is a tool you can add to your website to capture lead information such as email, first name, last name, and other details.
In this guide, you will learn how to create and configure a lead form and integrate it into your website.
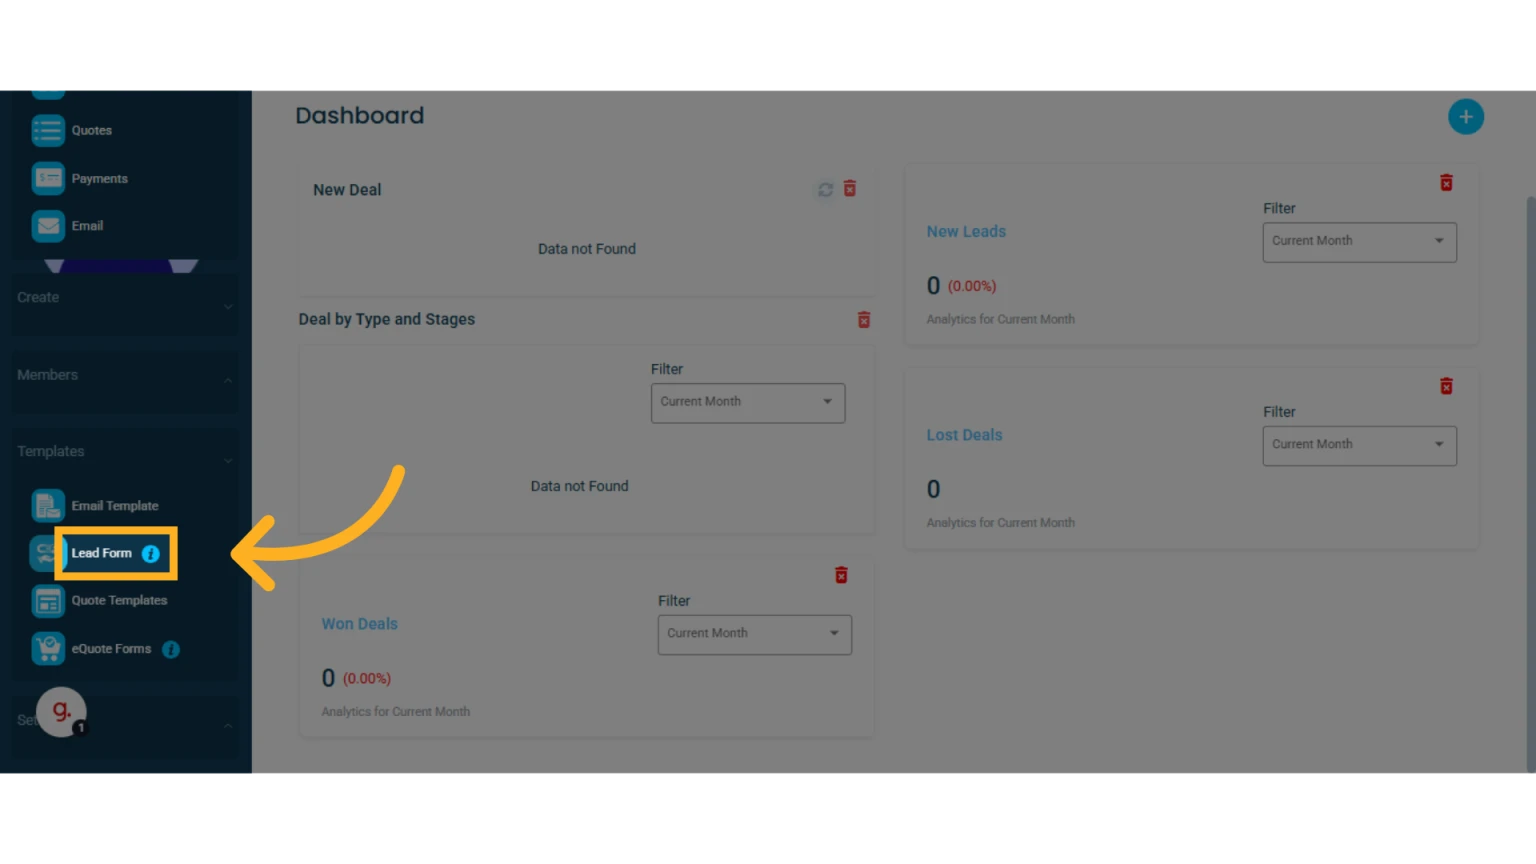
1. Go to the left side menu and select "Templates", then click on "Lead Form"
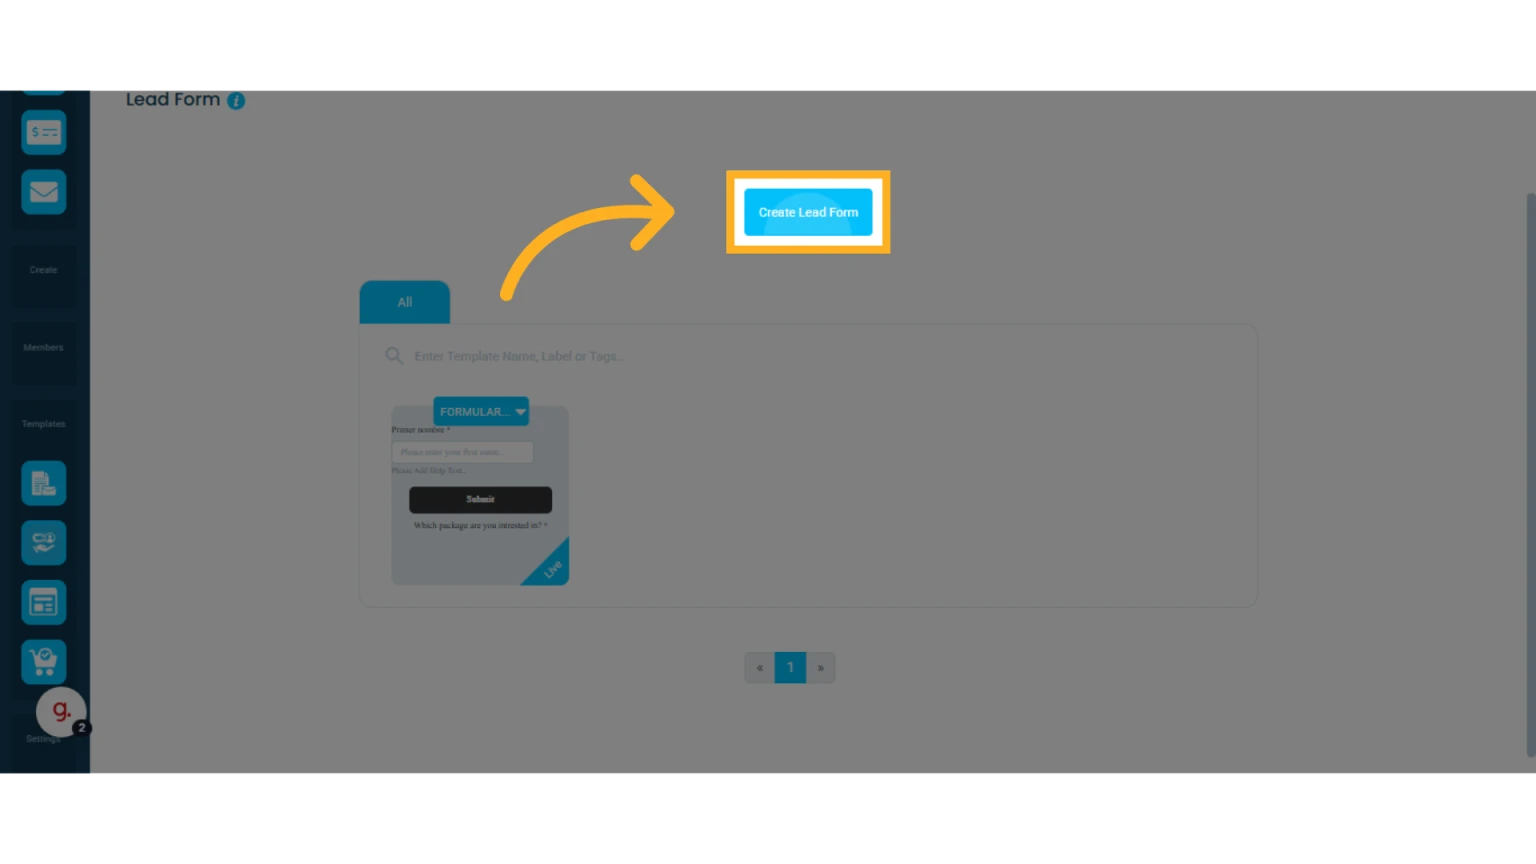
2. Click Create Lead Form
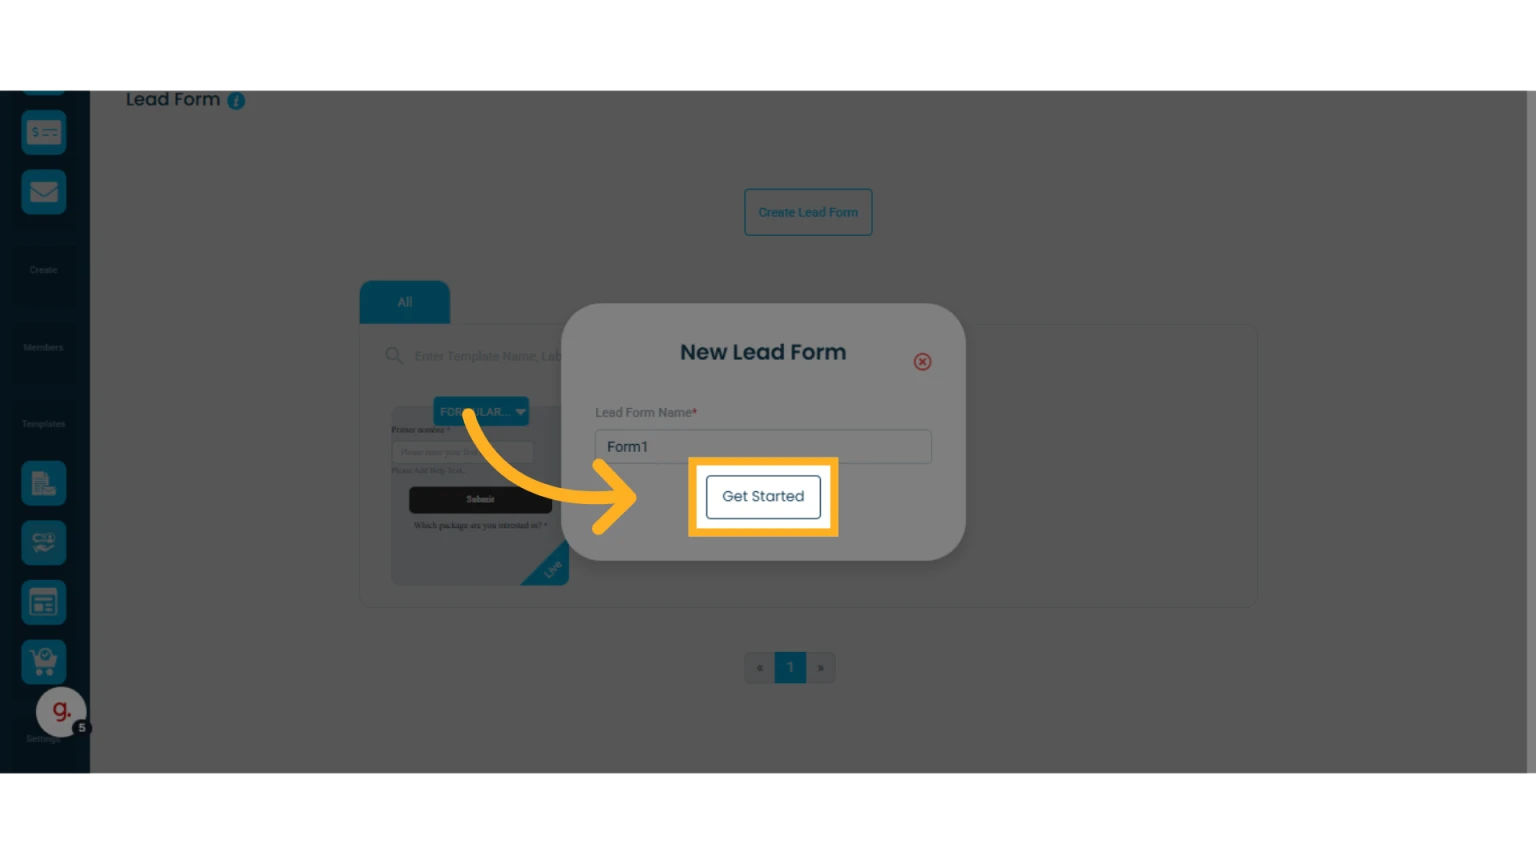
3. Assign a name to the form and click "Get Started"
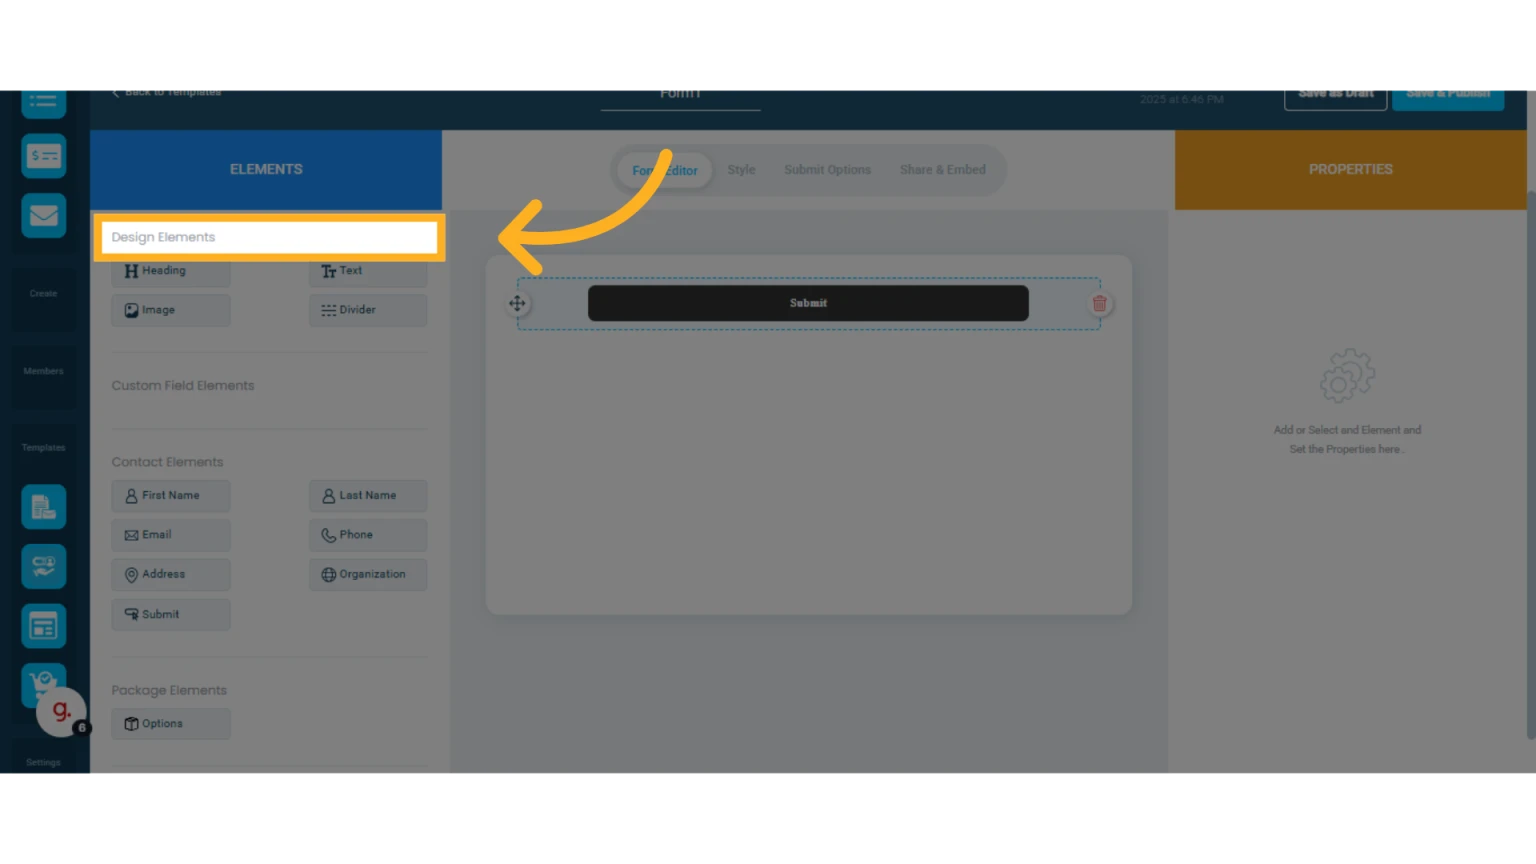
4. Add elements to the form
On the left, you will see the column with available elements that you can drag and drop into your lead form template. You will find different types of elements:
Design Elements
Header
Text
Image
Divider
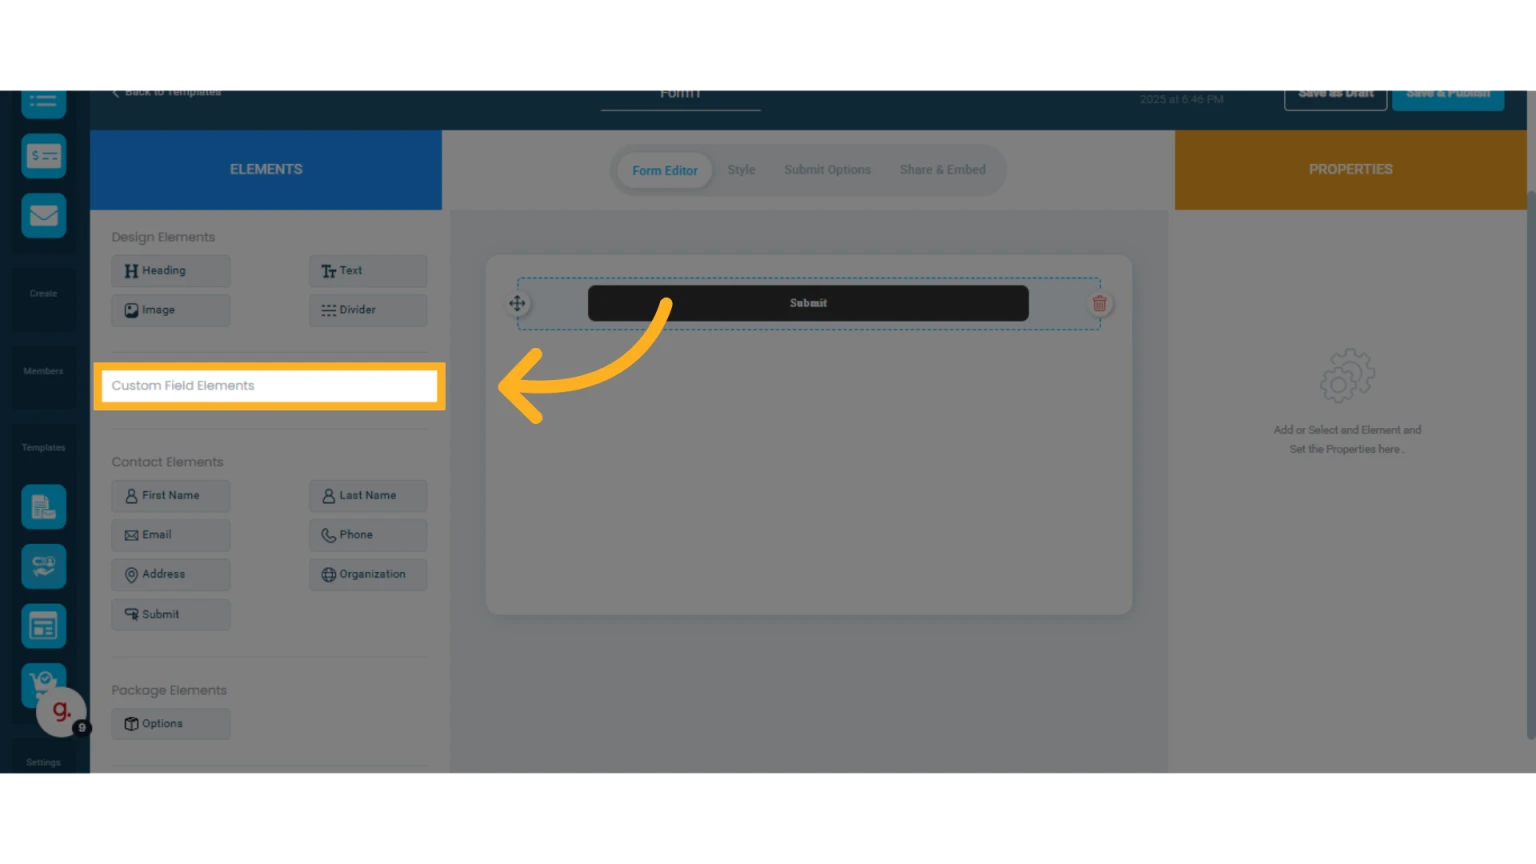
Custom Field Elements
These elements appear when you add custom fields in the contacts module. Learn how to add custom fields to contacts.
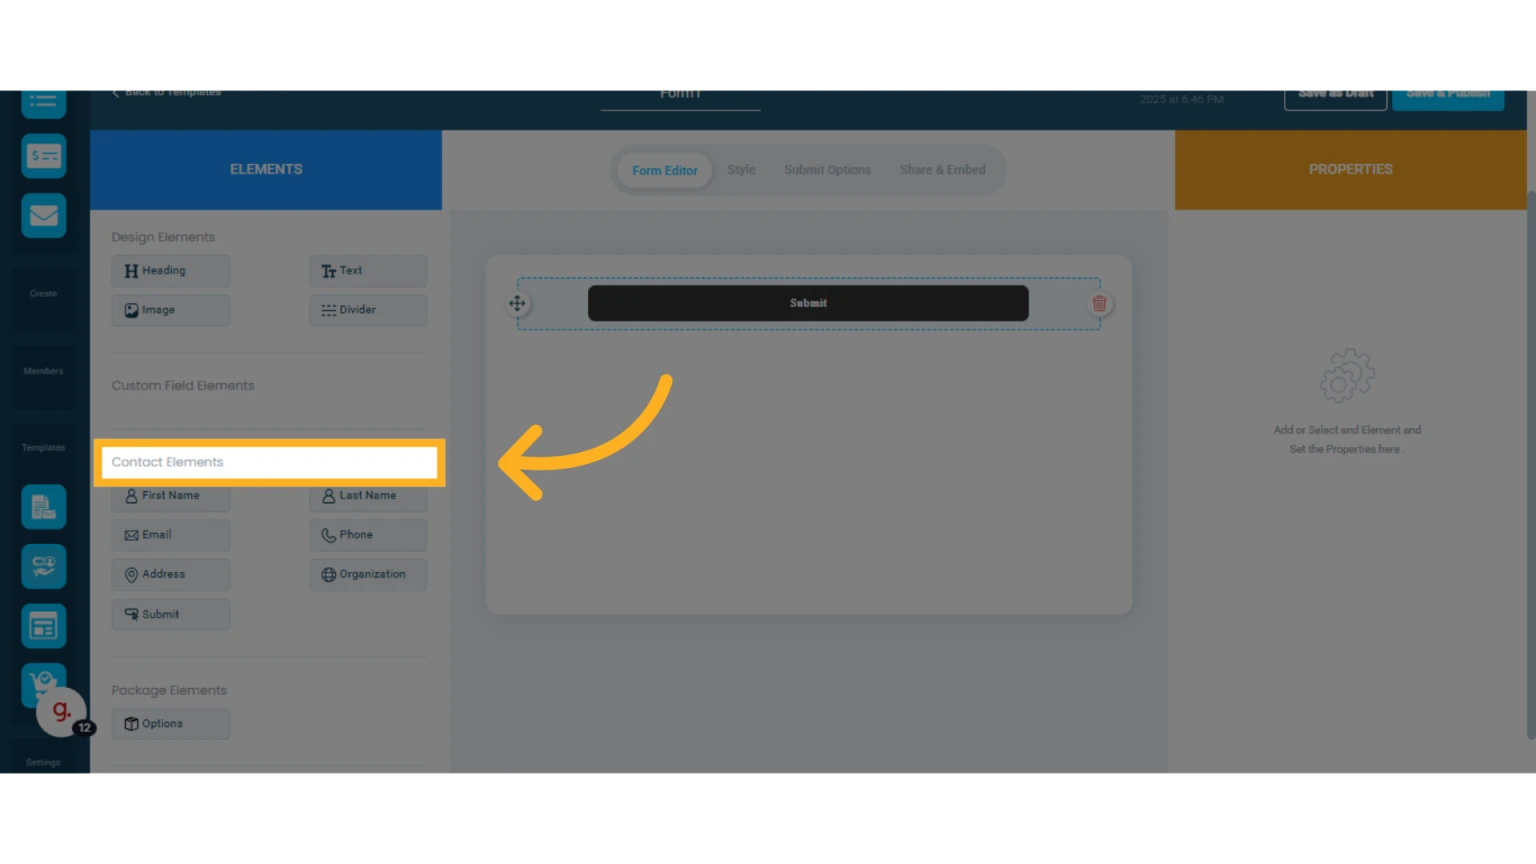
Contact Elements
Contact First Name
Contact Last Name
Email
Phone
Address
Organization
Submit Button
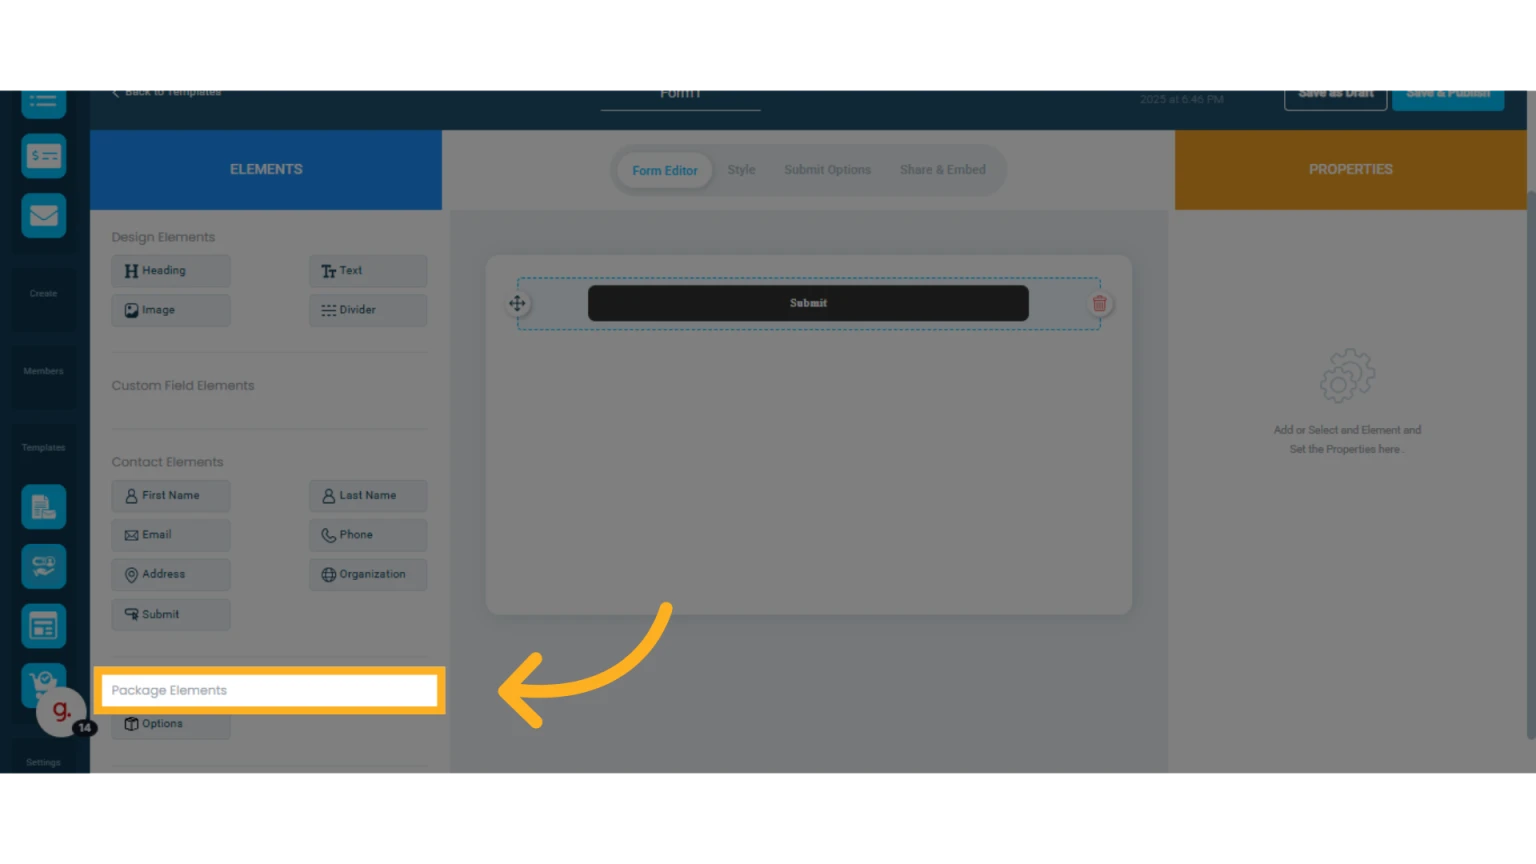
Packages
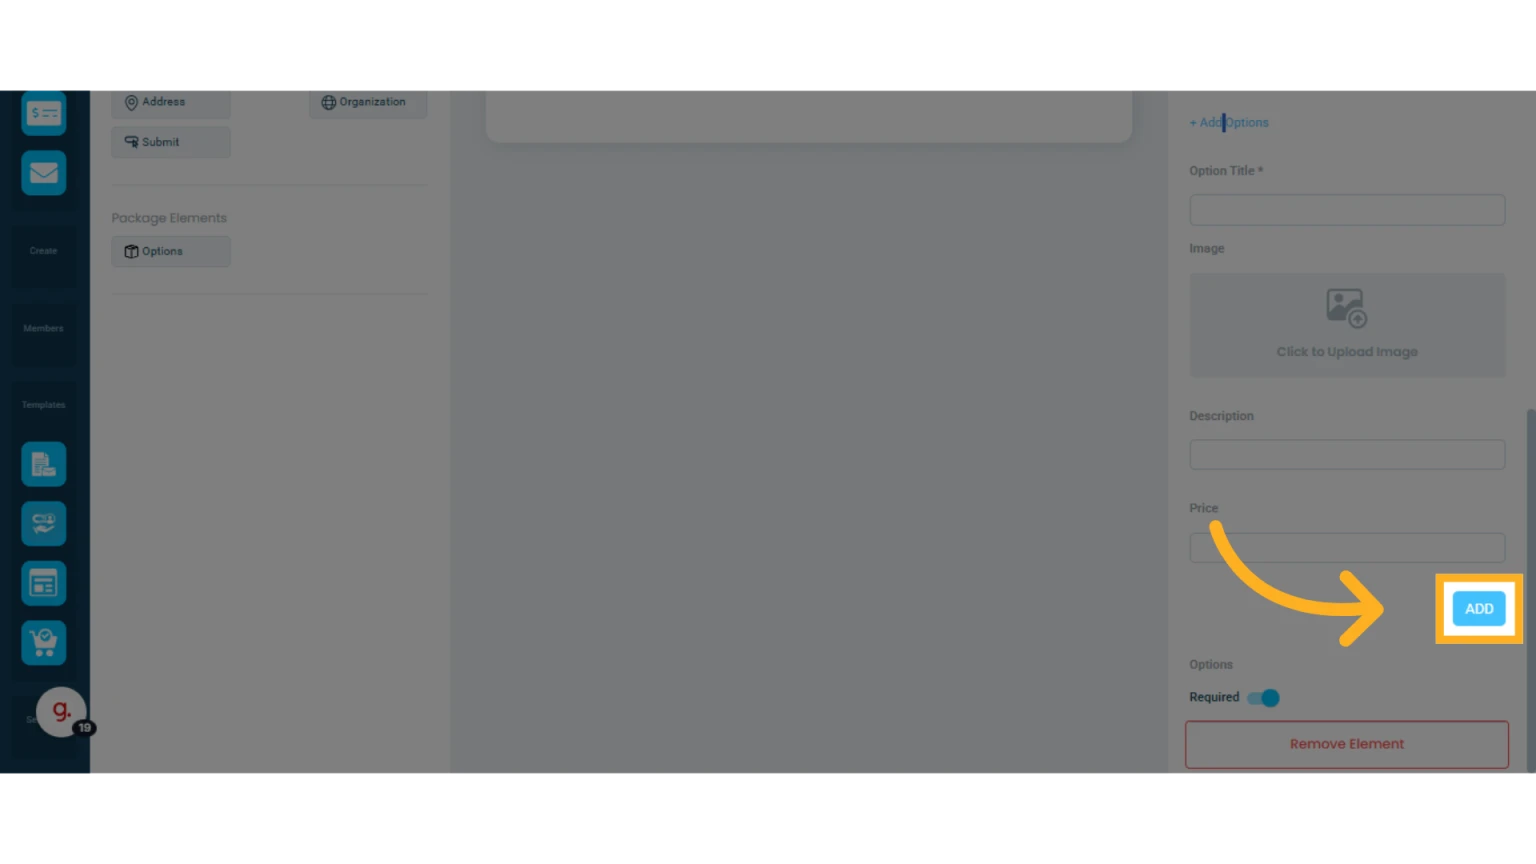
In this section, you will find the Options element, which allows you to add packages to the form. A practical example is adding 2 or 3 plans or packages you are offering, each with an image, description, and price, from which the lead can select their preference.
In the Properties column, click Add Options to create a package name, upload an image, add a description, and set a price.
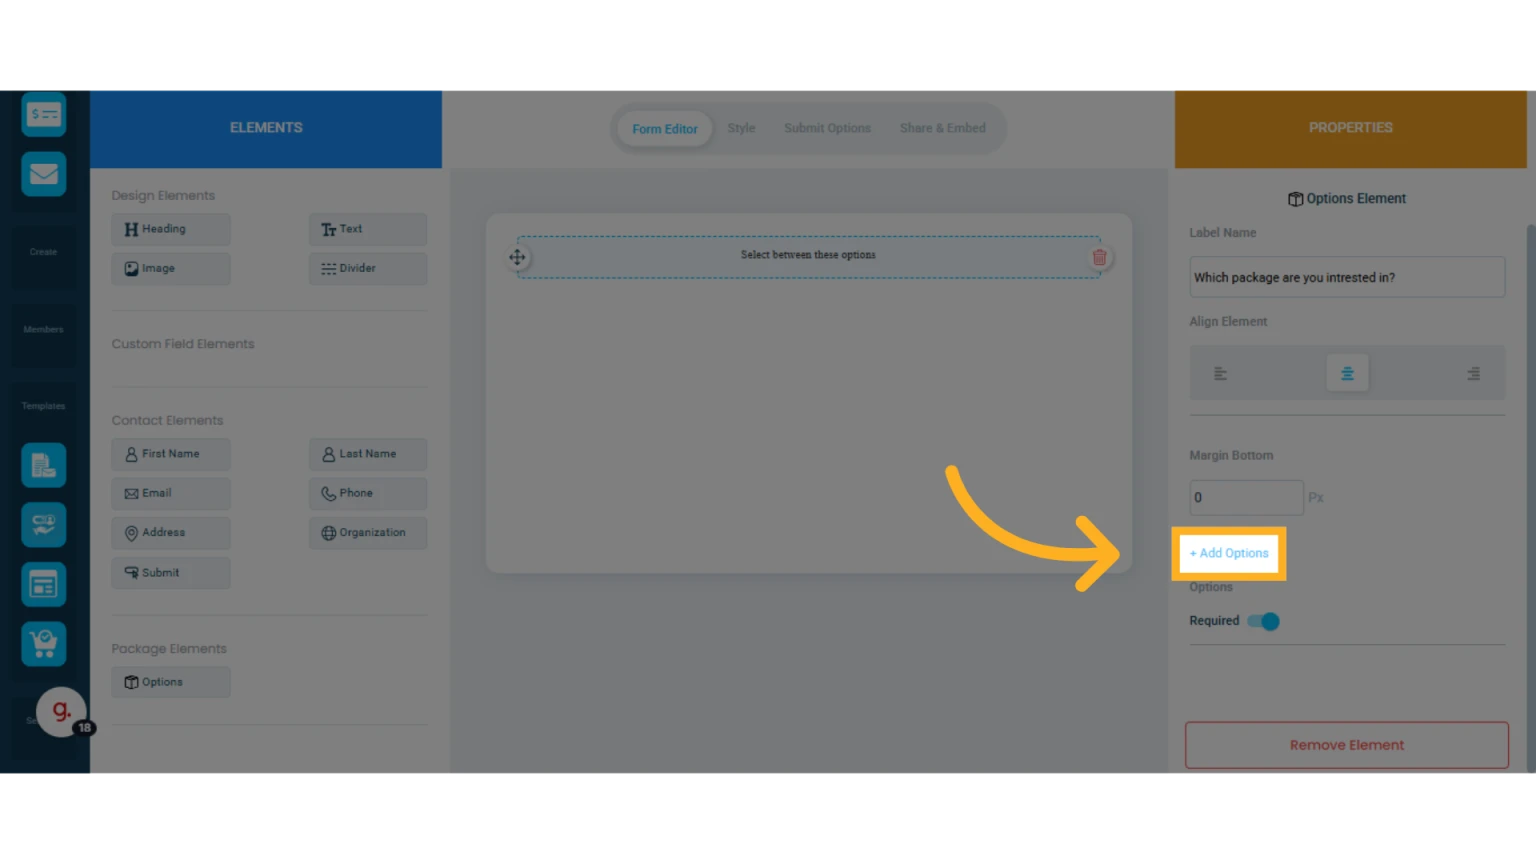
Click Add to save the changes.
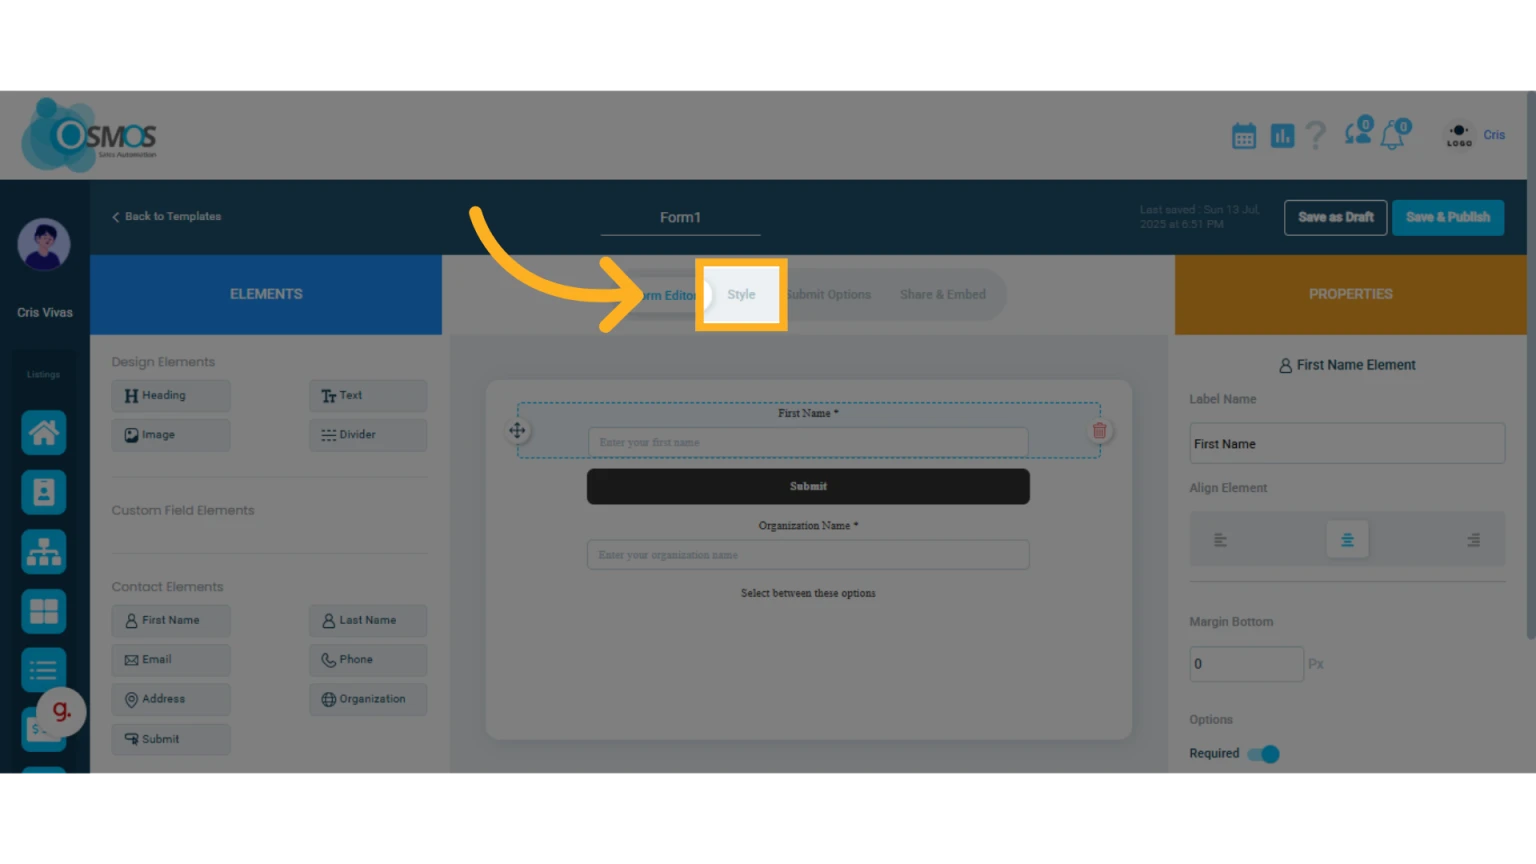
5. Configure the elements
On the right side, you will see the properties of the selected element.

From this column, you can:
Customize the label name
Align the element within the form
Add margins
Select whether the field is required
NOTE: Most elements have these options, although some have different settings, such as the Options element explained above.
6. Click the Style tab to modify the form’s appearance
Here you can change the font type and size, as well as the form’s colors.
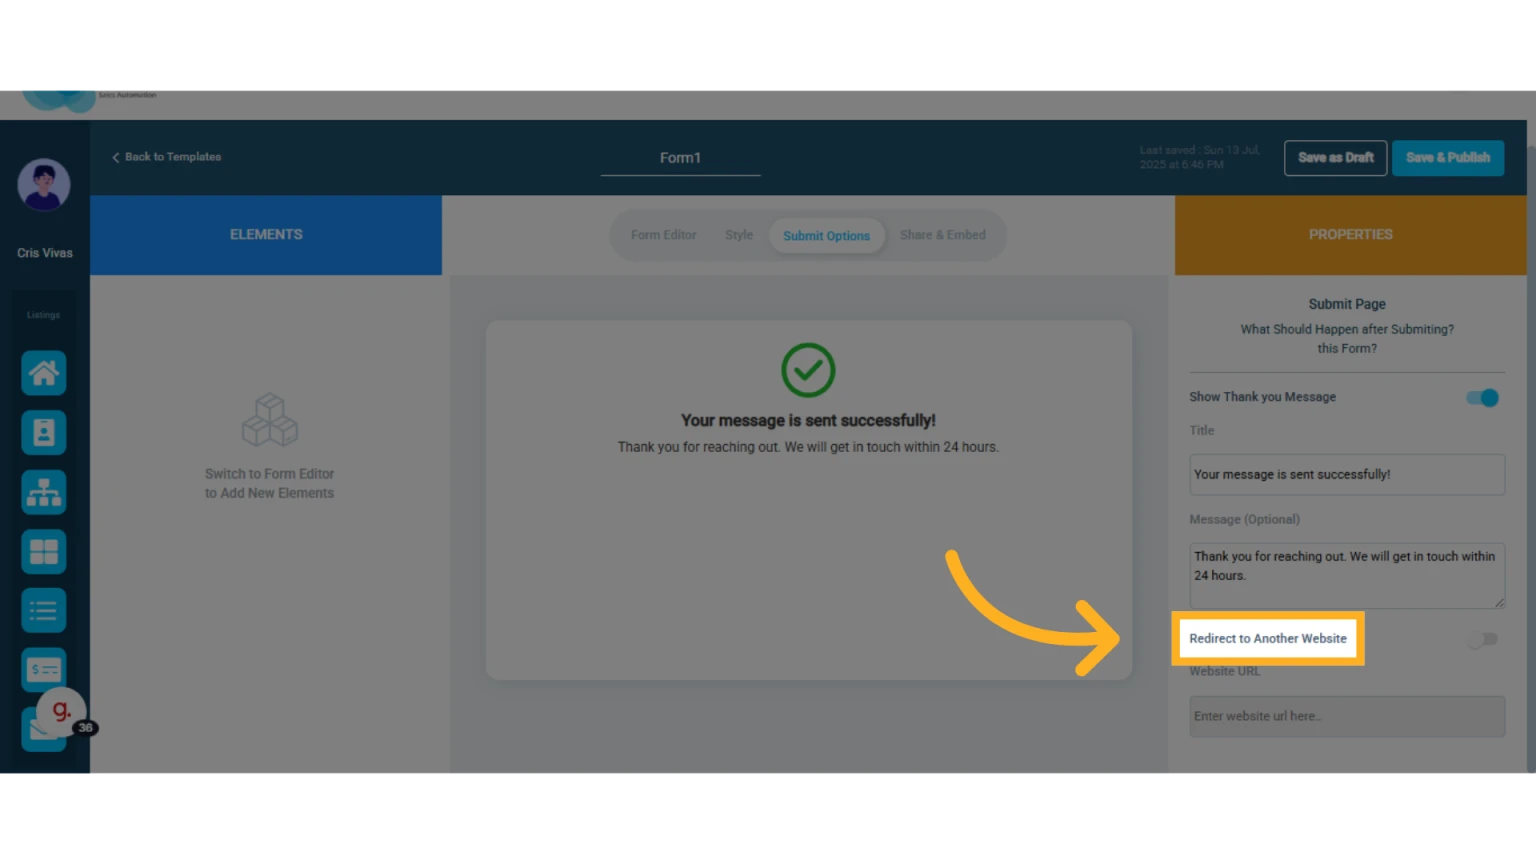
7. Click Submit Options
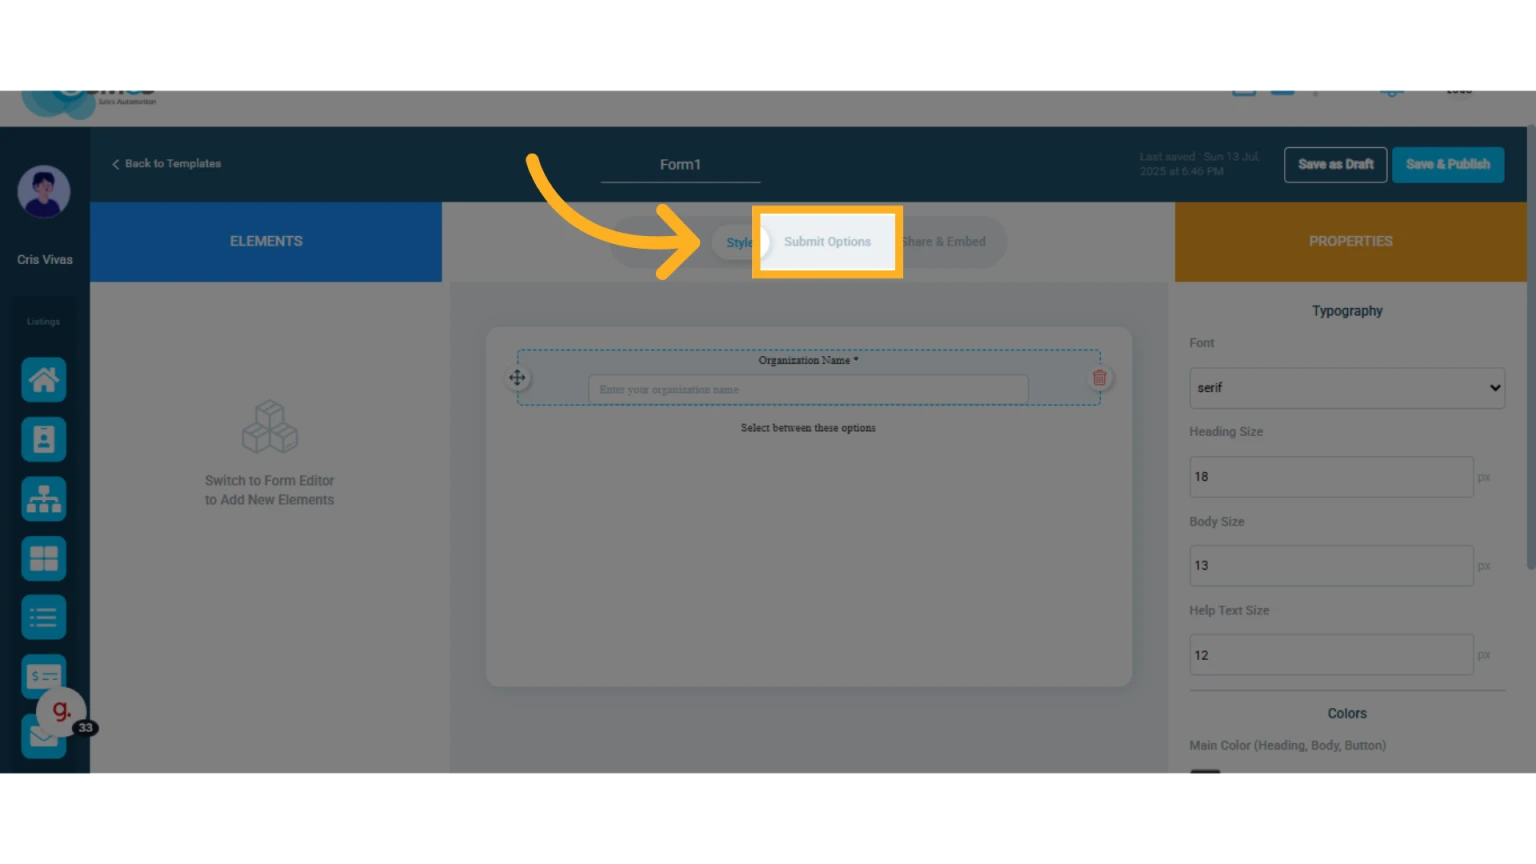
From here, you can customize the message the user will receive after submitting the form.

You can also decide whether to redirect the user to another website or not.
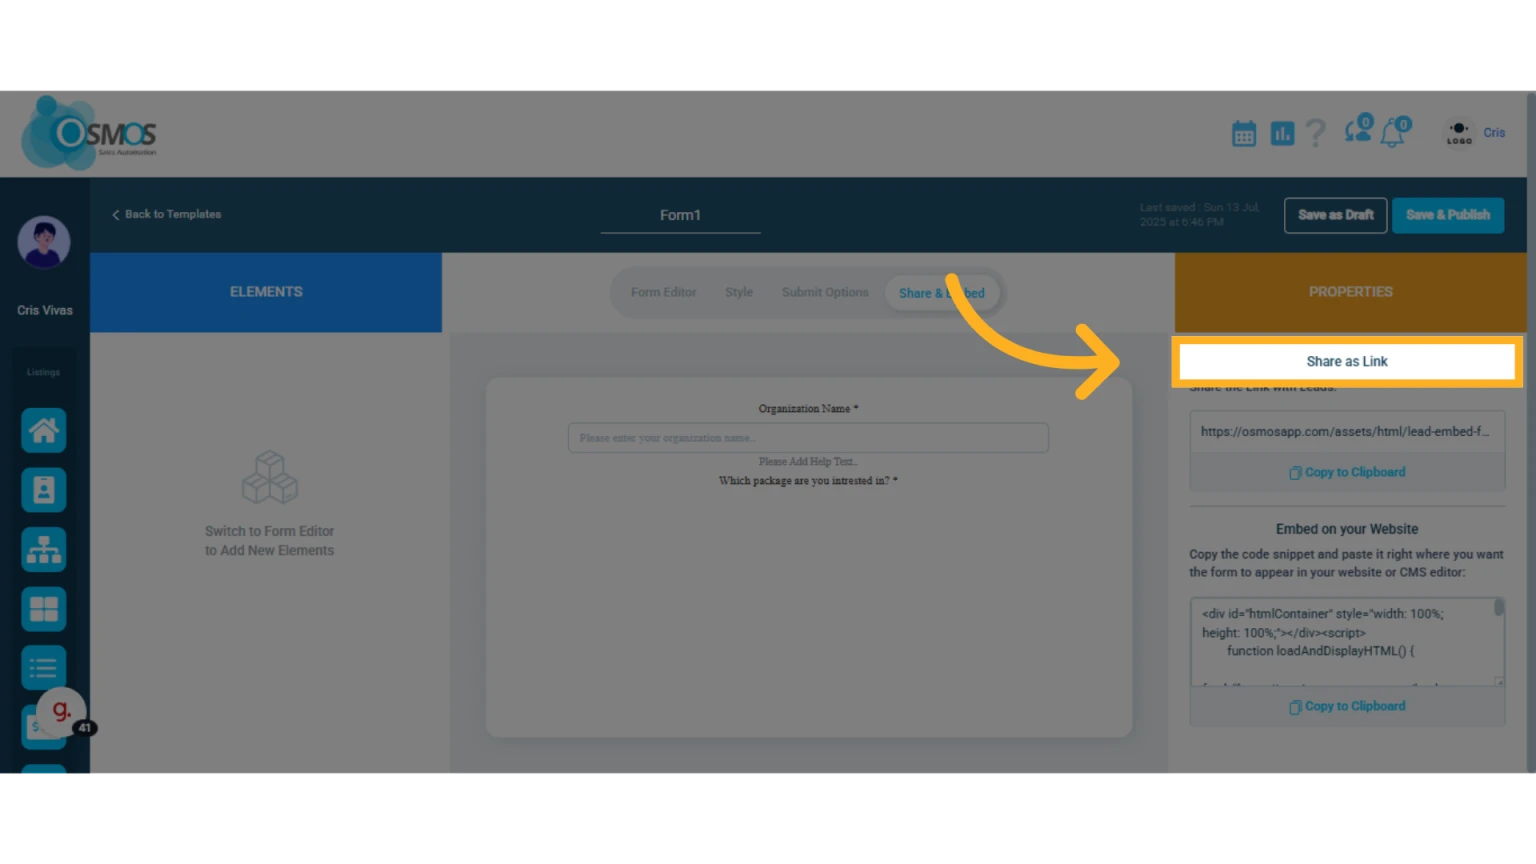
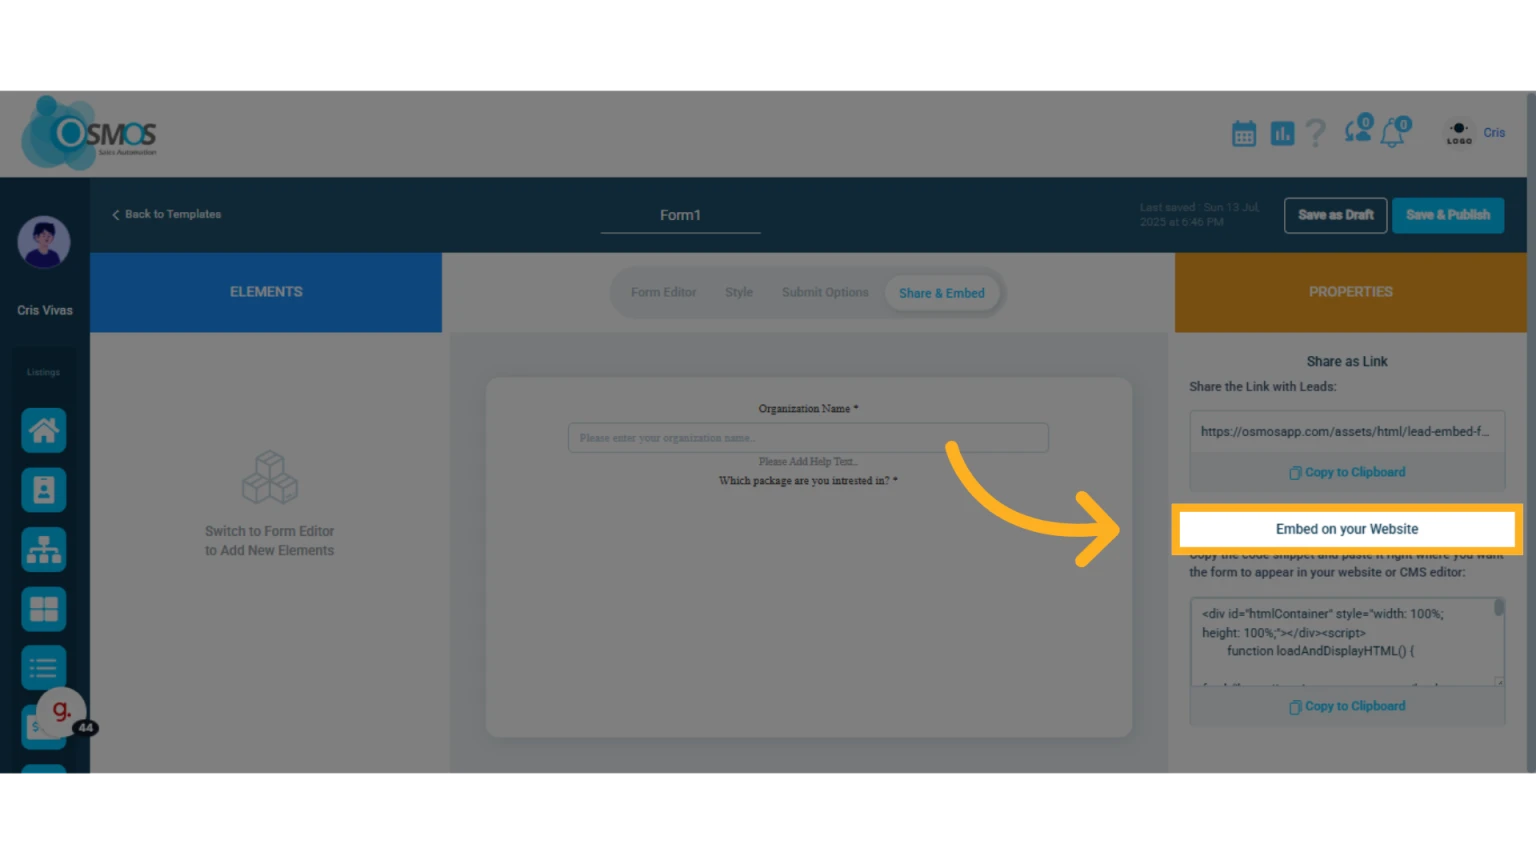
8. Click Share & Embed

From this tab, you can copy and share the form as a link.
Or embed the form directly into your website by copying and pasting the link onto your web page.
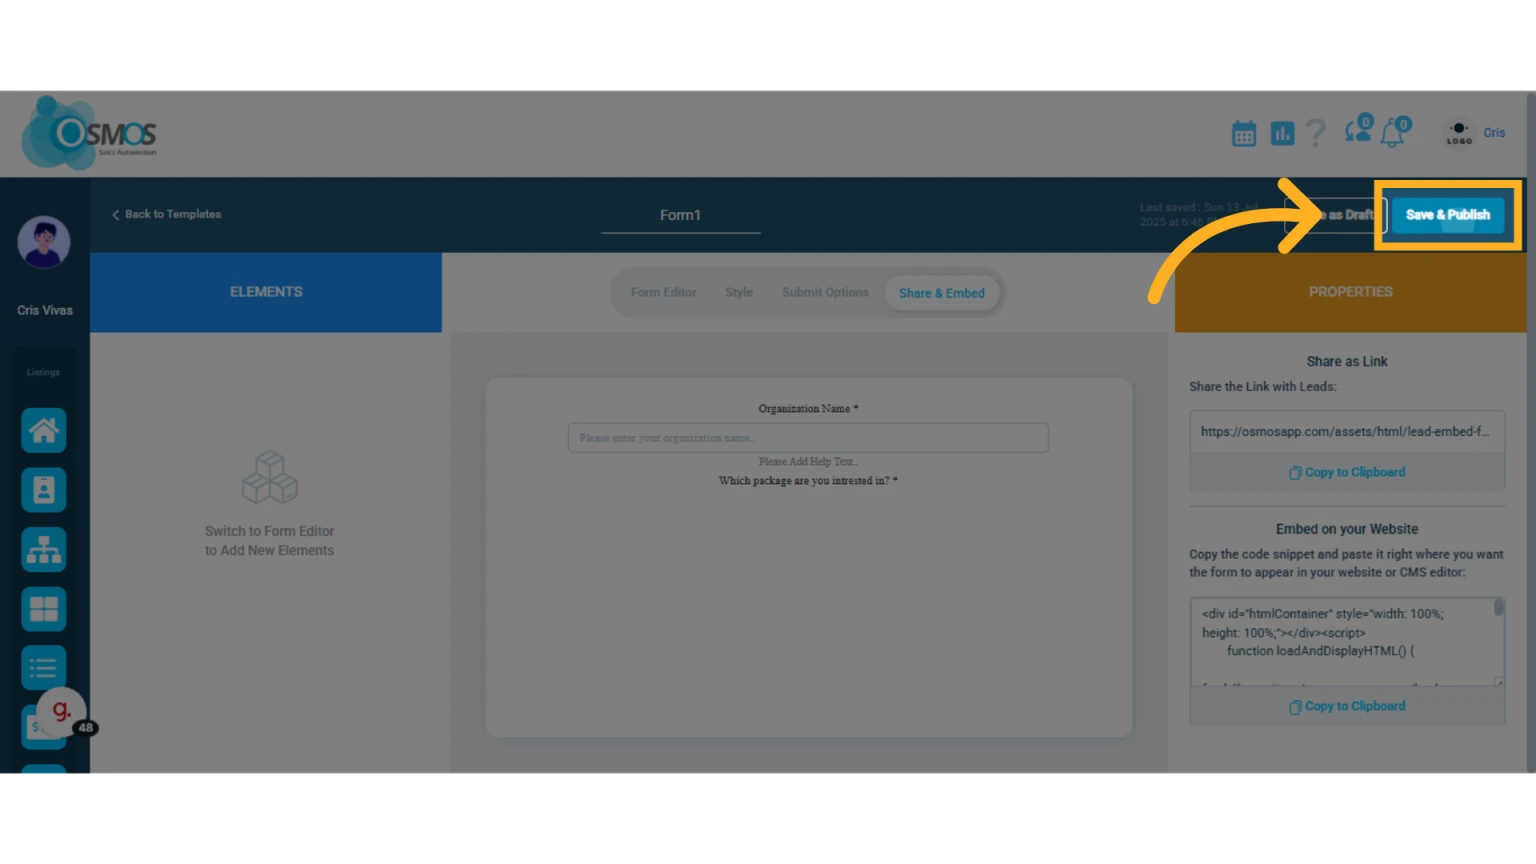
9. Click Save and Publish to activate the form
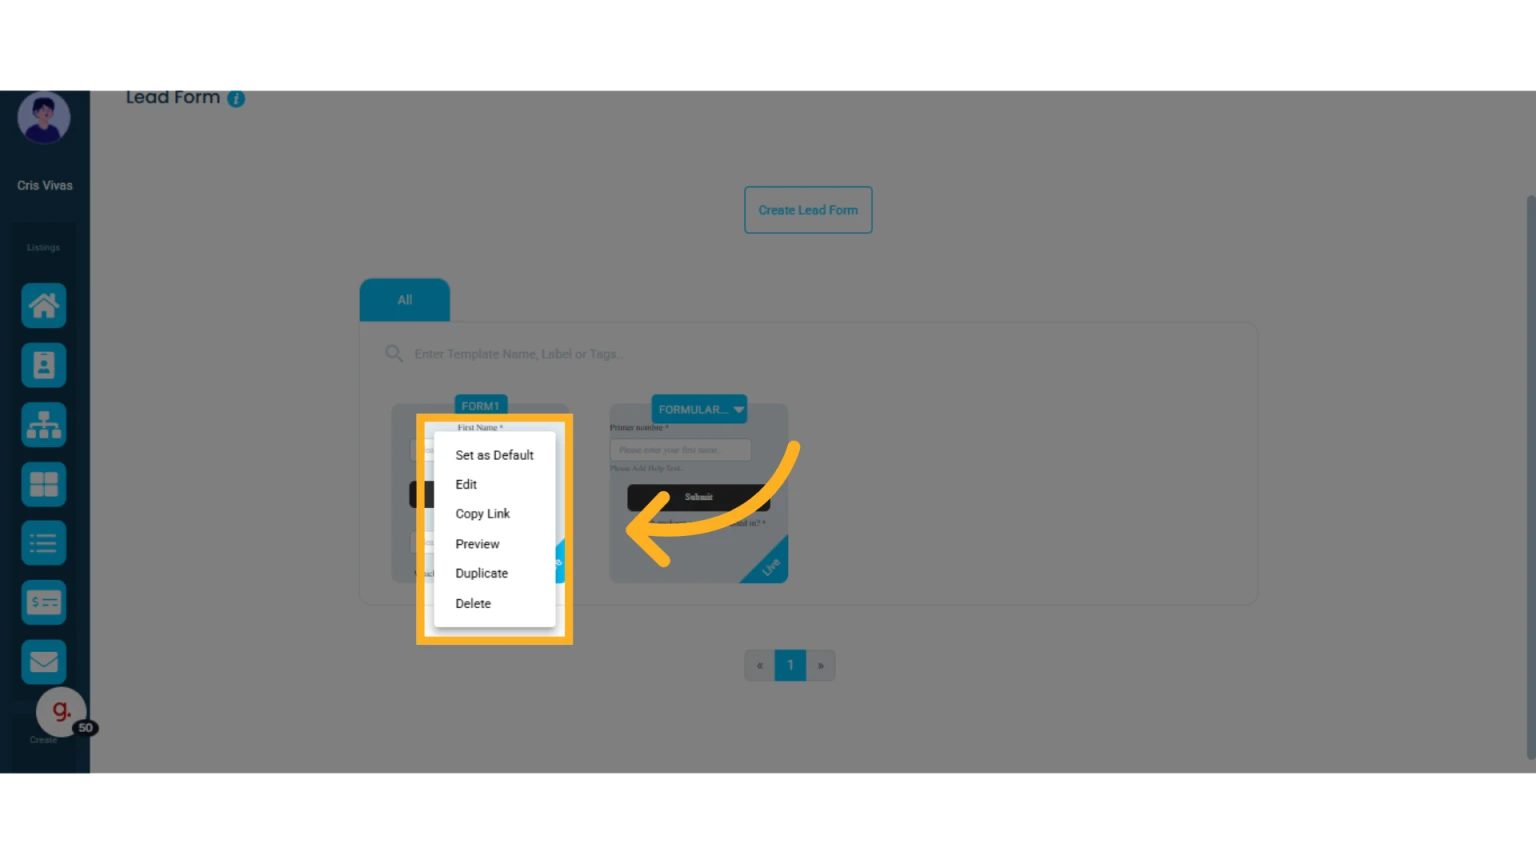
10. Inside your Lead Forms list, click the gear icon to manage the form
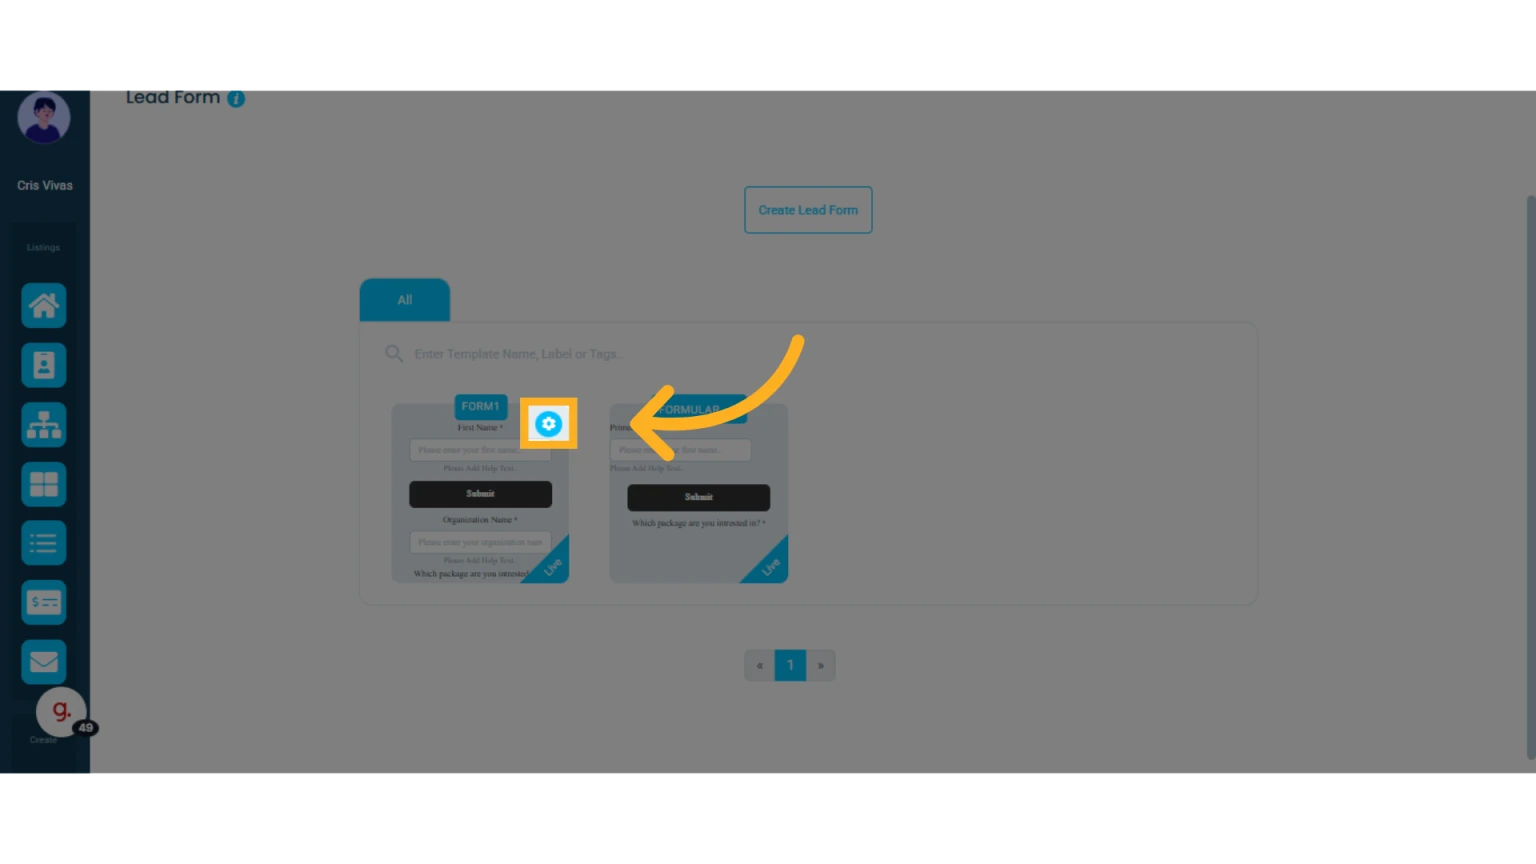
A menu will open where you can set the form as default, edit it, copy it, preview it, duplicate it, or delete it.
Once a contact or client uses the lead form, their information will be recorded in Osmos and can be found within the leads and deals module as well as the contacts module.