The eQuote form is a tool that combines a contact form with e-commerce functionality. It allows your clients to request quotes directly from your website.
NOTE: You can create multiple eQuotes, assign them to different team members, and display different products and designs.
In this guide, you’ll learn how to create an eQuote form and configure it to capture the information you need.
Create an eQuote
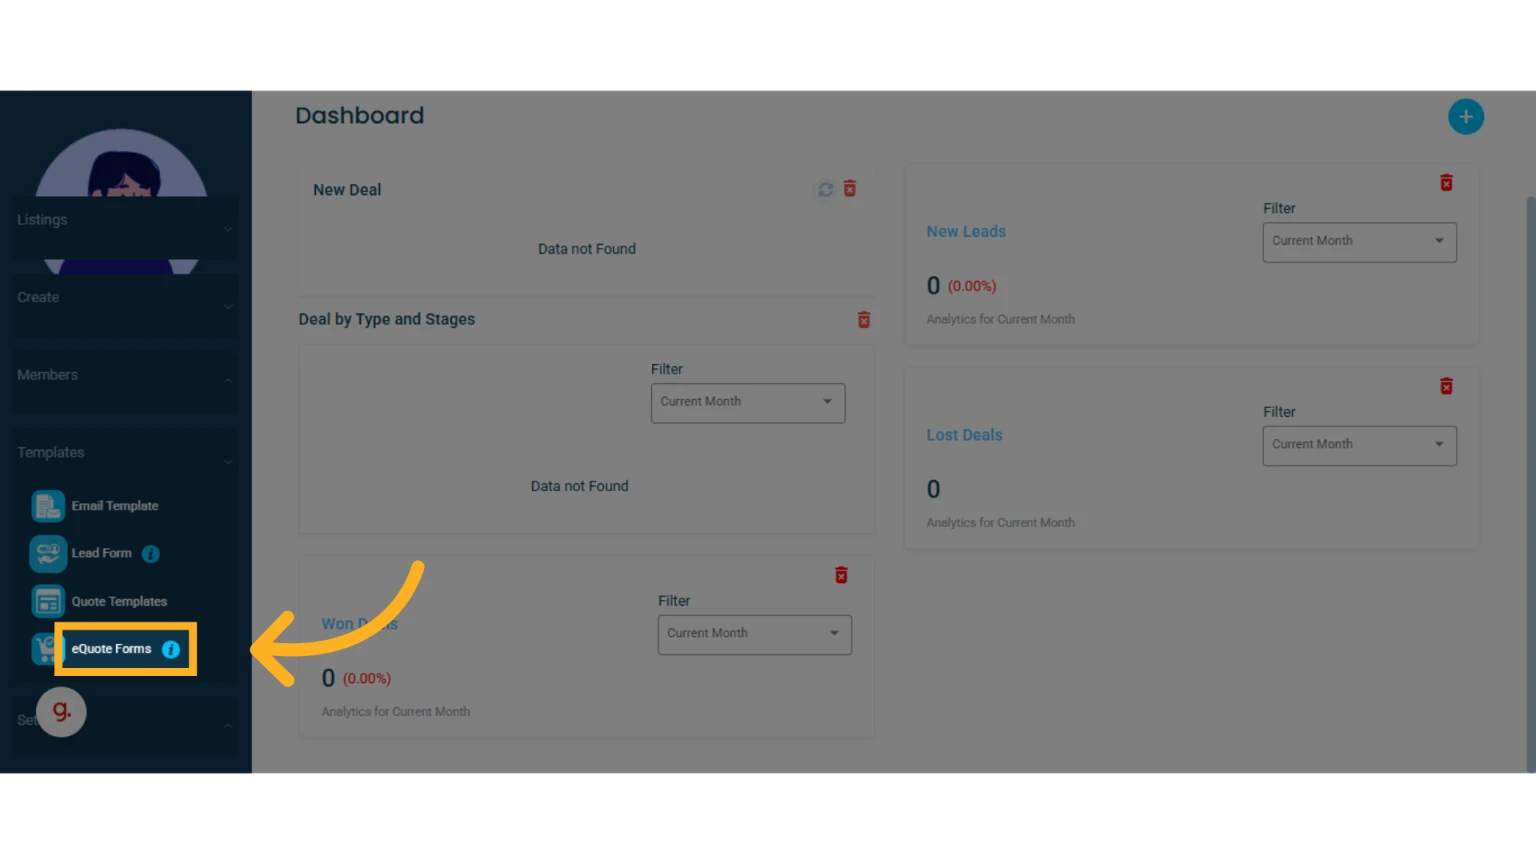
1. Go to the left-hand menu, select “Templates”, then click on “eQuote Forms”
2. Click “Create eQuote Form”

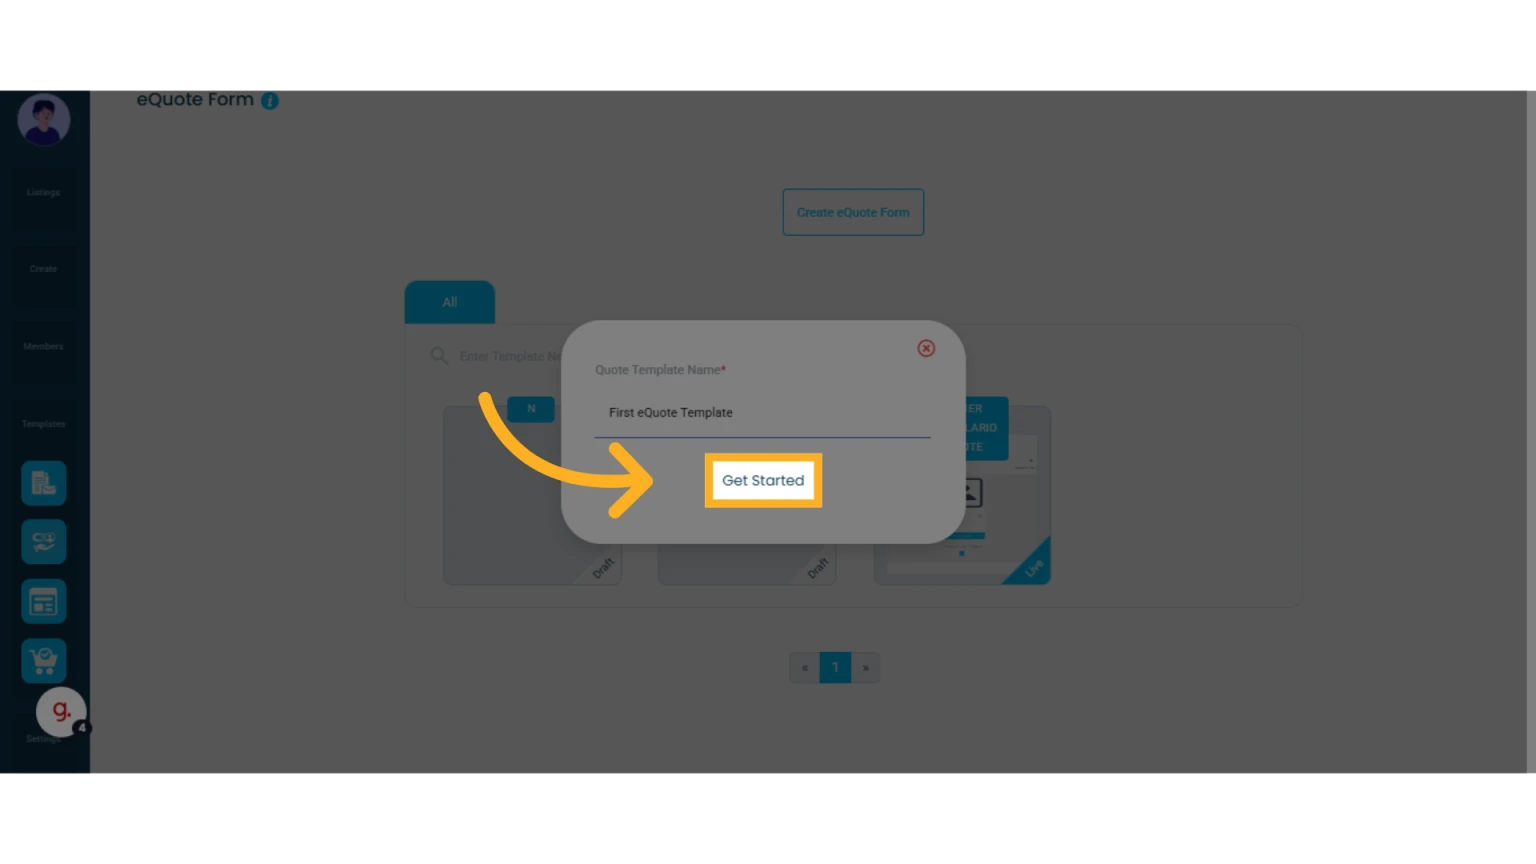
3. Assign a name to your eQuote and click “Get Started”
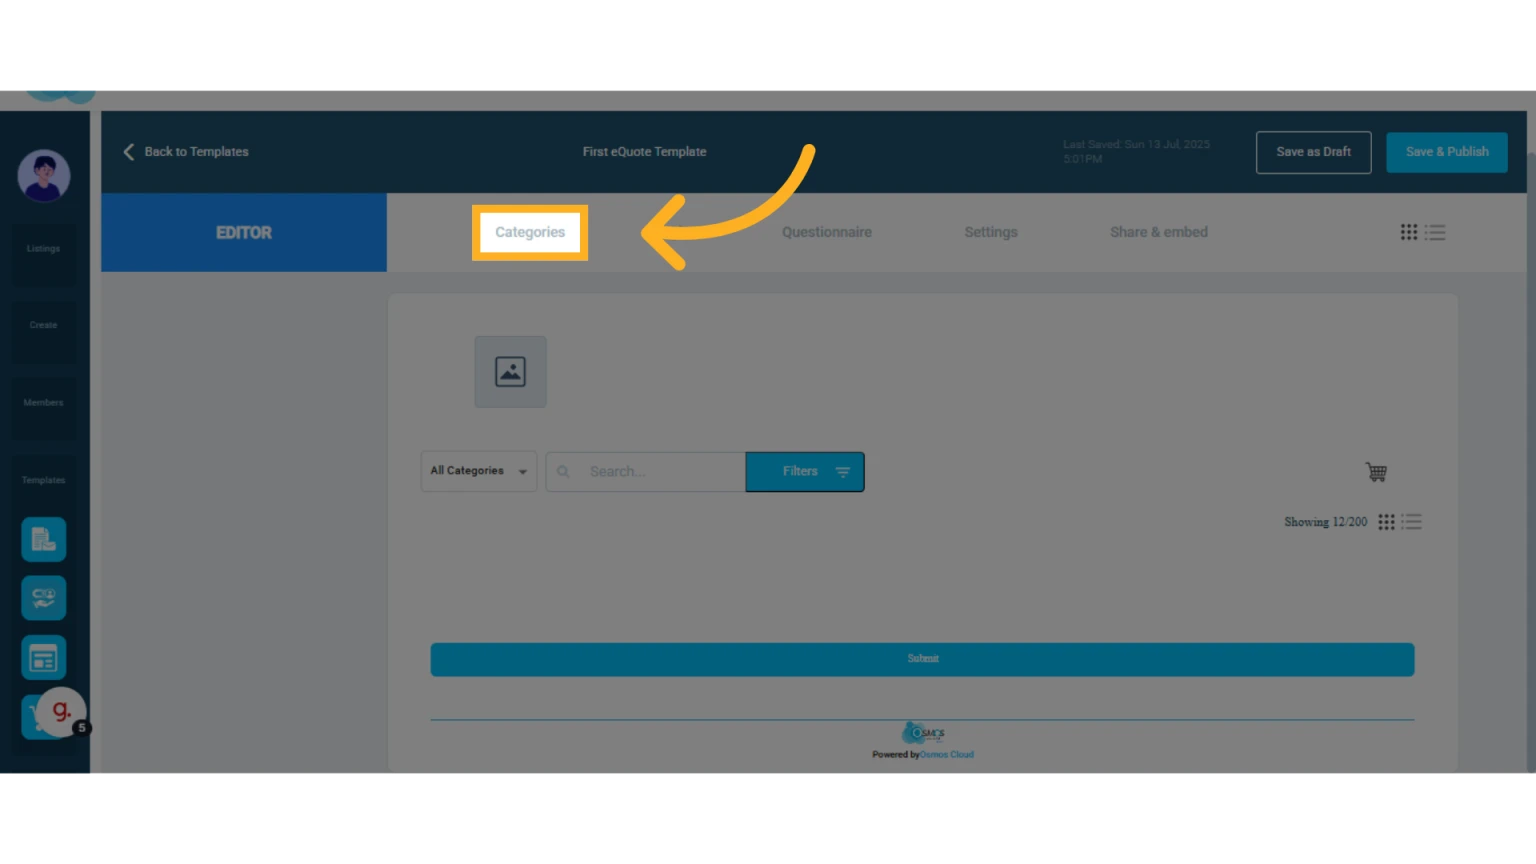
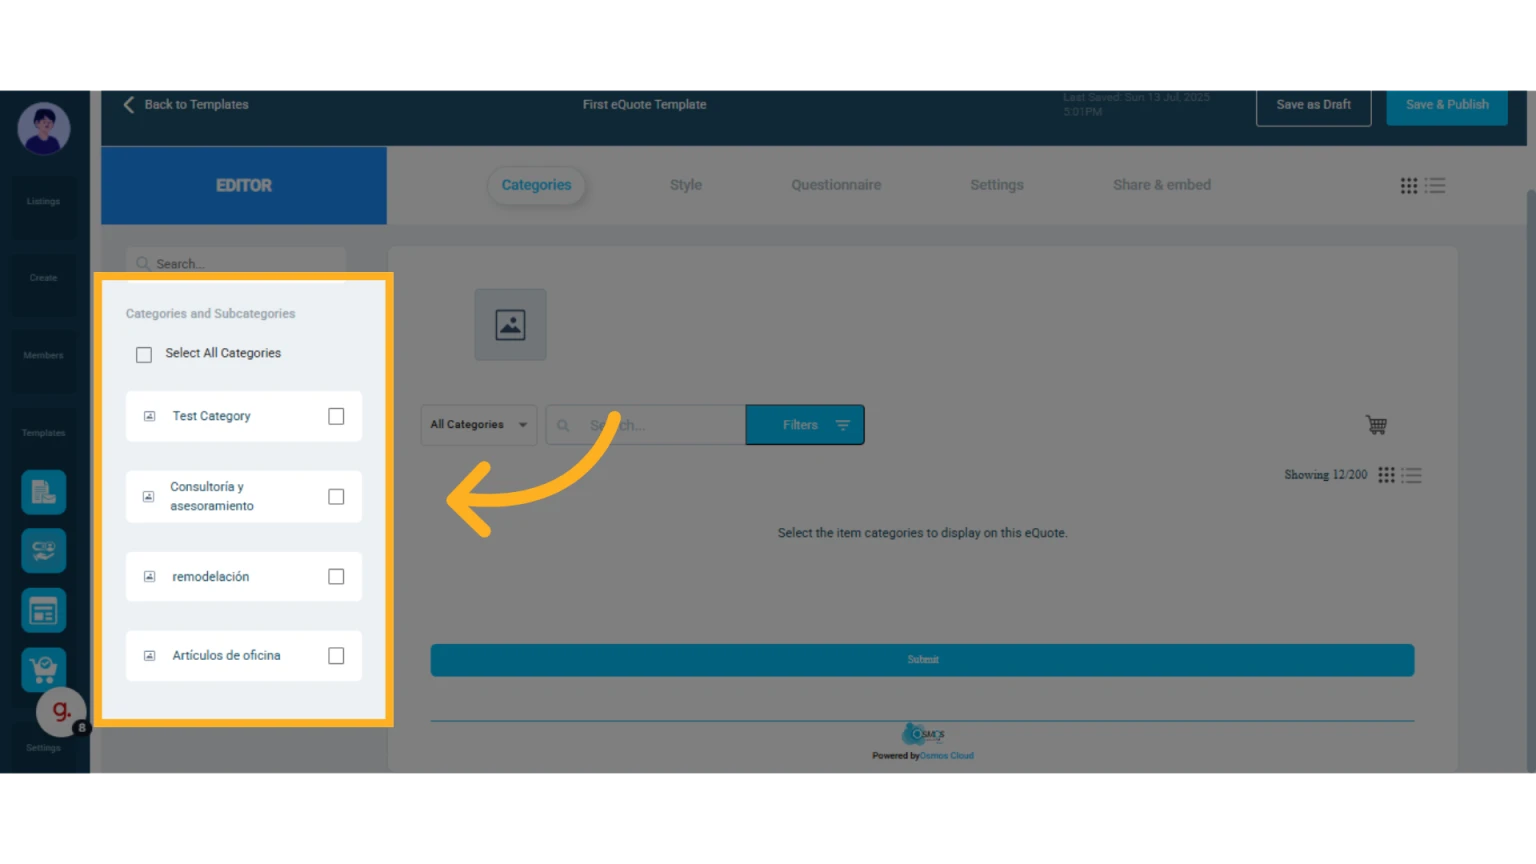
Select the Categories to Display
Click the “Categories” tab and select the product or service categories and subcategories you've already added in Osmos that you’d like to show in your eQuote. You can skip any you don’t want to include.
IMPORTANT: You must add your items in Osmos before using the eQuote.
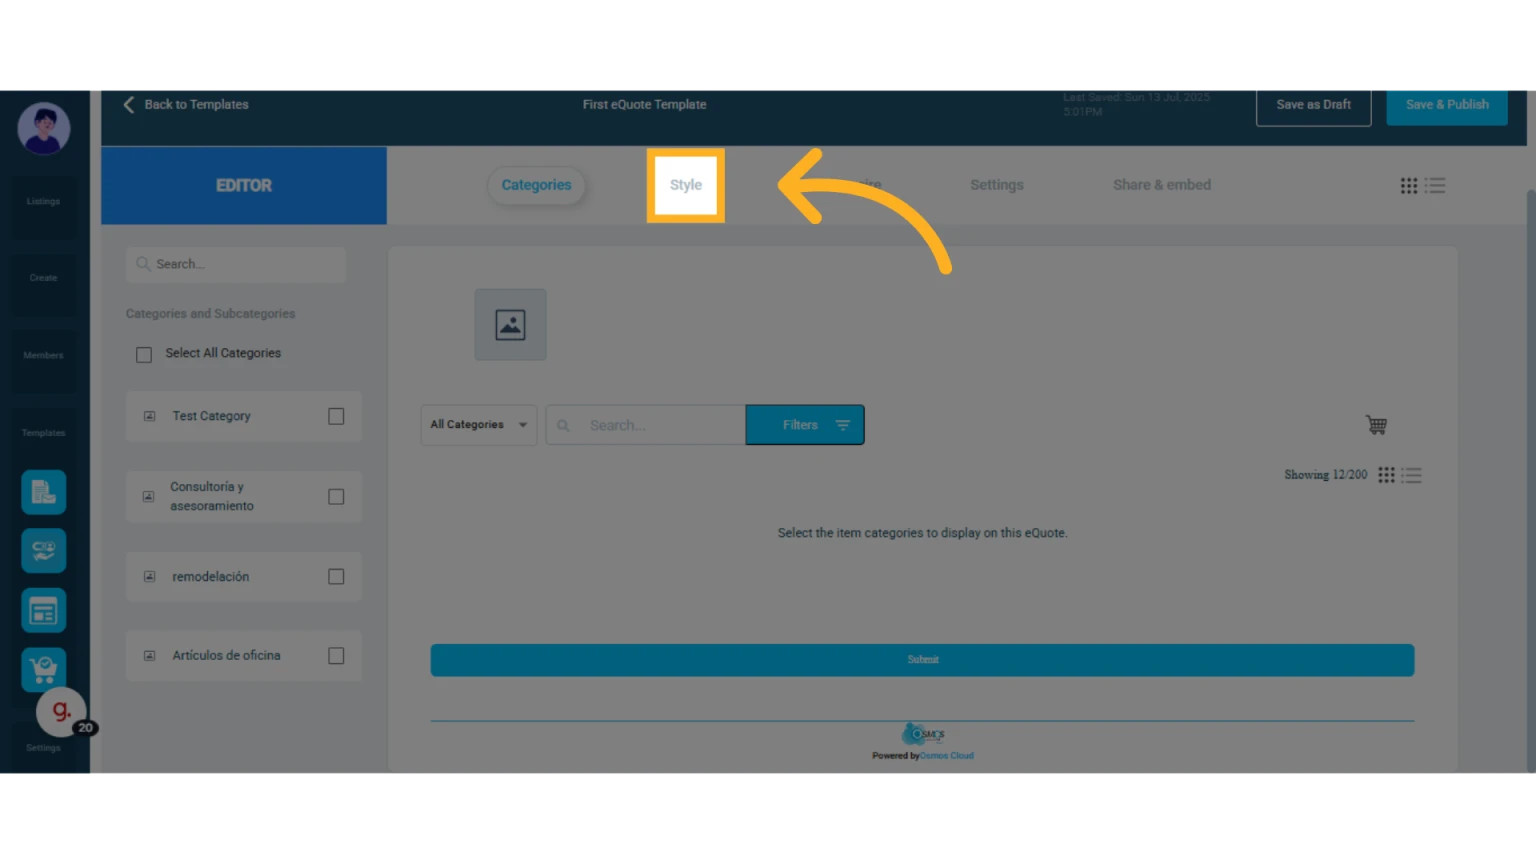
Customize the Style
Click the “Style” tab. From here, you can manage:
Orientation: Choose how your eQuote will appear — as a list or in table format.
Images: Upload your company logo to personalize your eQuote.
Text: Add introductory text, include important notices, rename the add-to-cart button, customize the submit button, and change the font.
Colors: Adjust the main color of the quote, as well as the font, price, icon, background, and body colors.
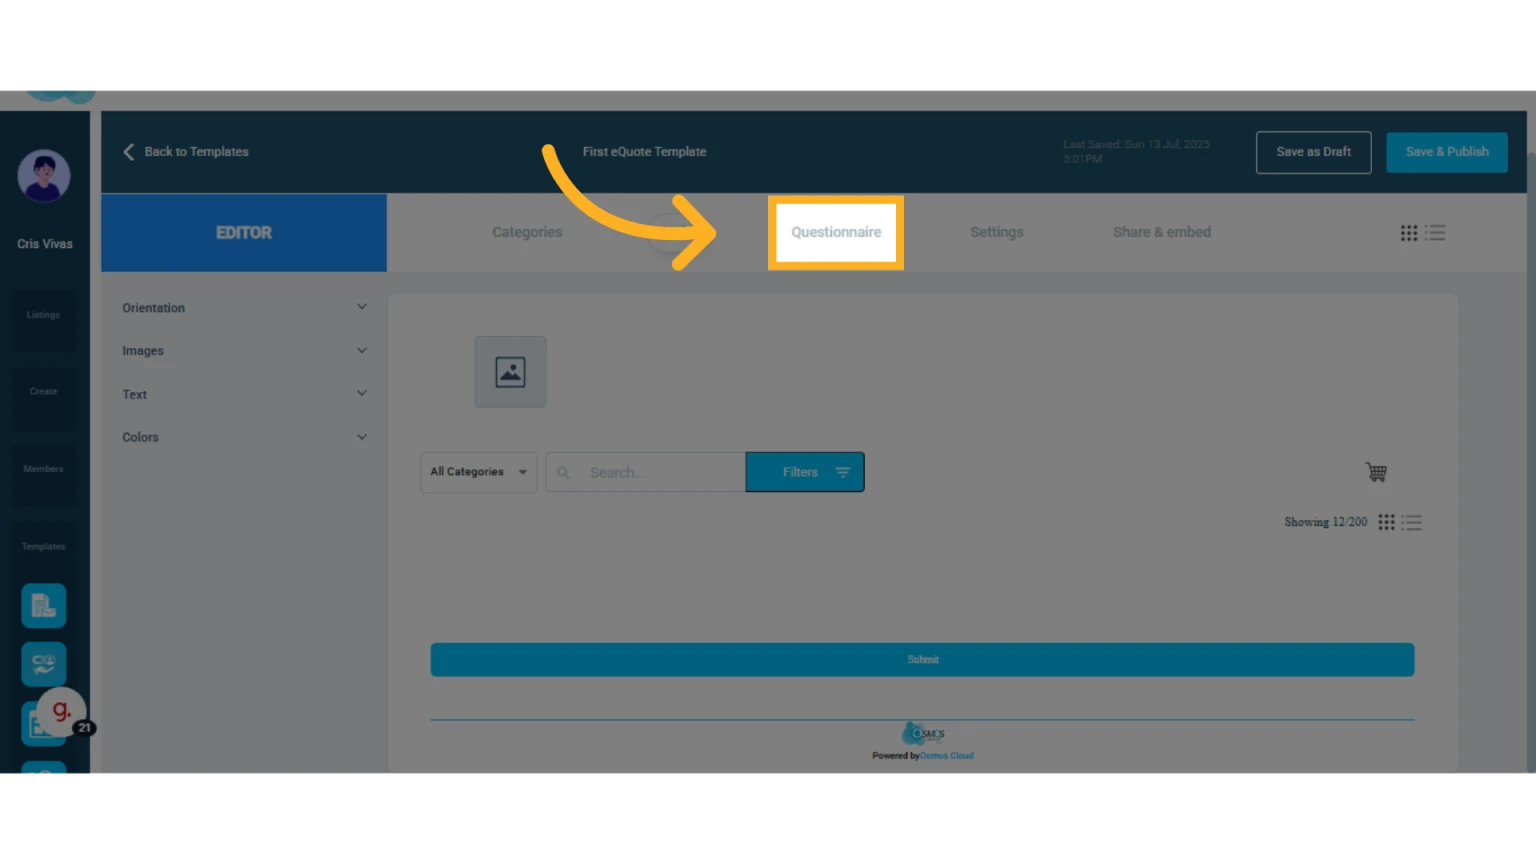
Create a Questionnaire
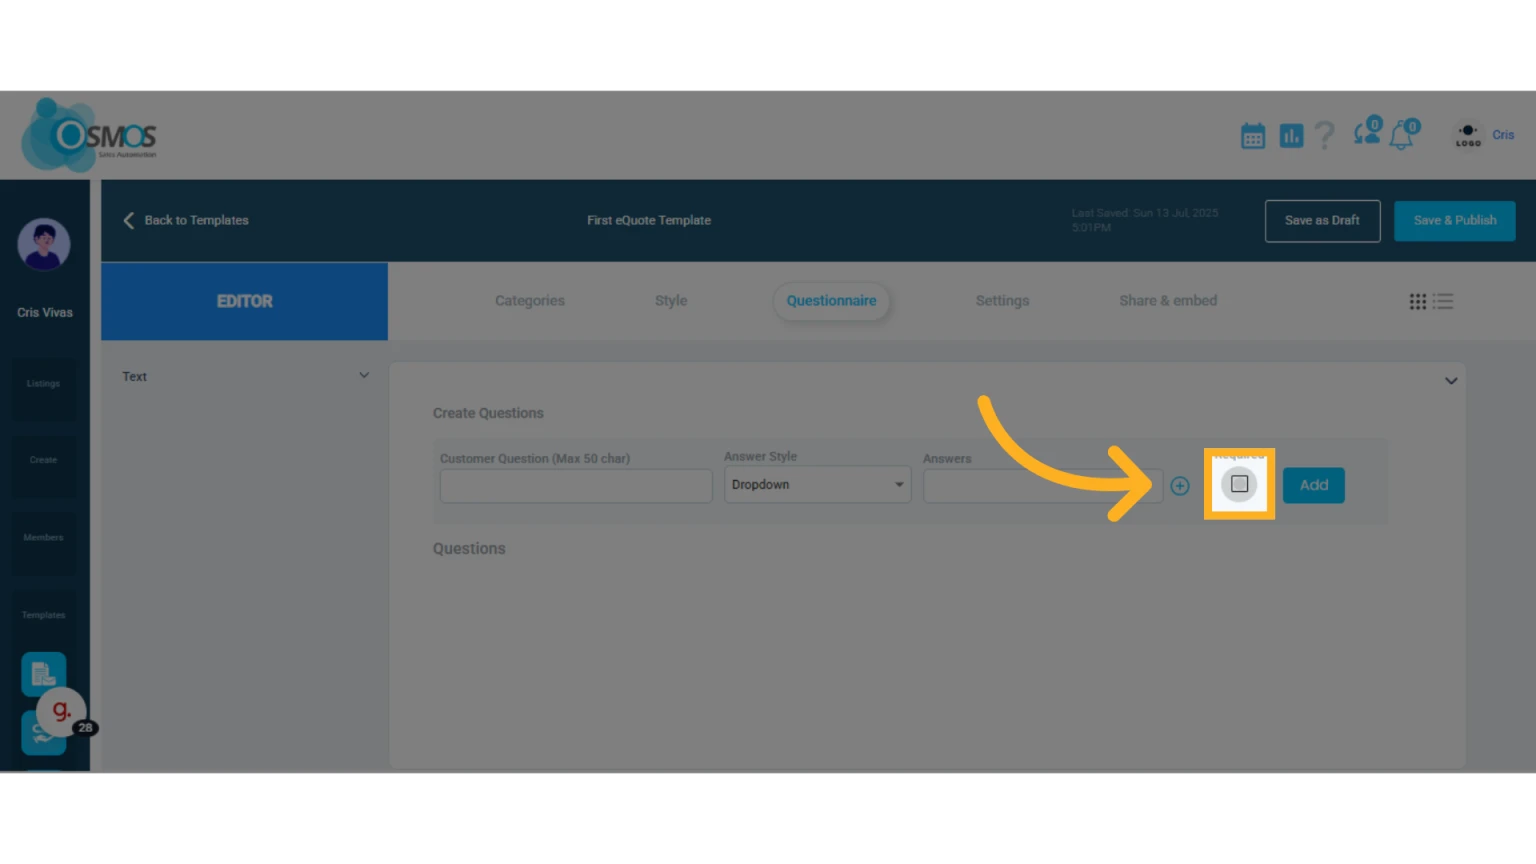
Click the “Questionnaire” tab to add questions and response options for your clients to answer when requesting a quote.
You can choose the question type from a dropdown menu.
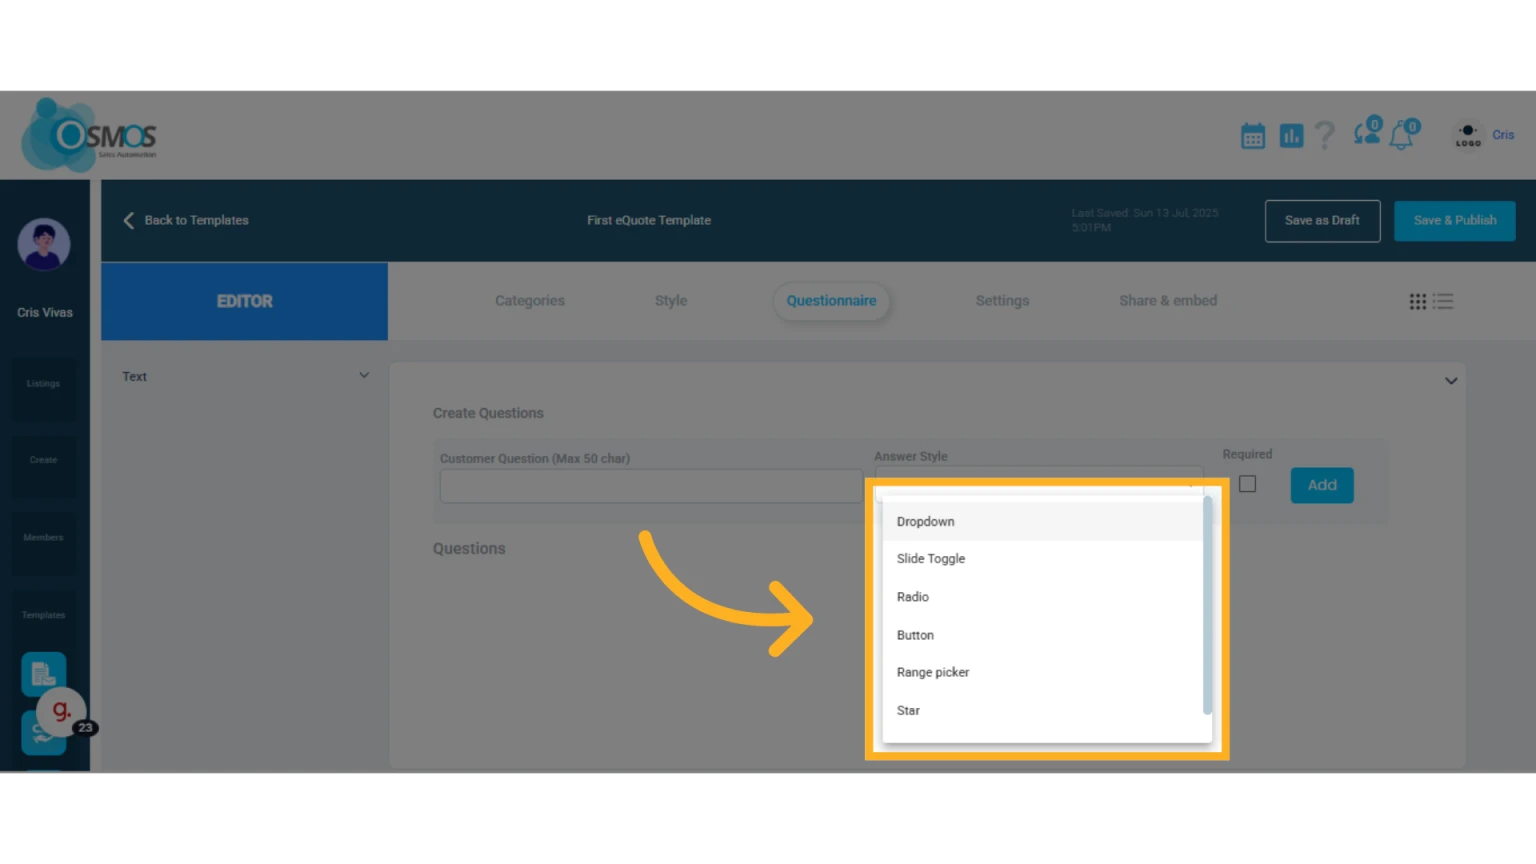
Mark questions as required (mandatory to proceed), and click “Add.”
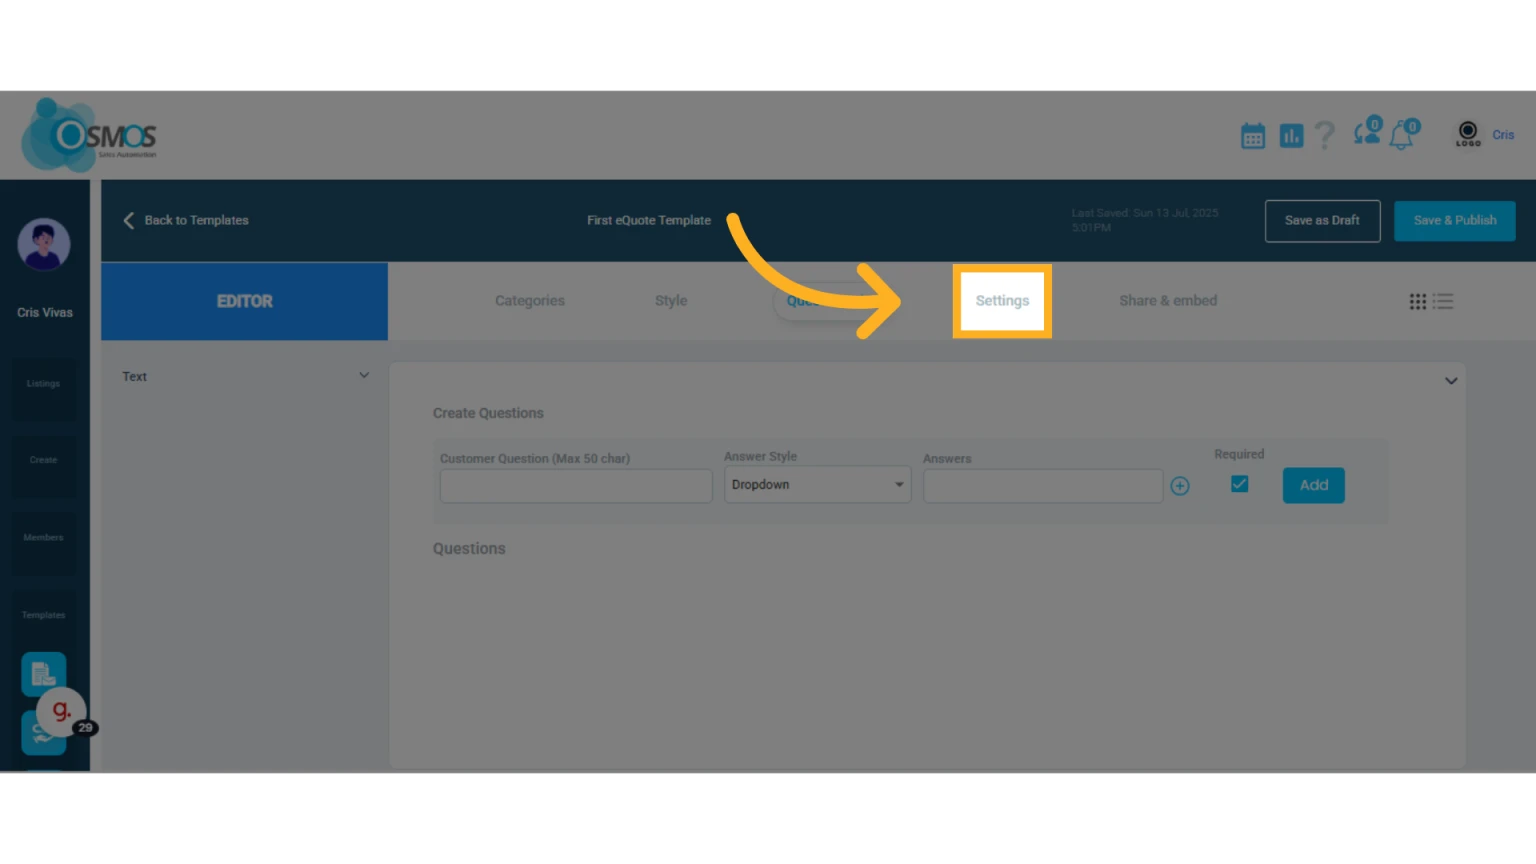
Configure the eQuote
Click the “Settings” tab to personalize options such as:
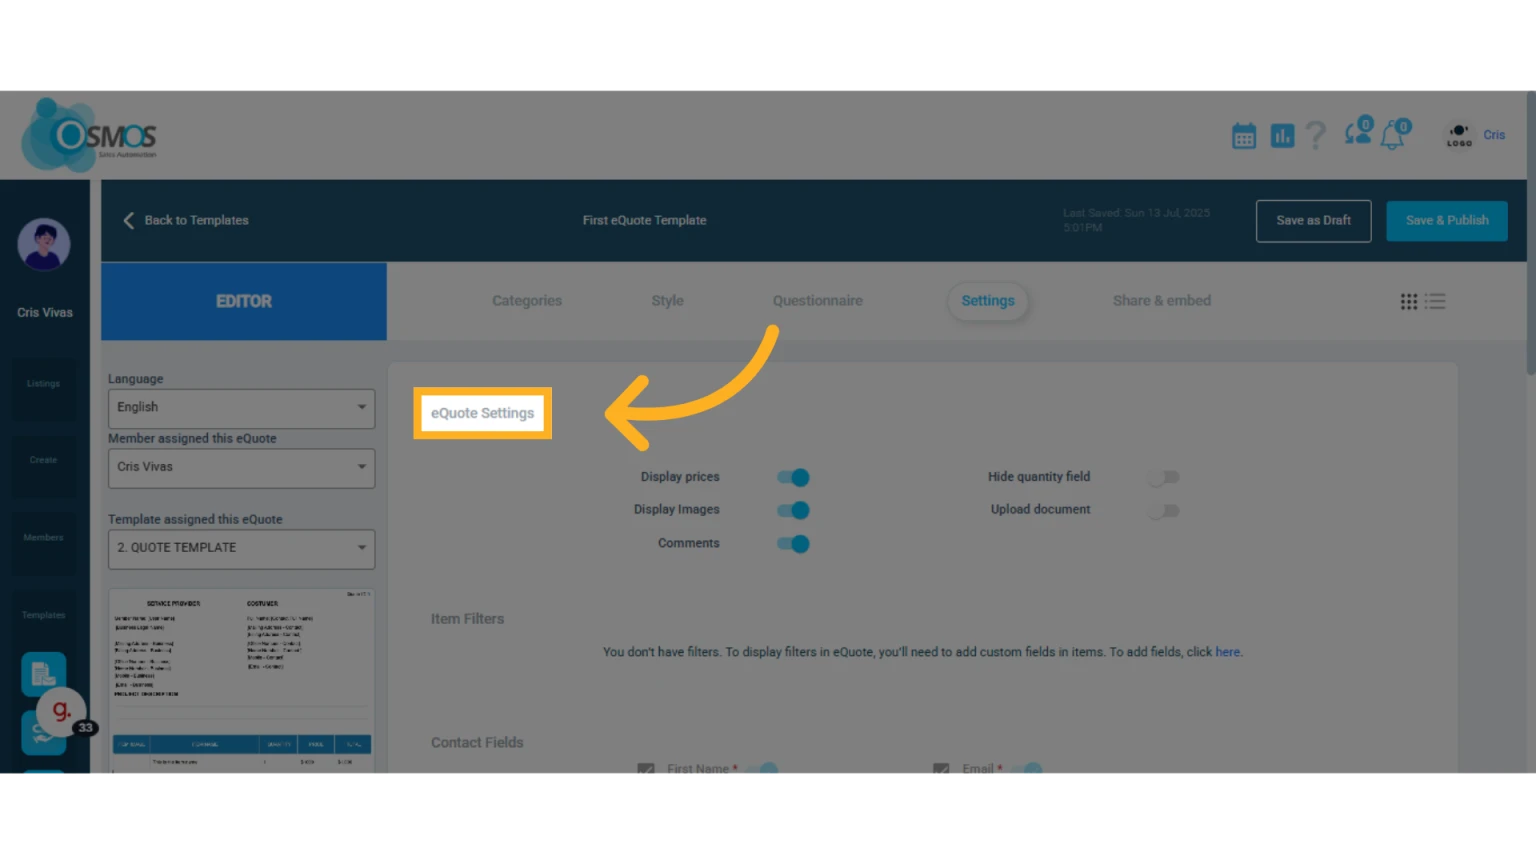
Assign or select a new team member to be assigned to the eQuote. This allows all requests generated through the form to be automatically assigned to a specific team member.
Select the default template to be used with this eQuote, as well as the language in which you want the eQuote to be displayed.

In the central section, you can configure whether to:
Show or hide prices, product images, and customer comments.
Show or hide the quantity field.
Enable file uploads so clients can attach documents.
You can add filters to your items based on the items custom fields already created.
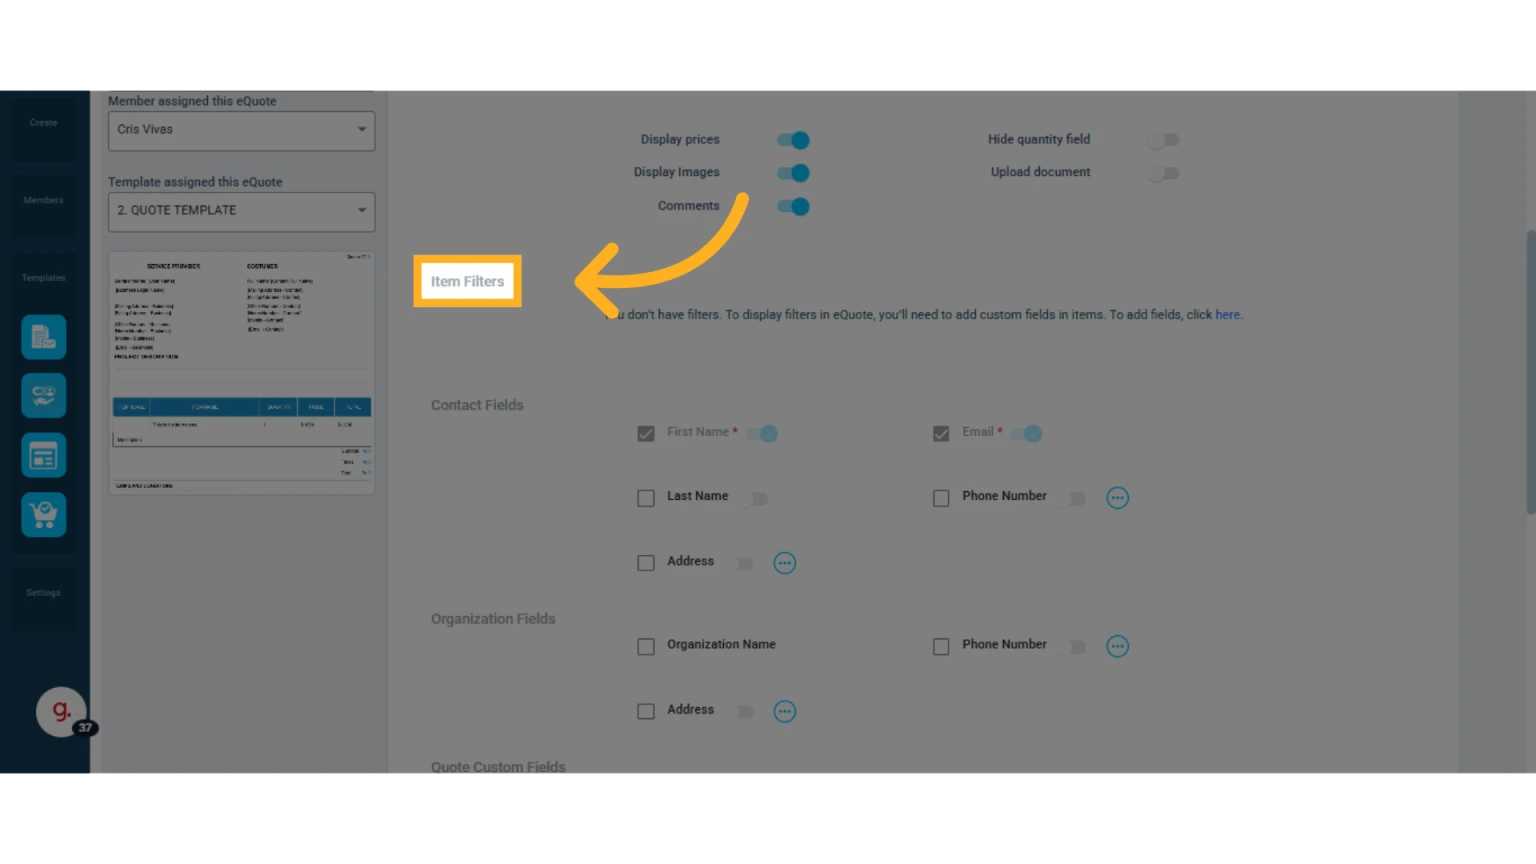
Define the Information the Client Must Fill In
You can add fields like:
Last name
Phone number (contact and/or organization) — click the three dots to choose the type(s) of phone numbers to include.
Address (contact and/or organization) — click the three dots to choose the type(s) of address to include.
Organization name
NOTE: The “Name” and “Email” fields are required.
You can also add custom fields, which come from the quote templates where you’ve added custom elements or included the Reservation element.
Learn how to customize your quote template and add custom elements.
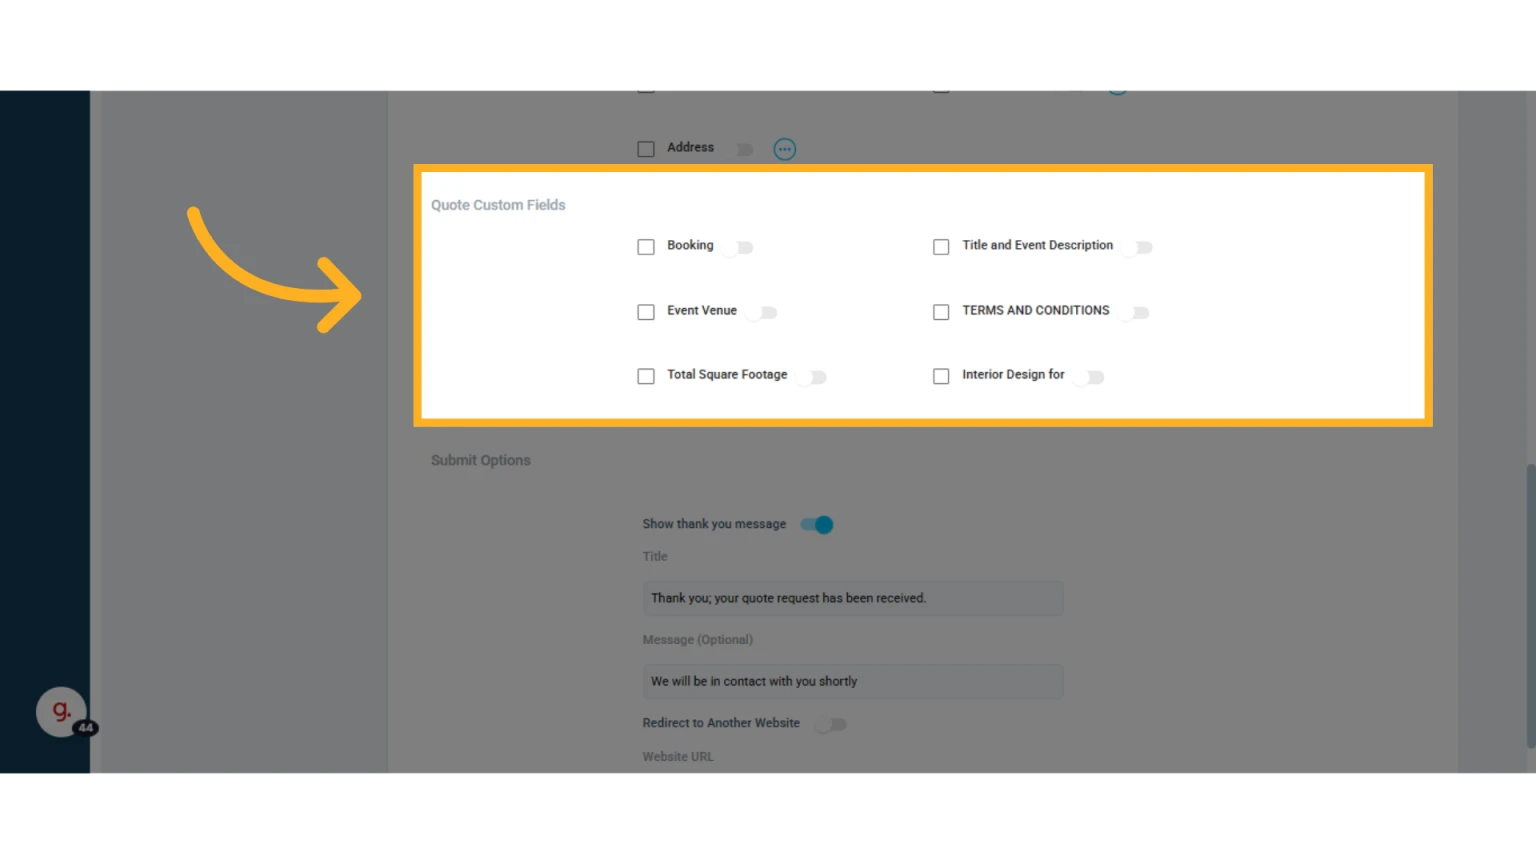
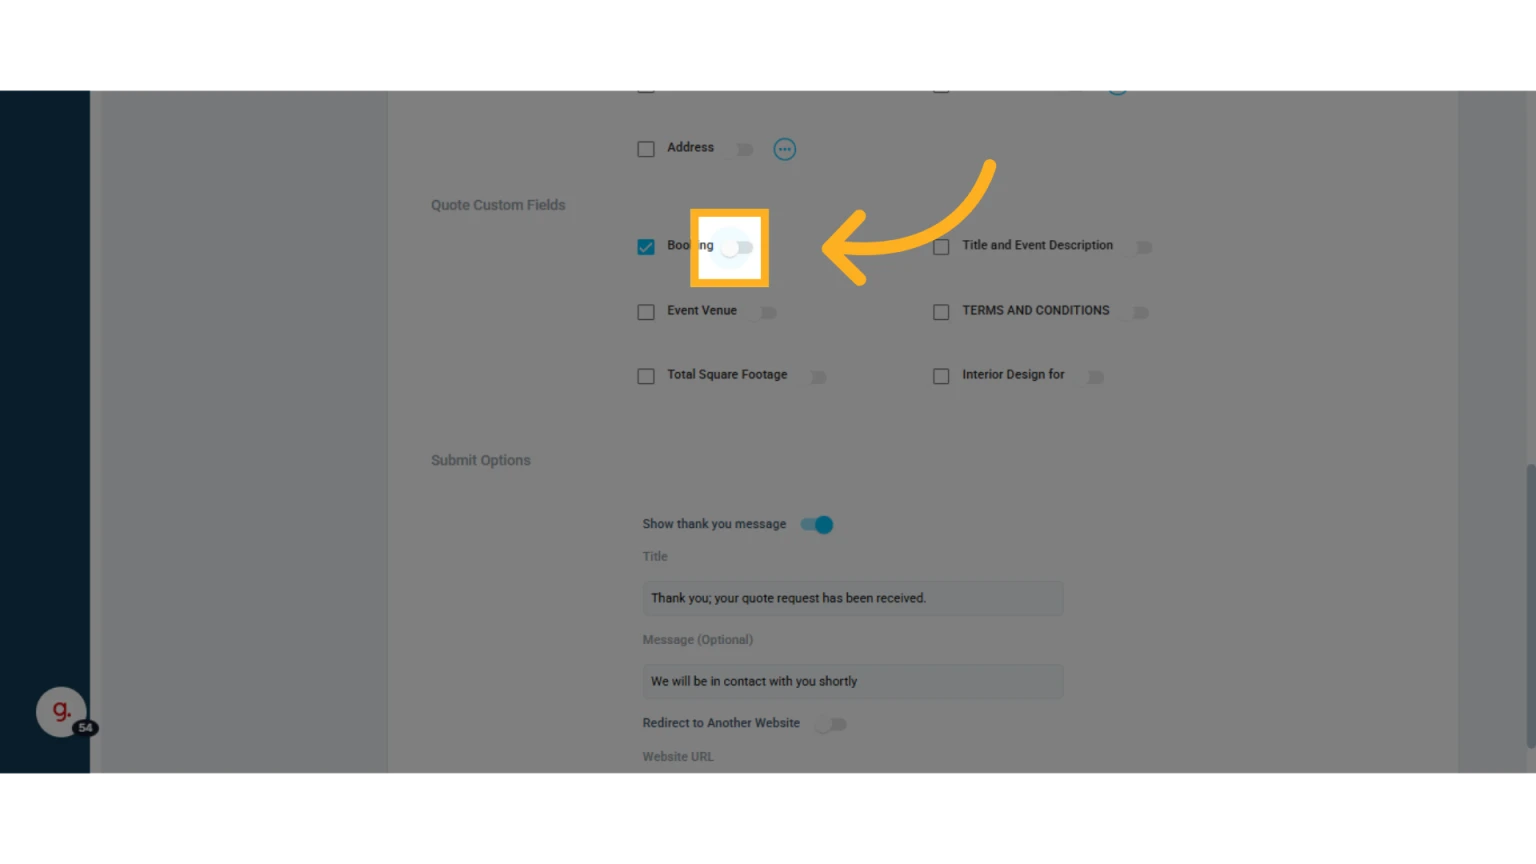
To include one of these fields in the form, check its box.

To make it required, toggle the switch next to the field name.
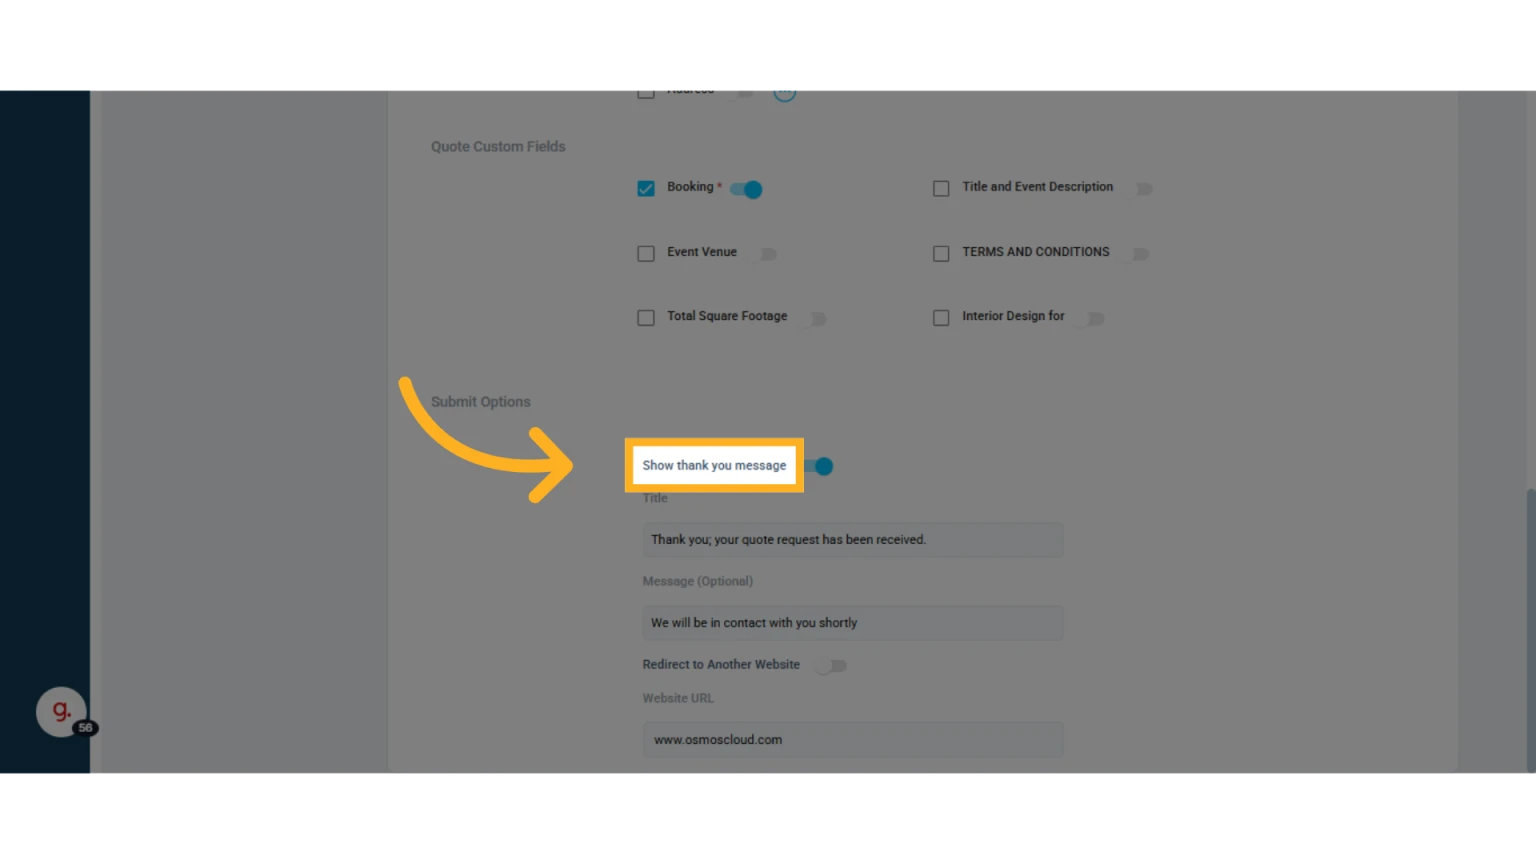
Define the message that will appear once a client/contact submits a quote request.
You can set a thank-you message (enable, disable, or customize it). This message will be displayed after the client submits the request.
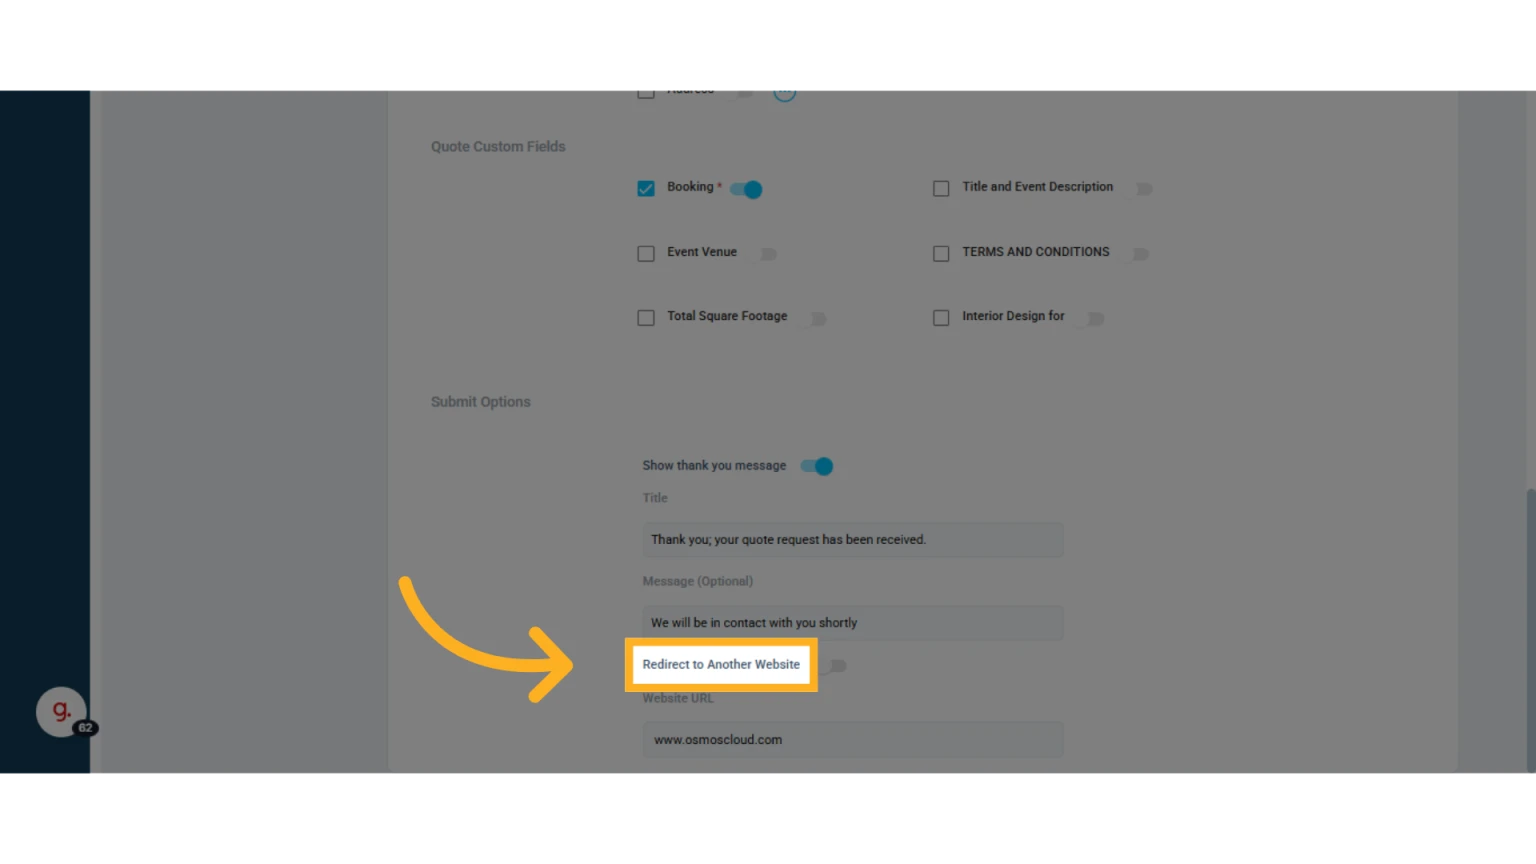
You can also choose whether or not to redirect to another website.
Share and Embed Your eQuote on Your Website
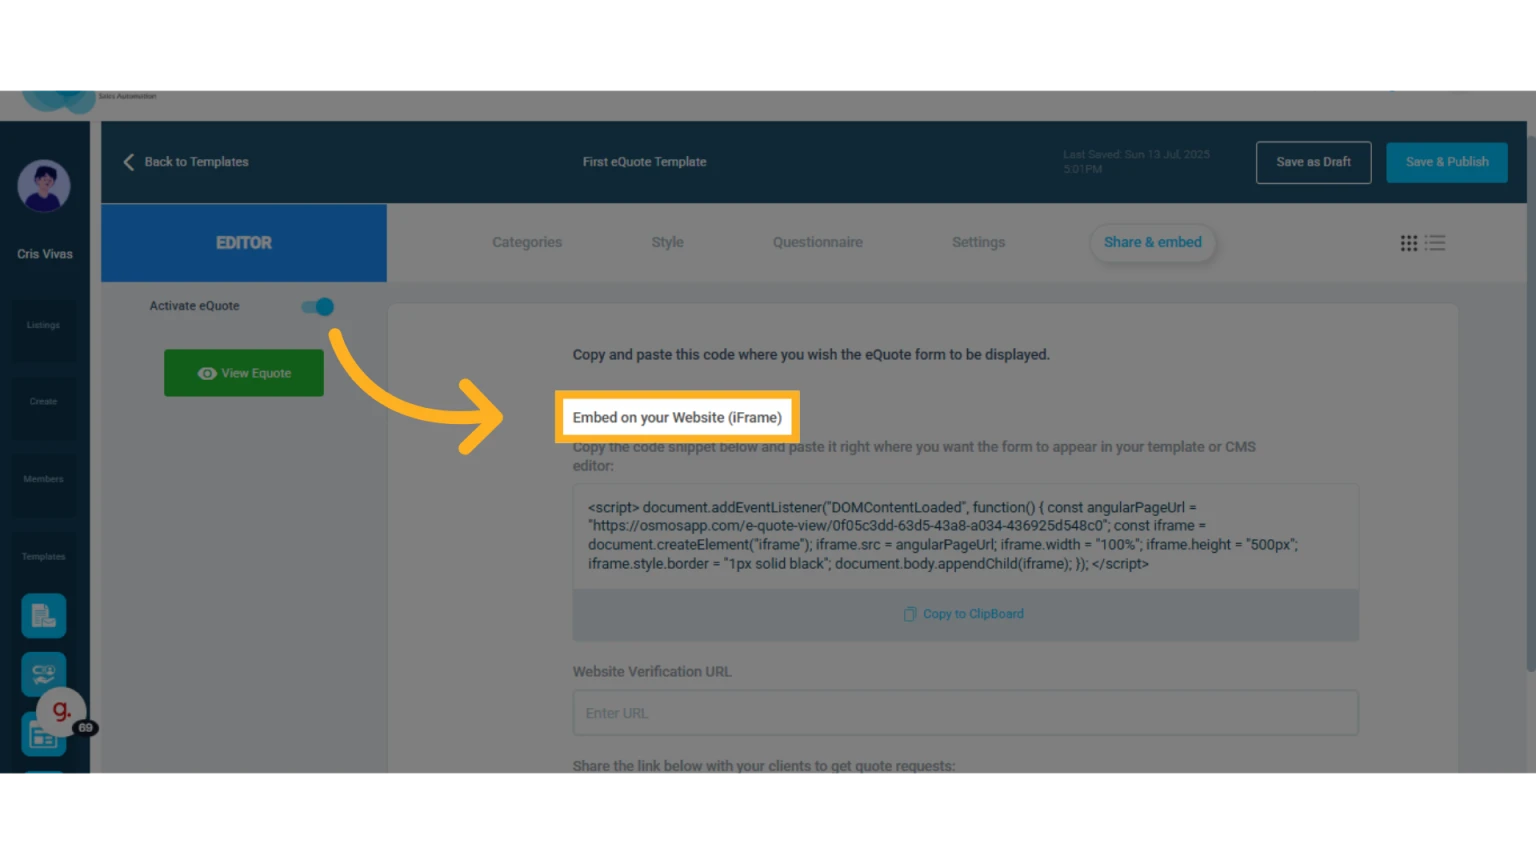
Click the “Share & Embed” tab. From here, you can:
Embed the eQuote directly on your website using the provided code
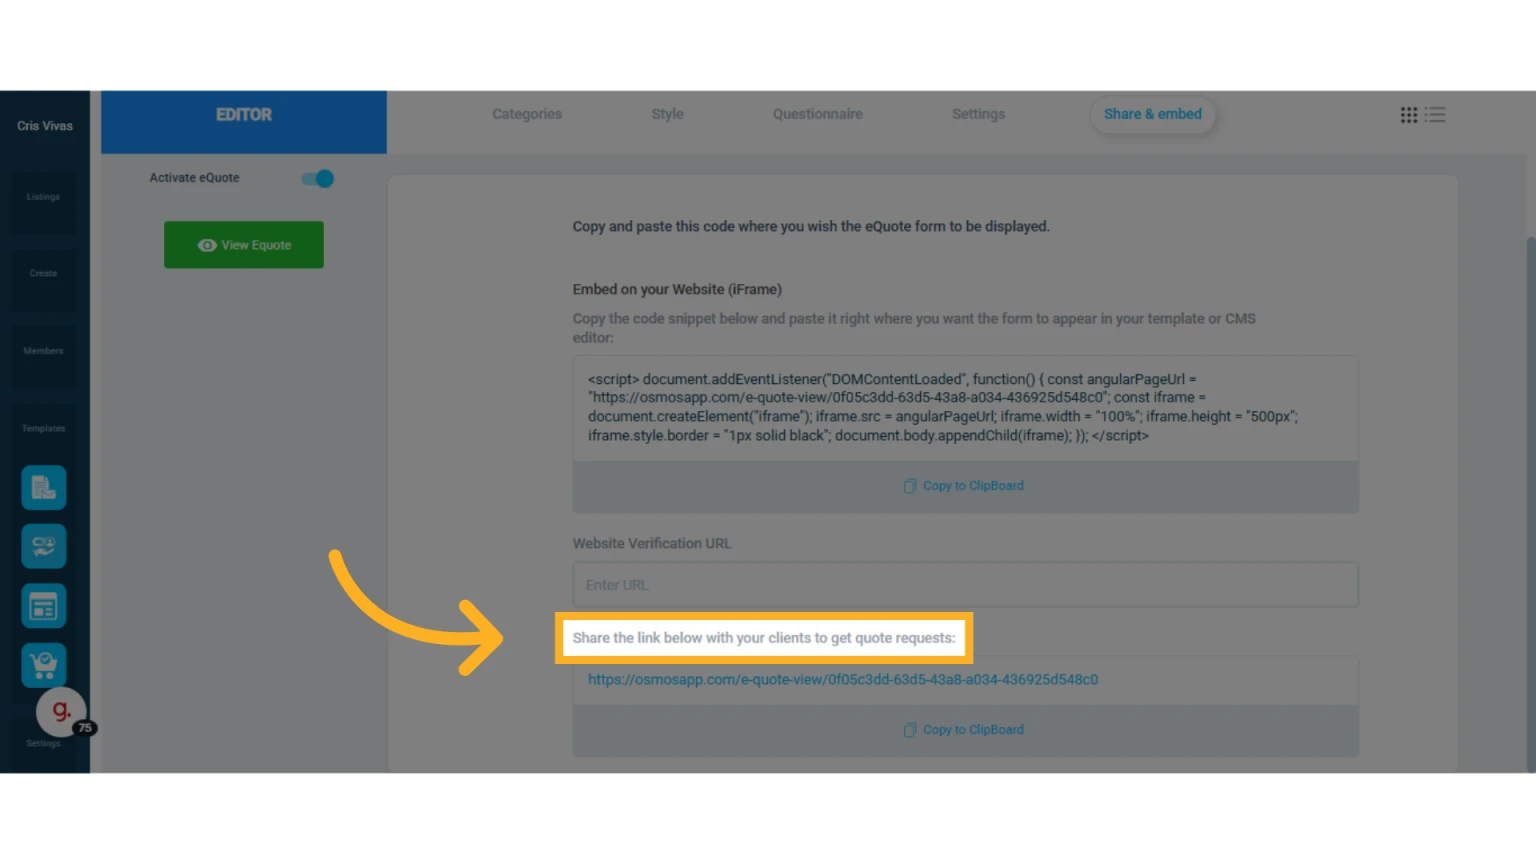
Share a URL link (landing page)
NOTE: To activate your embedded eQuote on your website you must enter your website URL in Osmos. This is a security measure that will only allow embedding the eQuote on verified websites.
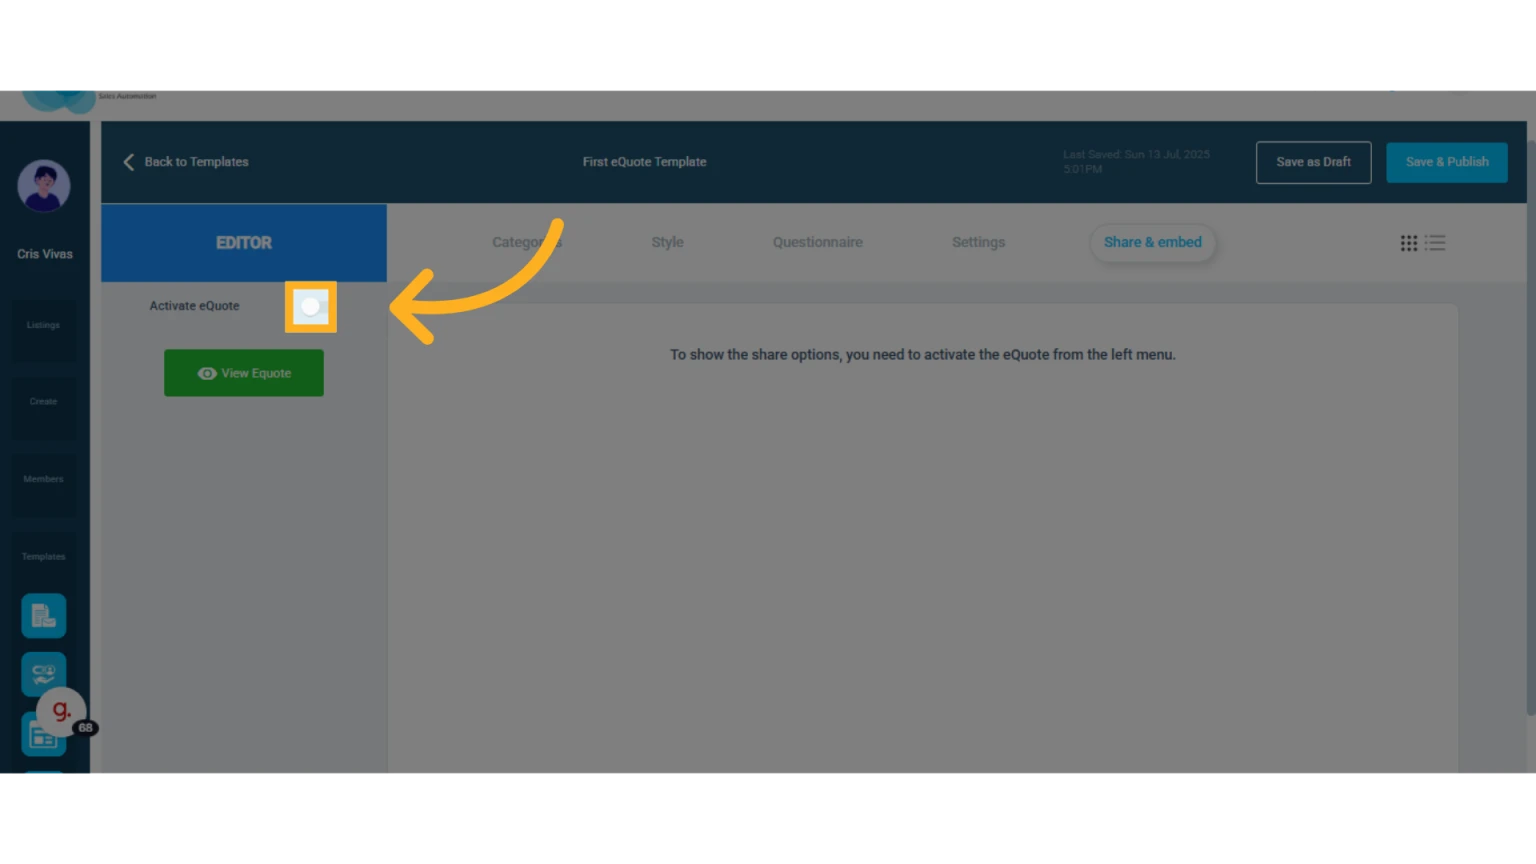
You can also activate or deactivate the eQuote by clicking the “Activate eQuote” button.
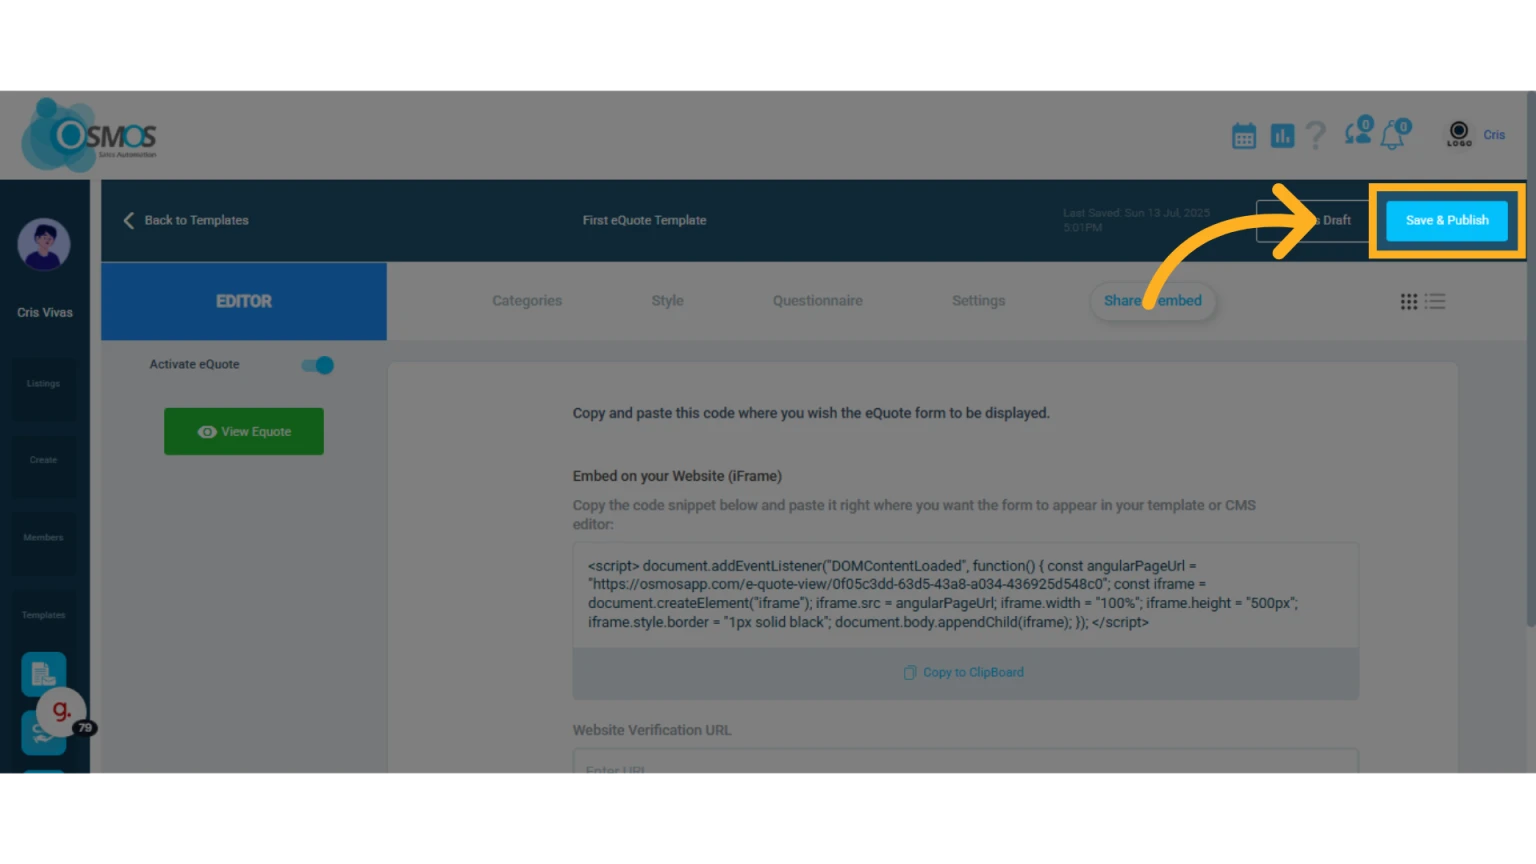
Save and Publish
Click “Save and Publish” to activate your eQuote.
Manage eQuote Forms
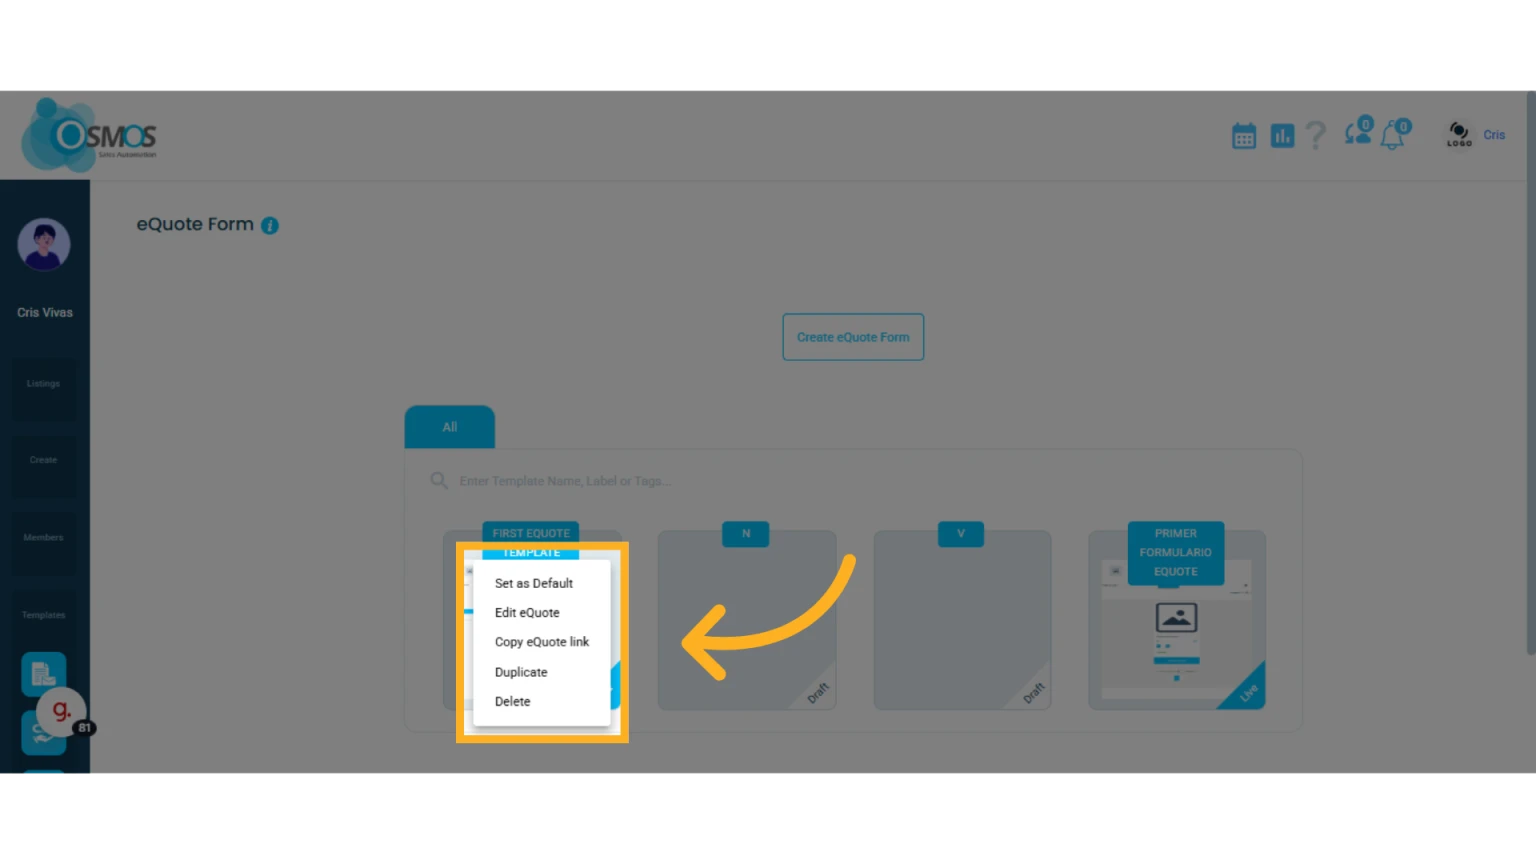
In your list of eQuotes, click the gear icon to manage the form.
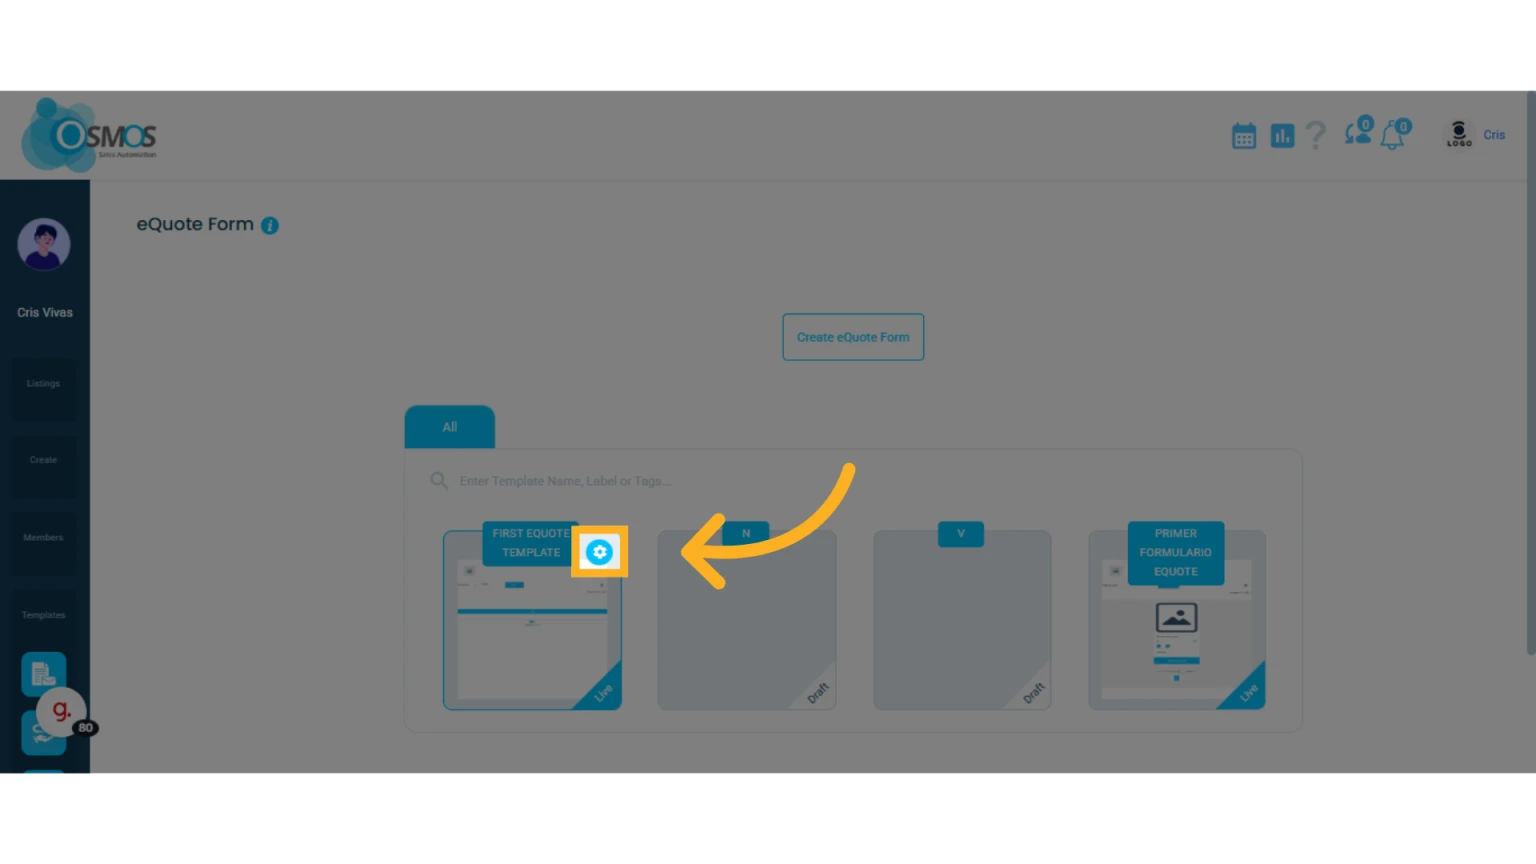
A menu will open where you can set the form as default, edit it, copy it, duplicate it, or delete it.