In this guide, you’ll learn how to create and customize your own quote template in Osmos.
Steps to Create a Quote Template
1. Go to the left-hand menu, select the "Templates" section, and click on "Quote Templates"

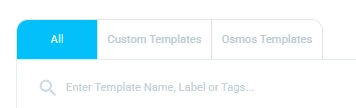
2. Quote Templates List
In the Quote Templates list, you’ll see three tabs. You can view all available templates, custom templates (created by you), and Osmos templates (ready-to-use templates).
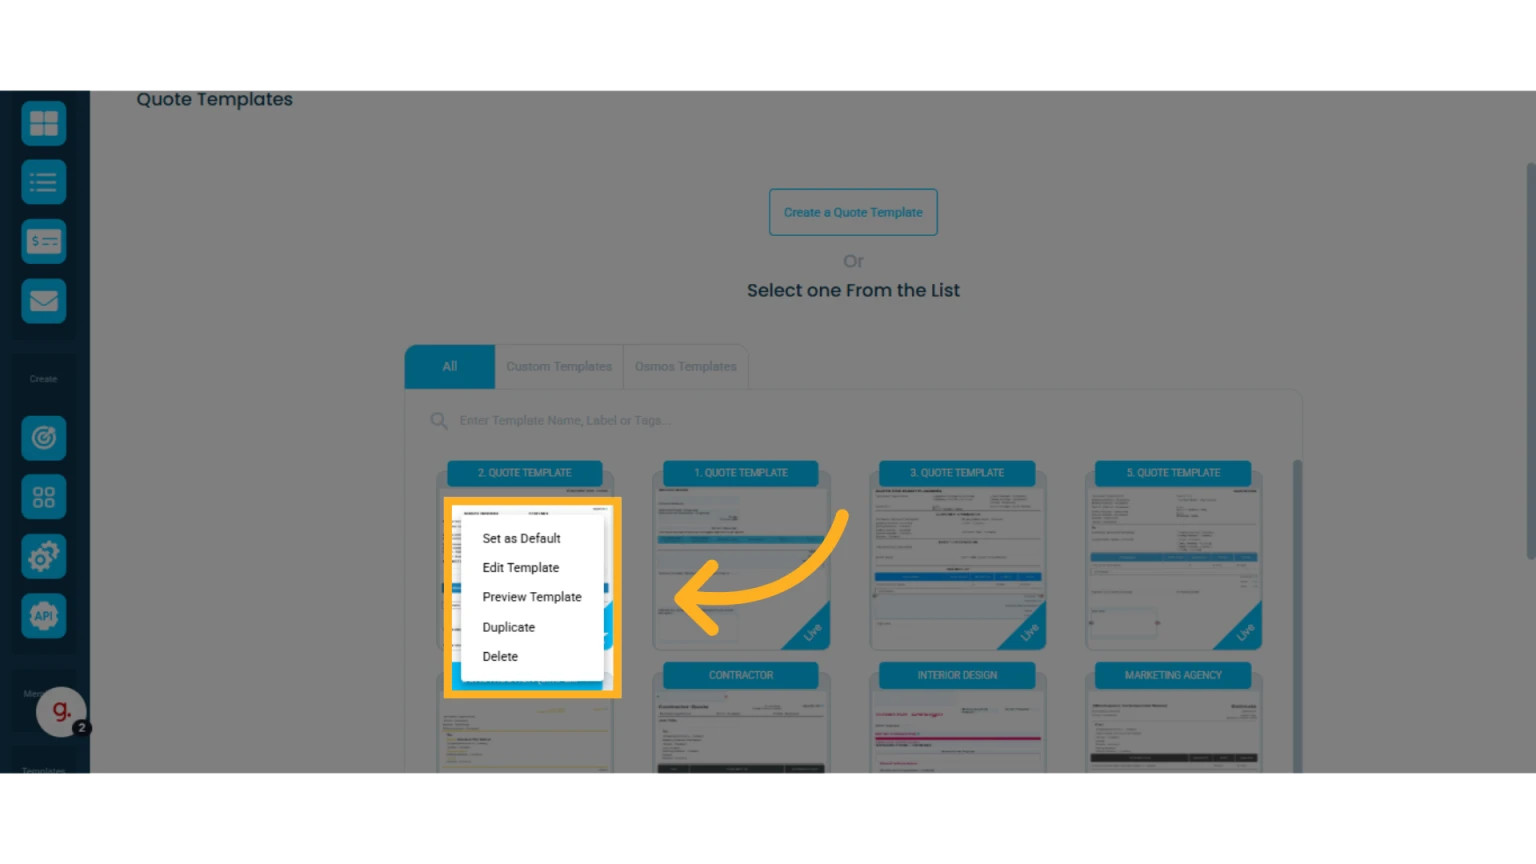
3. Manage Existing Templates Using the Gear Icon
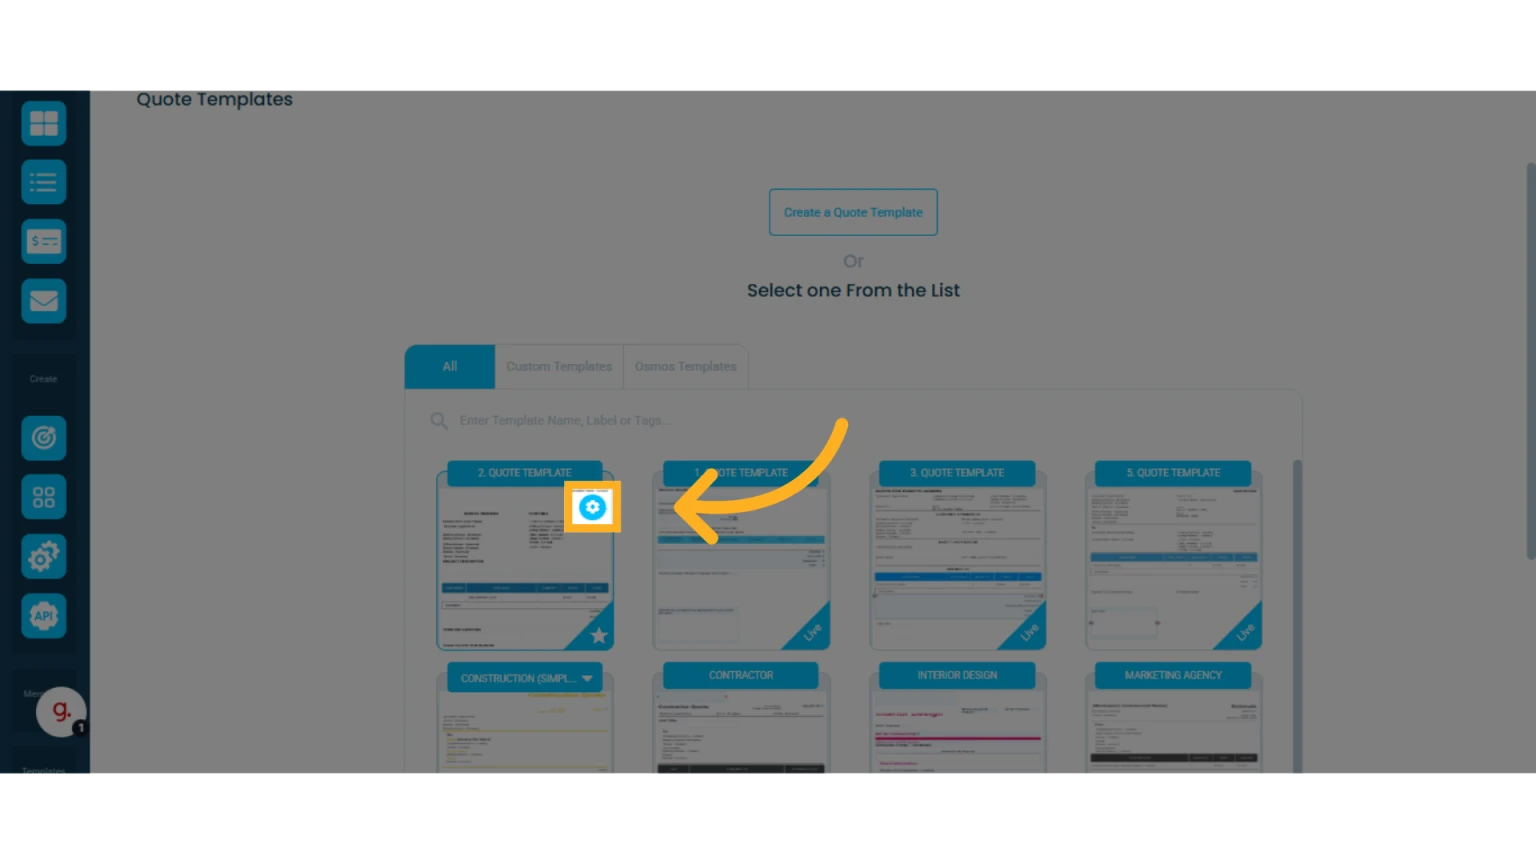 From here, you can:
Set a template as default (this will be the one used by default when creating a quote)
Edit the template
Preview the template
Duplicate the template
Delete the template
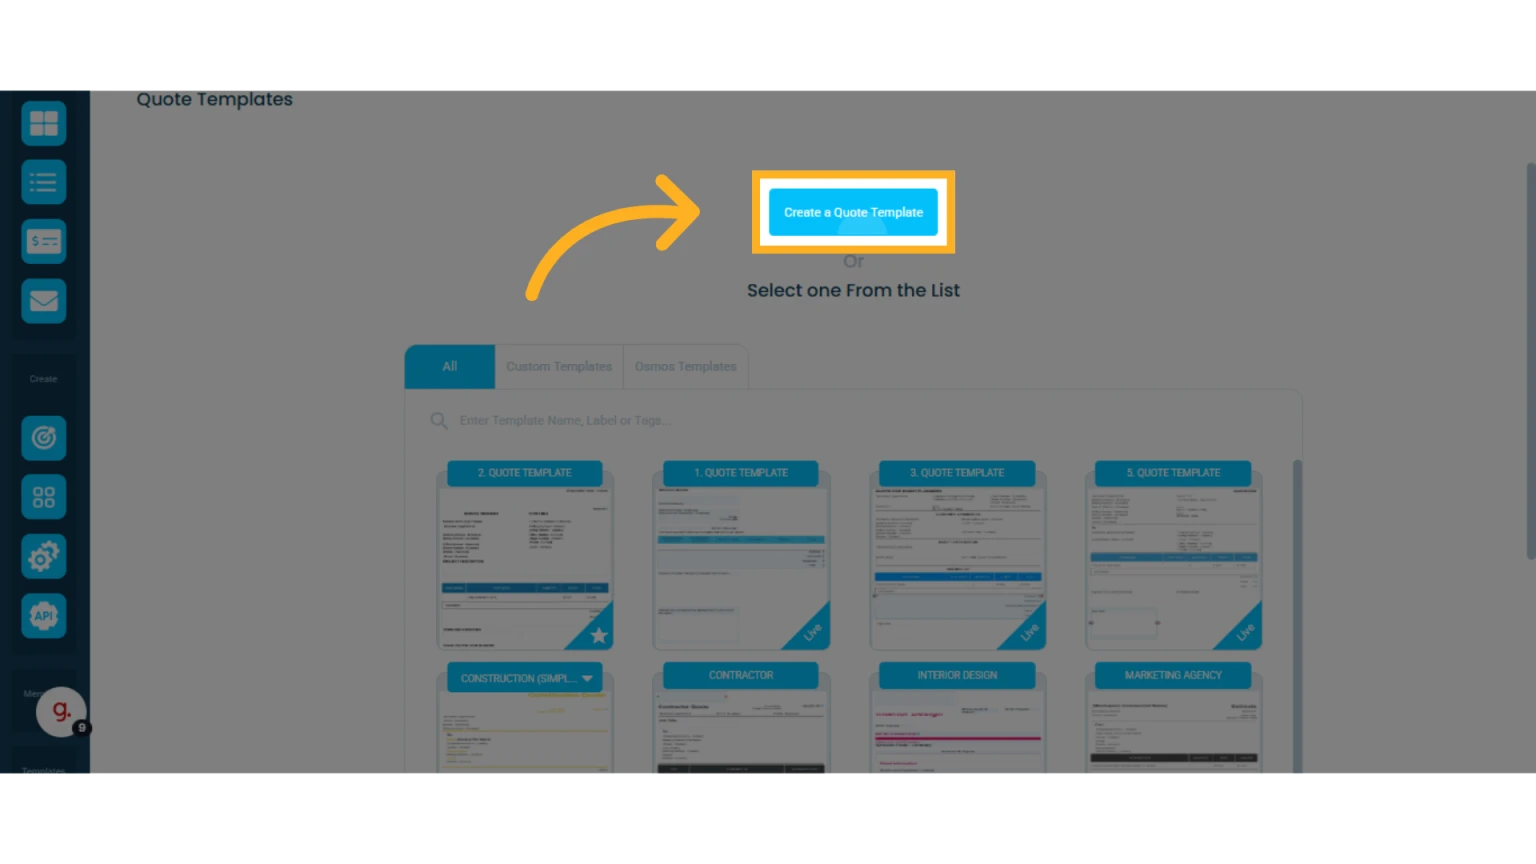
4. To create a new template, click the "Create Quote Template" button
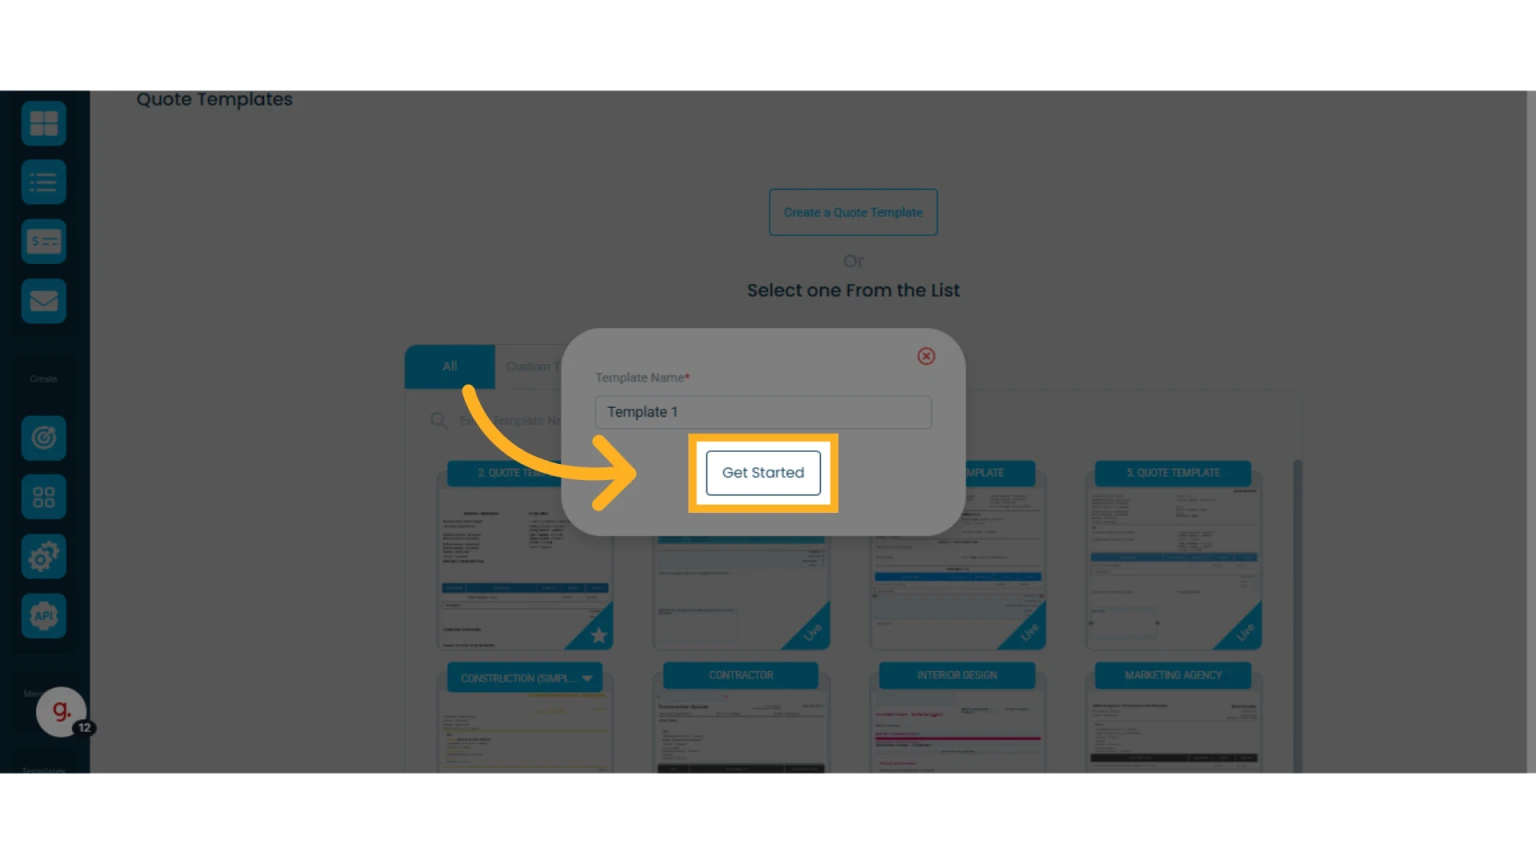
5. Give your template a name and click "Get Started"
Types of Elements in Your Templates
We’ve grouped the available elements into 7 categories. These are listed on the left-hand side of the screen.
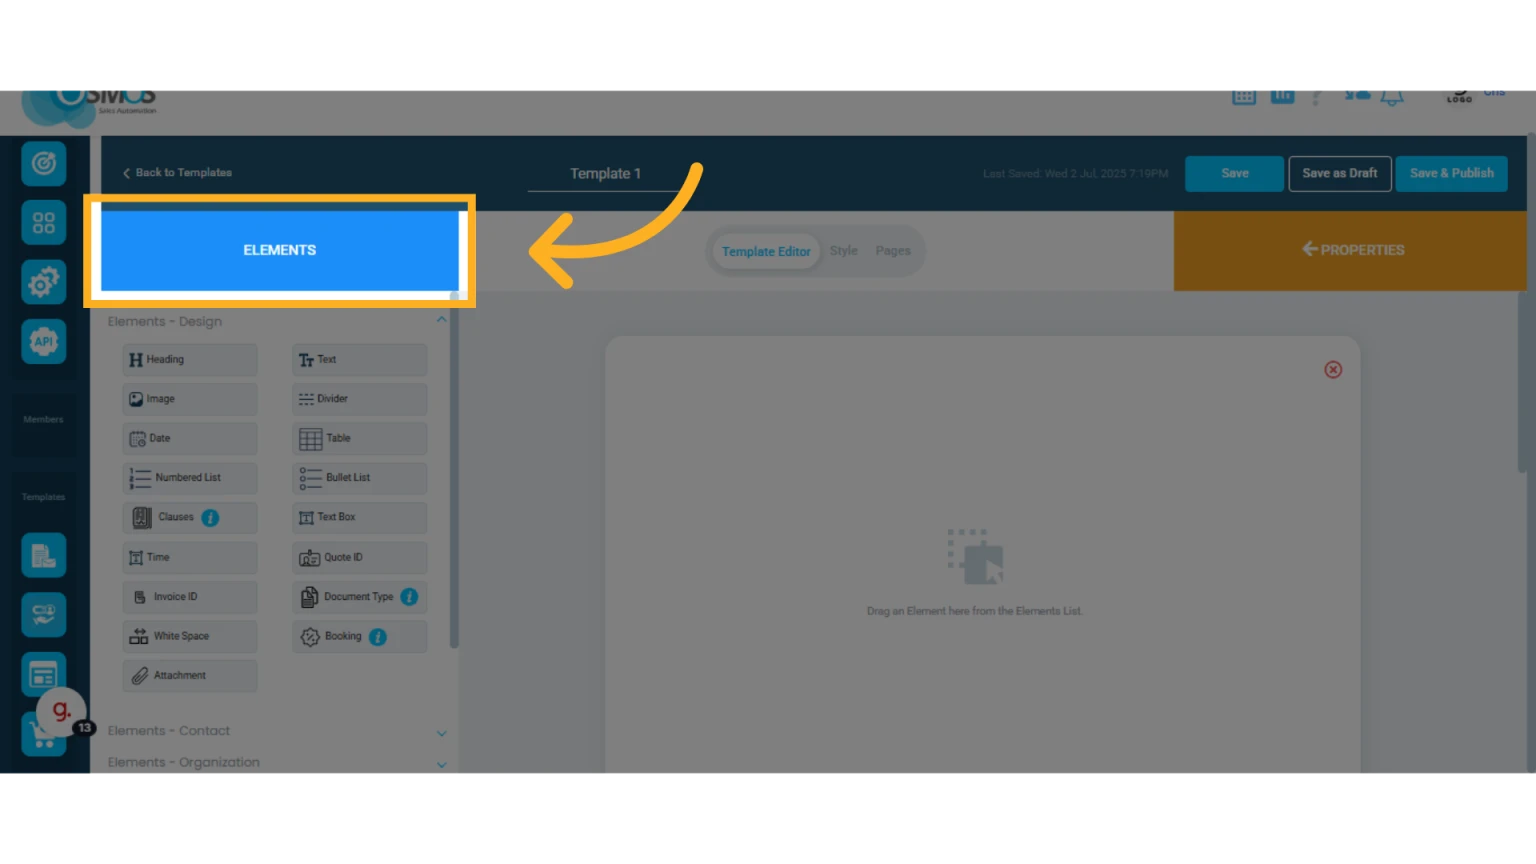
Design Elements
Use these to add text, headings, images, dividers, tables, blank spaces, etc.
Heading: Add titles or subtitles to visually structure and organize information.
Text: Insert fixed text blocks, ideal for instructions, descriptions, or introductions.
Image: Add static images such as logos or banners.
Divider: Insert a horizontal line to visually separate sections of the template.
Date: Add a date field to the quote. There are four types of dates: three update automatically (creation date, quote date, and invoice date), and the custom option allows you to manually select a date when creating the quote.
Table: Add a table to organize information in columns.
Numbered List: Add an ordered list with numbers, useful for steps or sequences.
Bullet List: Insert a list with bullet points.
Clauses: Add and save predefined clauses that can be selected per quote. This lets you customize which clauses apply and even add new ones directly from the quote.
Text Box: A free text field that allows direct input within quotes.
Time: Allows you to select and display a specific time.
Quote ID: Displays the unique quote ID automatically generated.
Invoice ID: Displays the unique invoice ID automatically generated.
Document Type: When added, this element will automatically update the title to “Quote” or “Invoice” depending on the document’s status.
White Space: Inserts an empty block to visually separate elements or create spacing.
Booking: Allows you to set a start and end date for a service. Useful for equipment rentals or time-based services. Helps control availability when generating quotes and creating sales orders.
Attachments: Allows files to be attached to quotes.
Link: Allows you to add a clickable link on the quote.

Contact Elements
These elements automatically display the contact’s information in the quote.
Source of Contact: Shows the channel the contact came from (e.g., WhatsApp, email).
Full Name: Inserts the contact's full name in one field.
Language: Displays the contact's preferred language.
Name: Inserts the contact’s first name.
Last Name: Inserts only the contact’s last name.
Email: Displays the contact’s registered email address.
Phone: Displays the contact’s phone number.
Address: Inserts the contact’s physical address.
Social Links: Shows links to the contact’s social media or digital profiles.

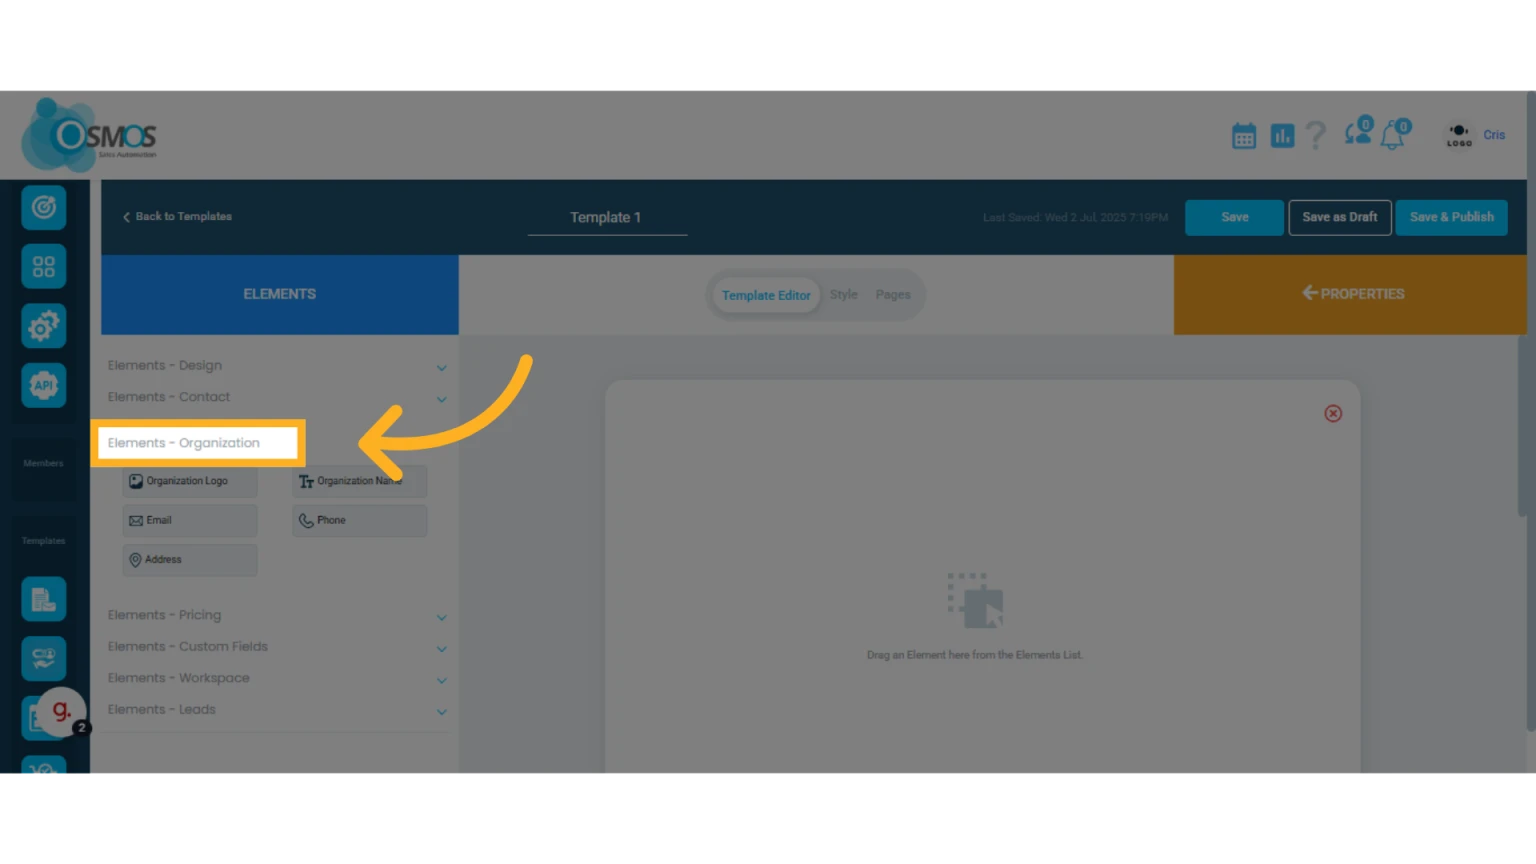
Organization Elements
These elements automatically display the organization’s information in the quote.
Organization Logo: Displays the organization’s logo.
Organization Name: Displays the company or organization name linked to the contact.
Email: Inserts the registered organization email.
Phone: Displays the organization’s contact number.
Address: Inserts the organization’s physical address.
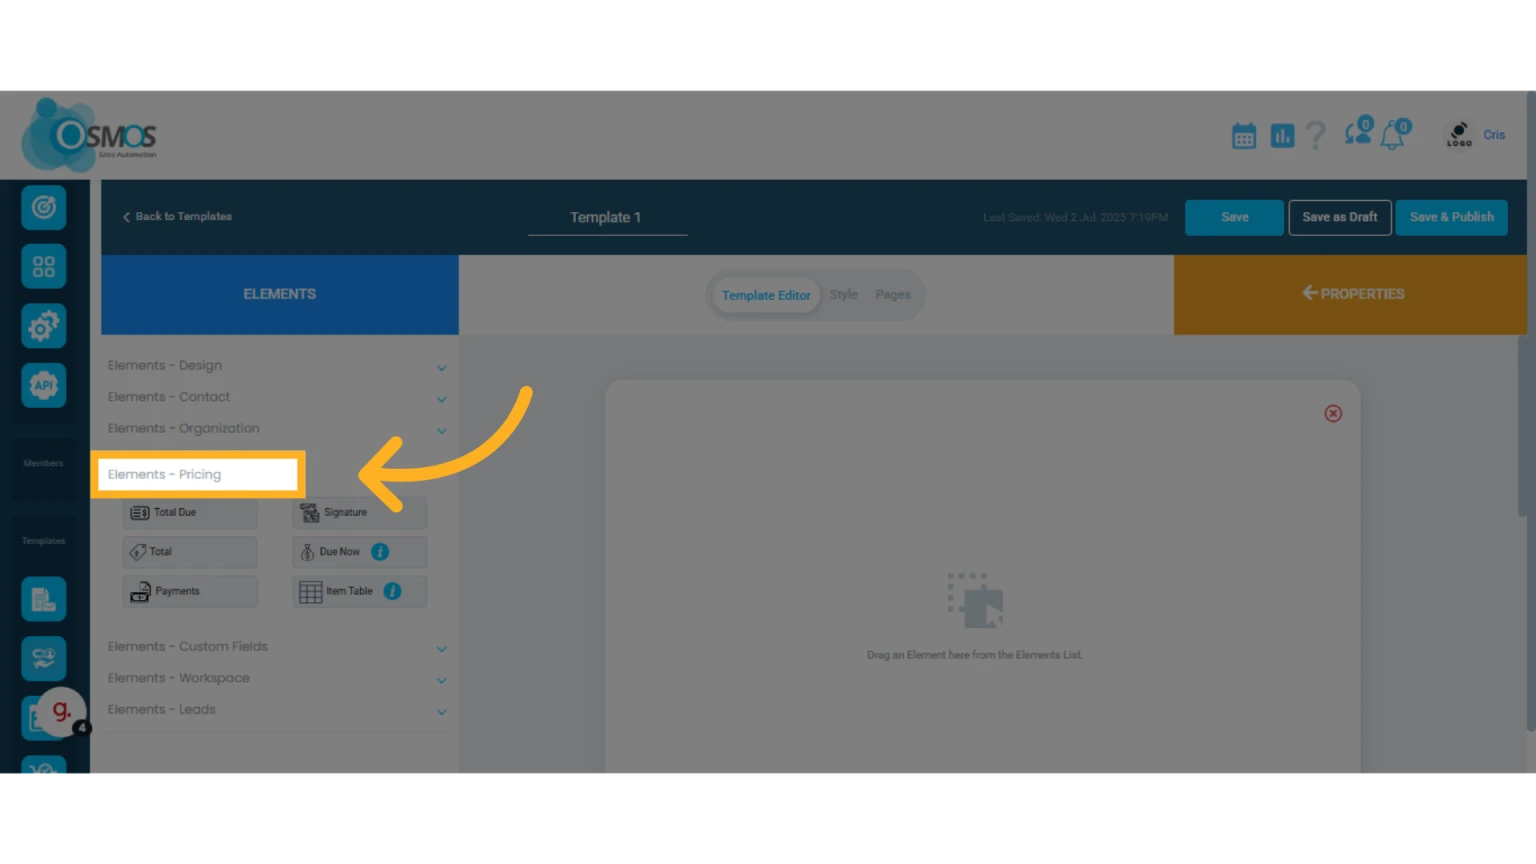
Pricing Elements
These elements show information related to items and pricing.
Total Due: Automatically calculated when generating the quote; shows the final amount due from the client.
Signature: Inserts a box where the client’s digital signature will appear upon acceptance.
Total: Shows values related to the total quote: subtotal, discounts, discounted subtotal, taxes, and grand total. You can also add custom additional values.
Due Now: Automatically sets the percentage of the total amount the client must pay as a deposit. This is generated in the quote.
Payments: Displays a table with the payment agreement—includes payment name, date, method, amount, and percentage.
Item Table: Allows you to add and customize the table for quoting your products and services.
NOTE: This is where you’ll add the items to your quote. You can even include multiple item tables to organize offers separately.
Custom Field Elements
These elements let you personalize quotes, such as adding questions and response options.
IMPORTANT: These fields are especially useful in eQuote, as they allow you to collect relevant information directly from your contacts or clients.
Learn how to use eQuote.
Select Box: Adds a menu with predefined options for you or the client to select one.
Multi Options: Displays multiple checkbox options so you or the client can select more than one.
Single Option: Shows several options but allows only one selection (radio button style).
Input Field: Adds a free-entry field for you or the client to type in a response.

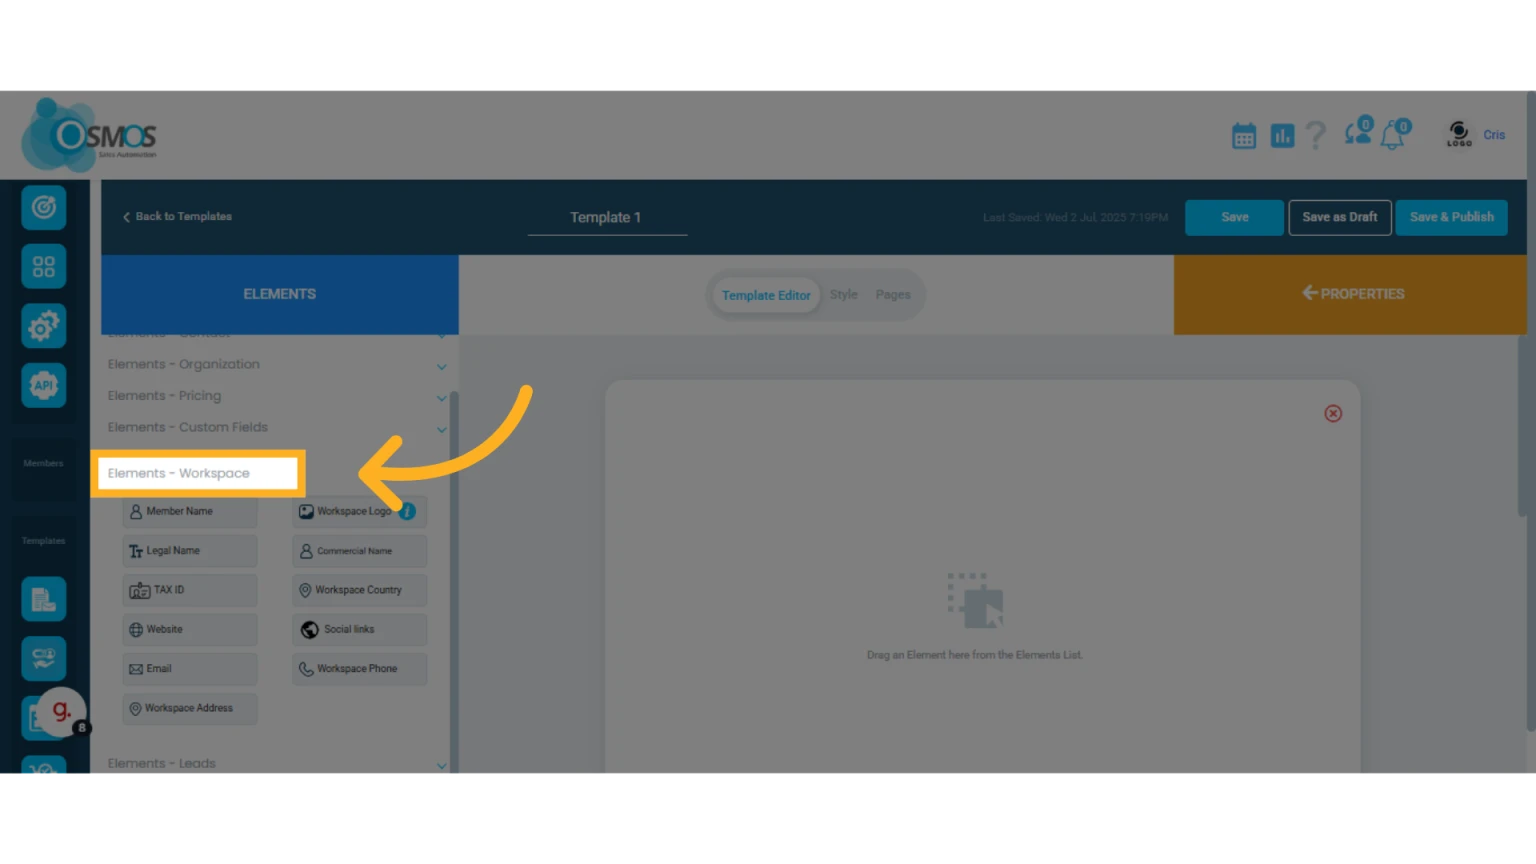
Workspace Elements
These elements let you customize quotes using your workspace or business information.
Member Name: Displays the name of the team member assigned to the quote.
Workspace Logo: The workspace logo added under “Workspace Profile.”
Legal Name: Inserts the legal name of your business.
Commercial Name: Displays your public-facing brand name (if different from the legal name).
Tax ID: Automatically adds your business’s tax ID.
Workspace Country: Shows the country where your business operates.
Website: Inserts your website URL.
Social Links: Displays social media links configured in your profile.
Email: Inserts your workspace email address.
Workspace Phone: Adds your registered business phone number.
Workspace Address: Displays your business’s physical address based on your profile.
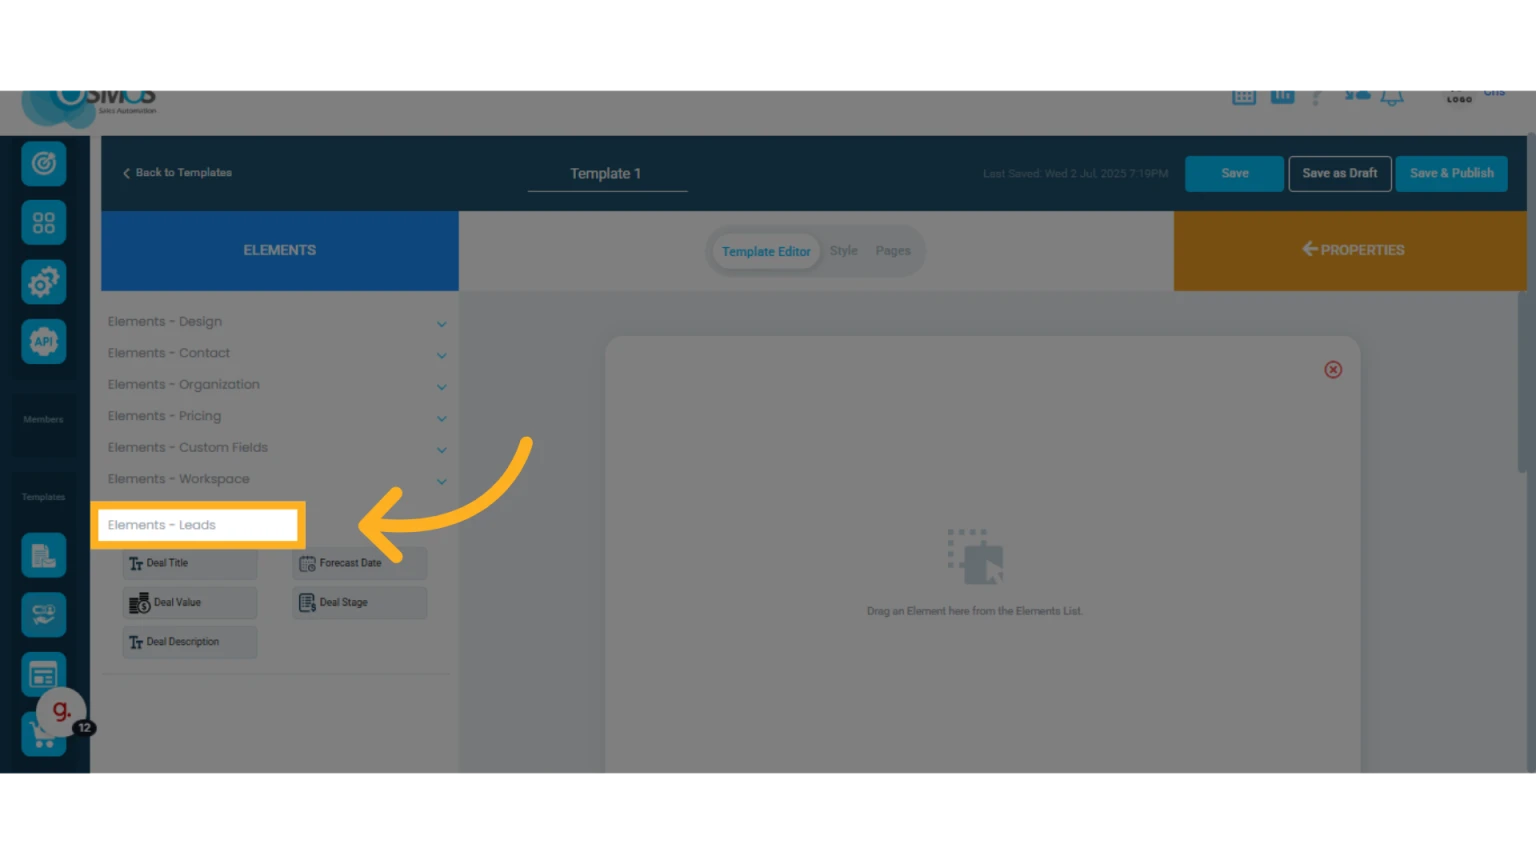
Leads Elements
These elements let you personalize quotes with prospect or deal information.
Deal Title: Displays the name or subject of the deal.
Forecast Date: Shows the expected close date for the deal.
Deal Value: Displays the estimated deal amount.
Deal Stage: Indicates the current stage in the sales process (e.g., in progress, won).
Deal Description: Automatically adds the deal’s description.
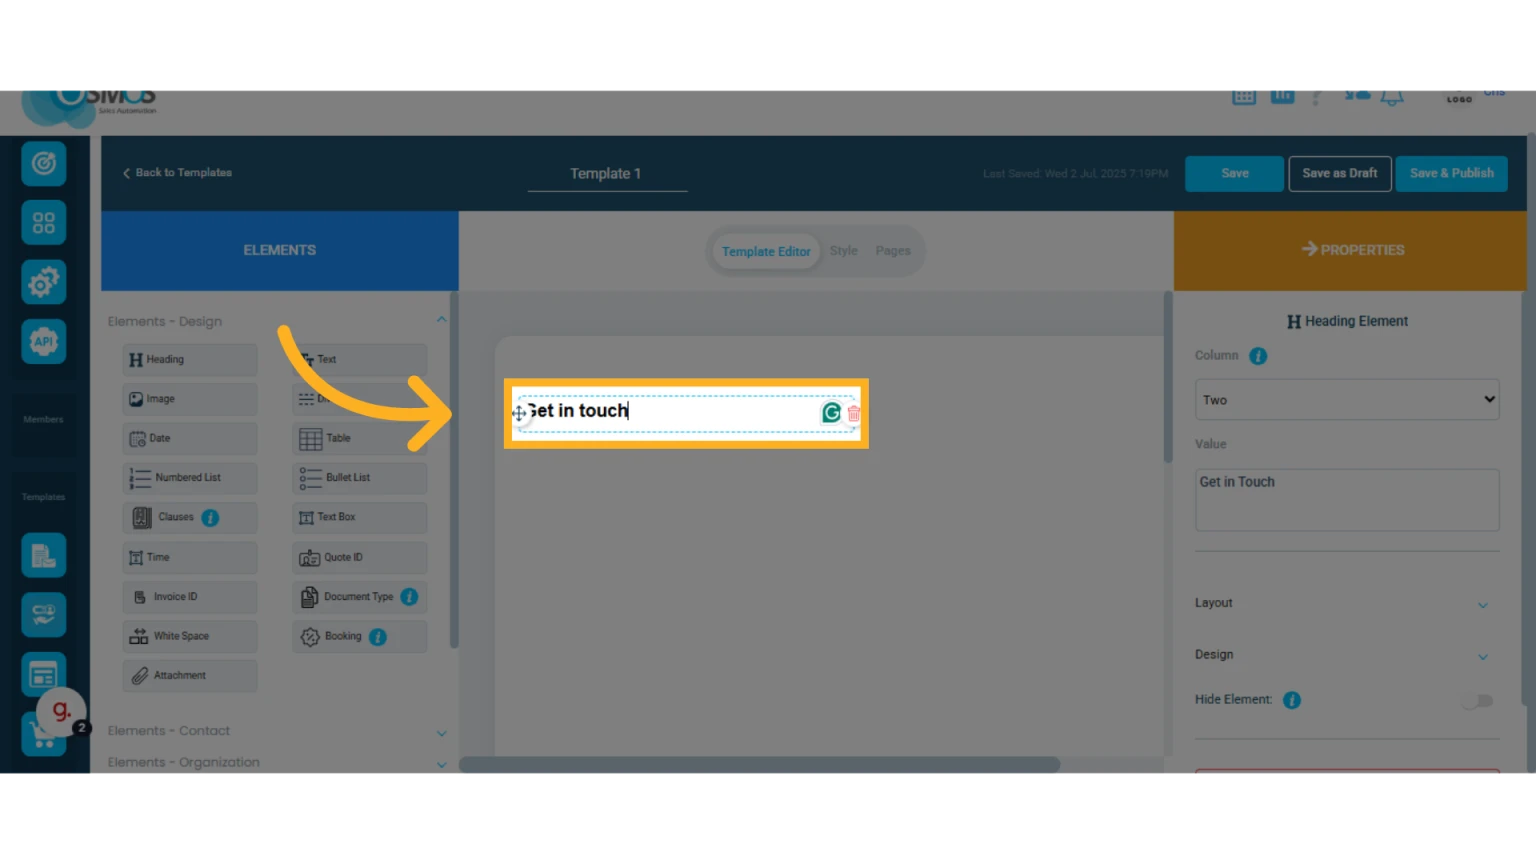
Customize Elements in Your Quote Template
You can individually customize each element using its properties.
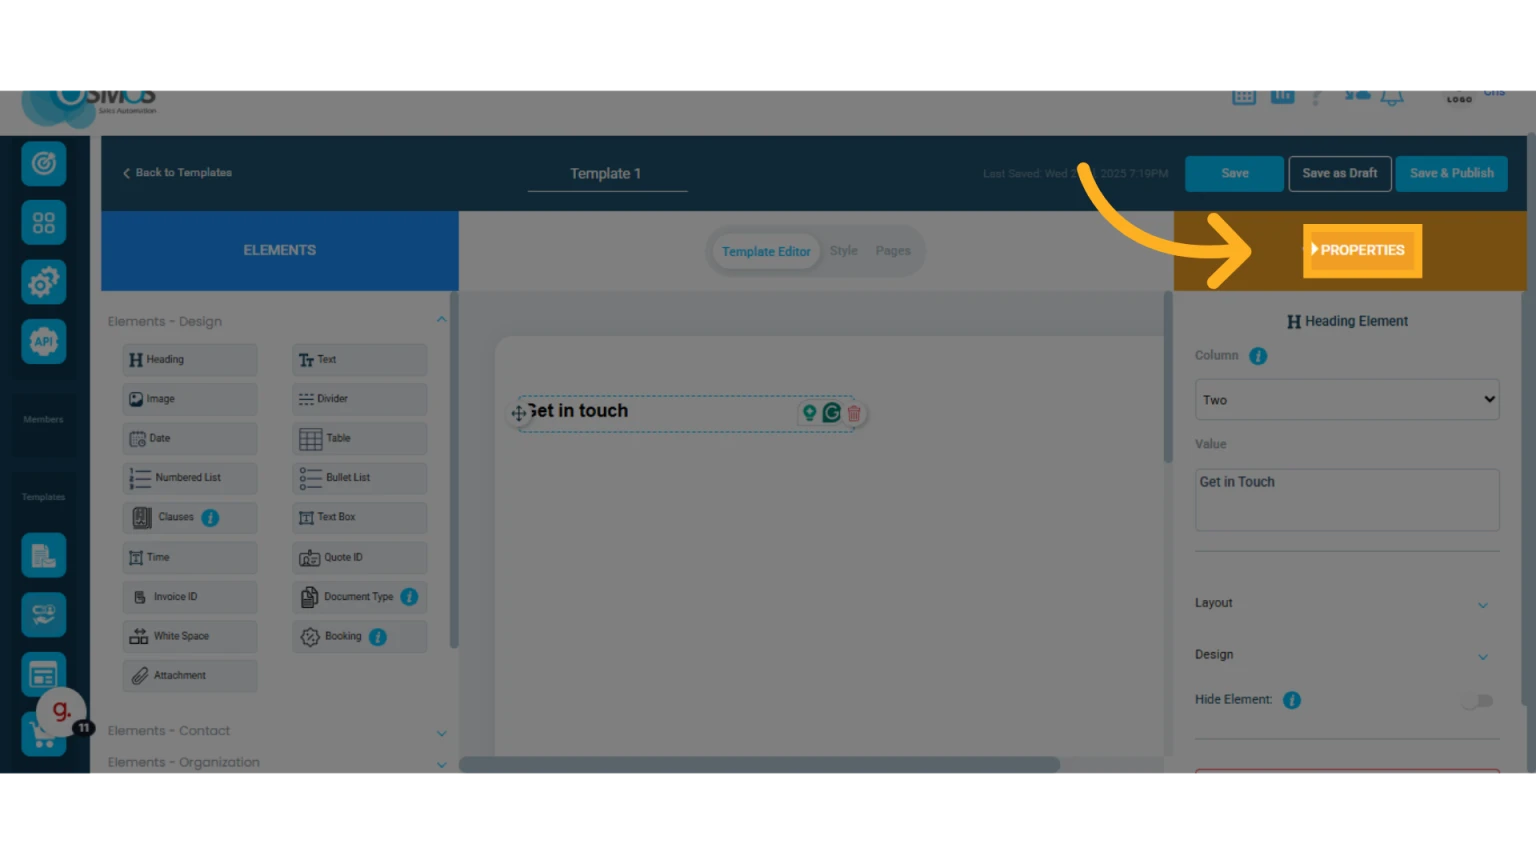
1. Double-click the element in your template you wish to customize
This opens the "Properties" panel on the right side, where you can adjust positioning, description, layout (margins and padding), text design, and more. Each element may offer different customization options depending on its function.
2. Customize the Element’s Properties
Here are some of the customization options available for most elements:
Column: The template is built on a grid system using columns for width and rows for height. You can define how many columns an element spans (from 1 to 4), which determines how many elements fit per row.
Label: The label displayed for the element in the quote. You can leave it blank to hide the label and only show the data. Example: No need to label “Email,” just display the email itself.
Spacing: Add margins and padding to align the element with others. Remember, alignment is based on the column layout.
Style: Adjust text alignment, font size, color, etc.
Hide Element: Use this to hide specific elements from quotes and invoices sent to clients. Useful when information should remain visible in Osmos but hidden from clients.
Add Options: Some elements (like lists, custom fields, or clauses) allow you to add new entries.
Customize the Template Globally
You can customize the template styles globally. When you do this, all elements in the template will be modified and standardized (you can still customize individual elements once the global styles have been set).
Click the "Style" option at the top center of the screen
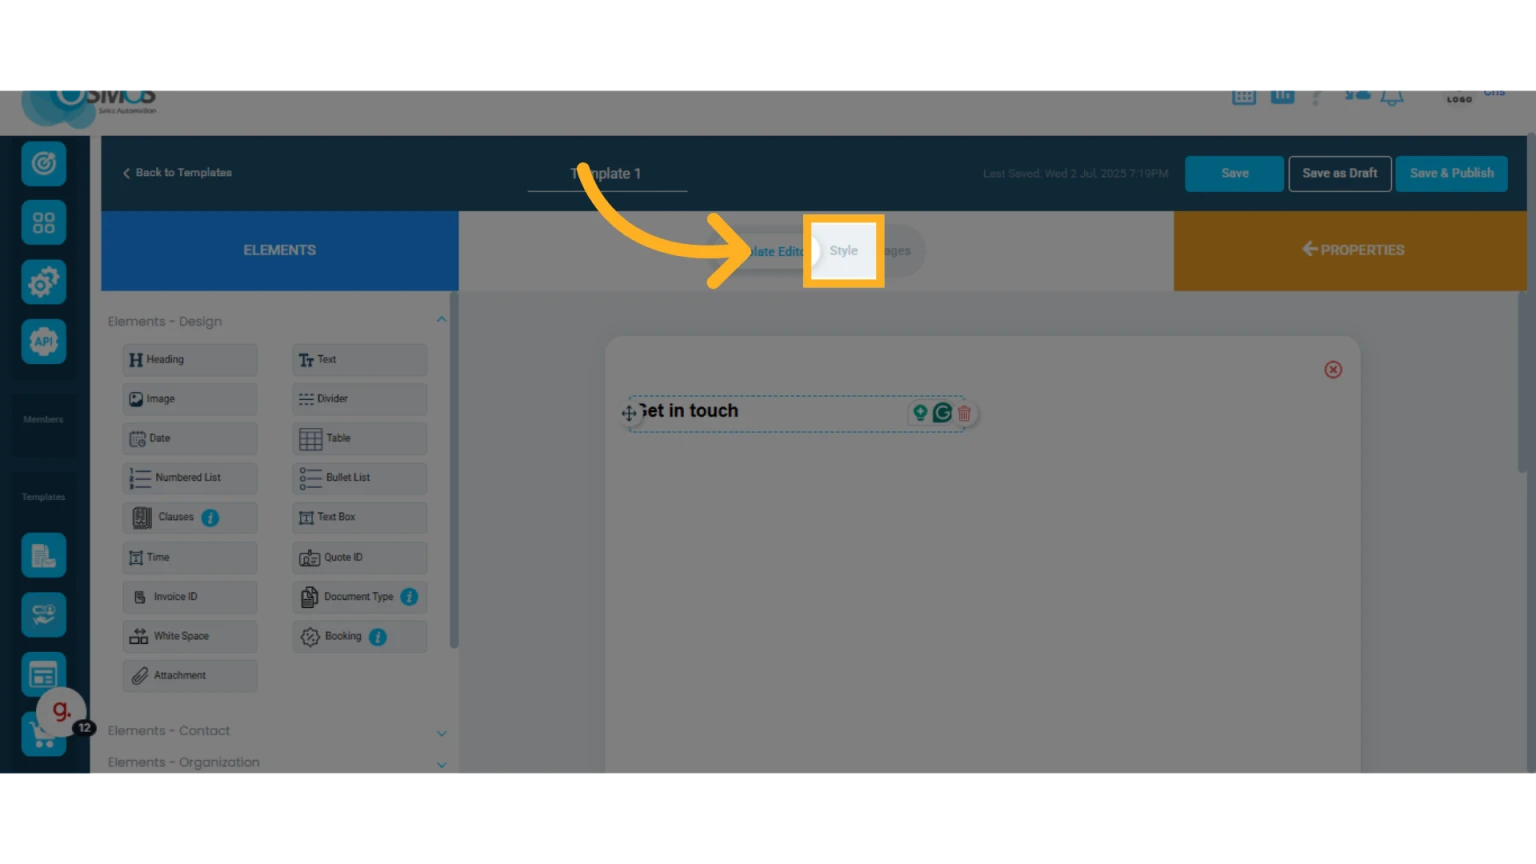
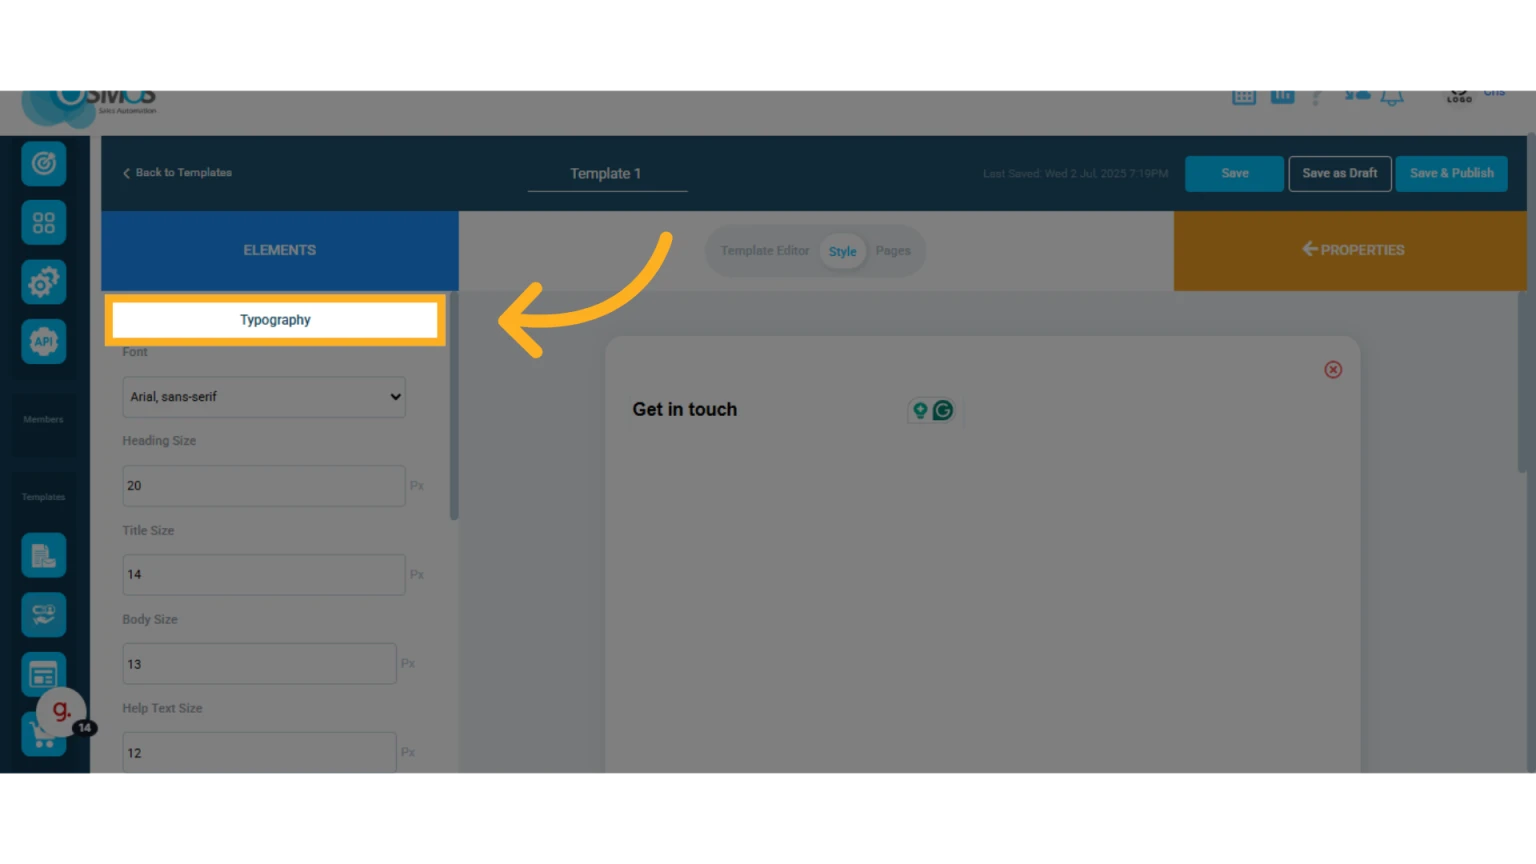
This opens a column on the left where you can manage:
Typography (fonts and sizes for headings, titles, body text, and help text)
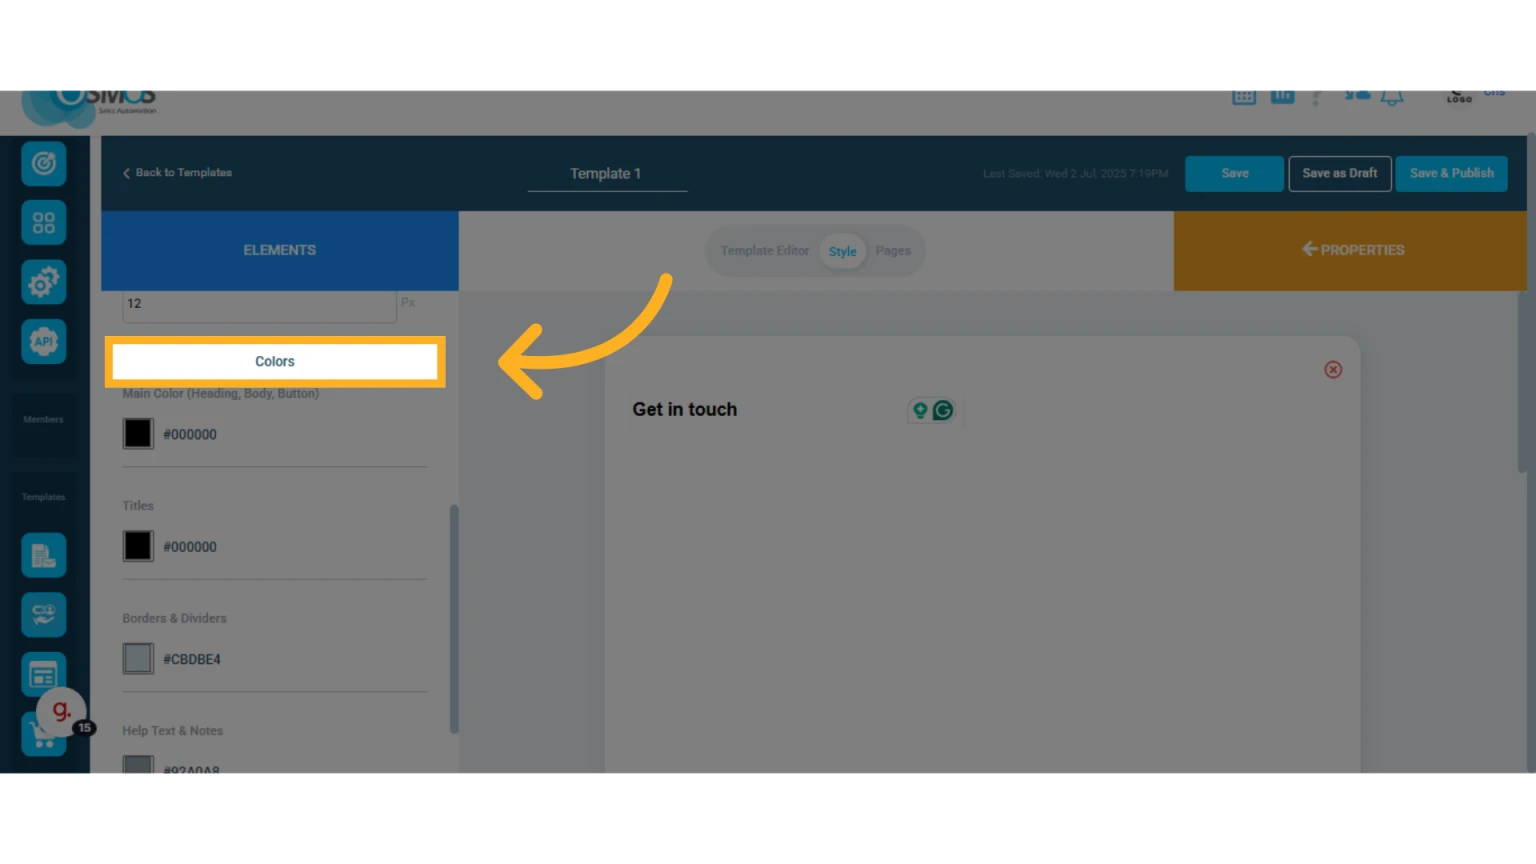
Global template colors
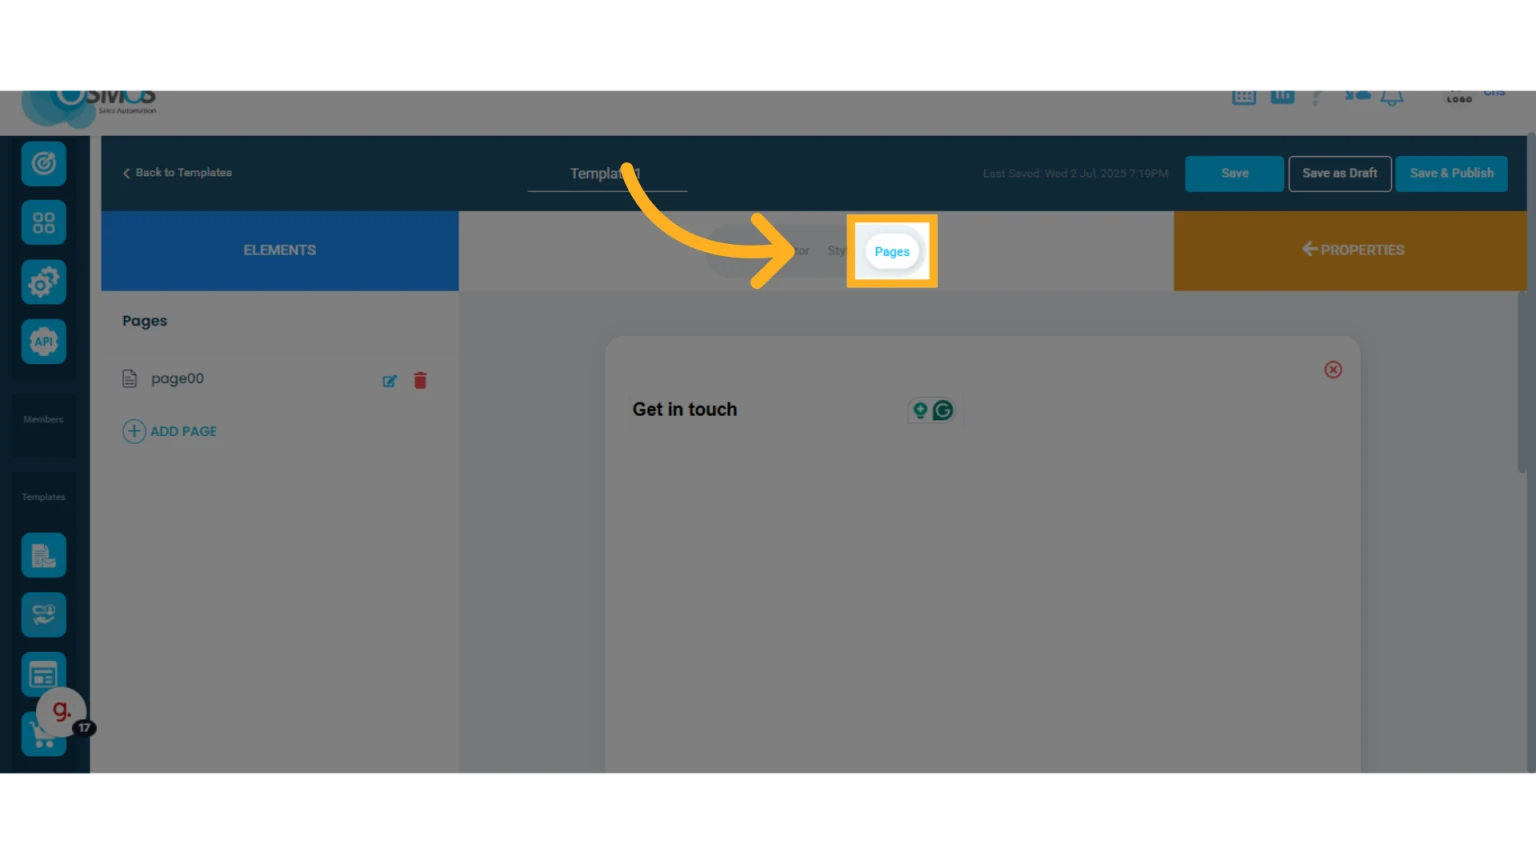
Review and Manage Your Template Pages
Click the "Pages" option at the top center.
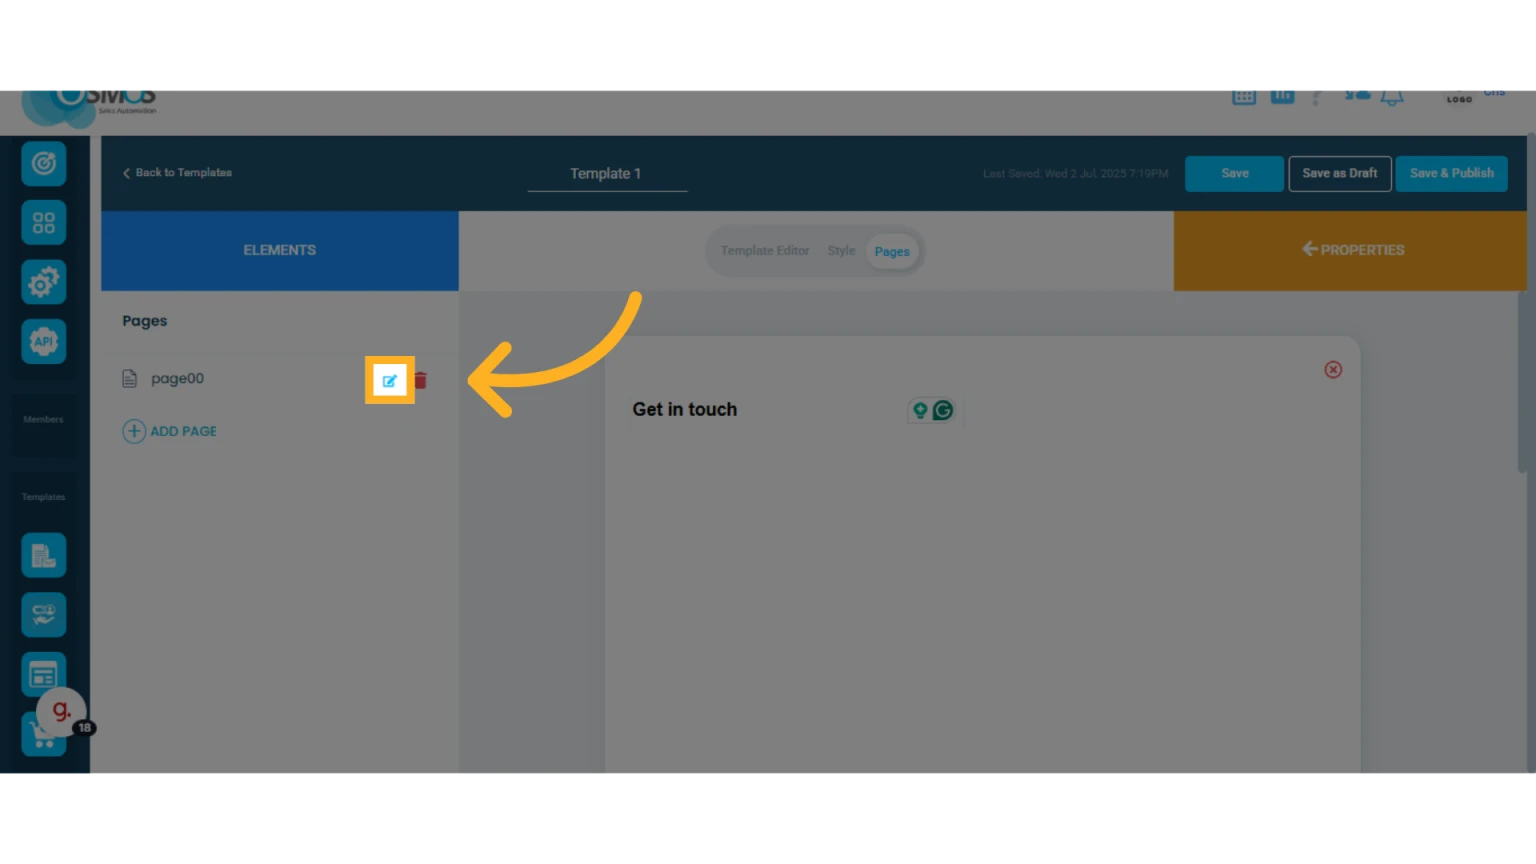
 Click the pencil icon to name your quote pages.
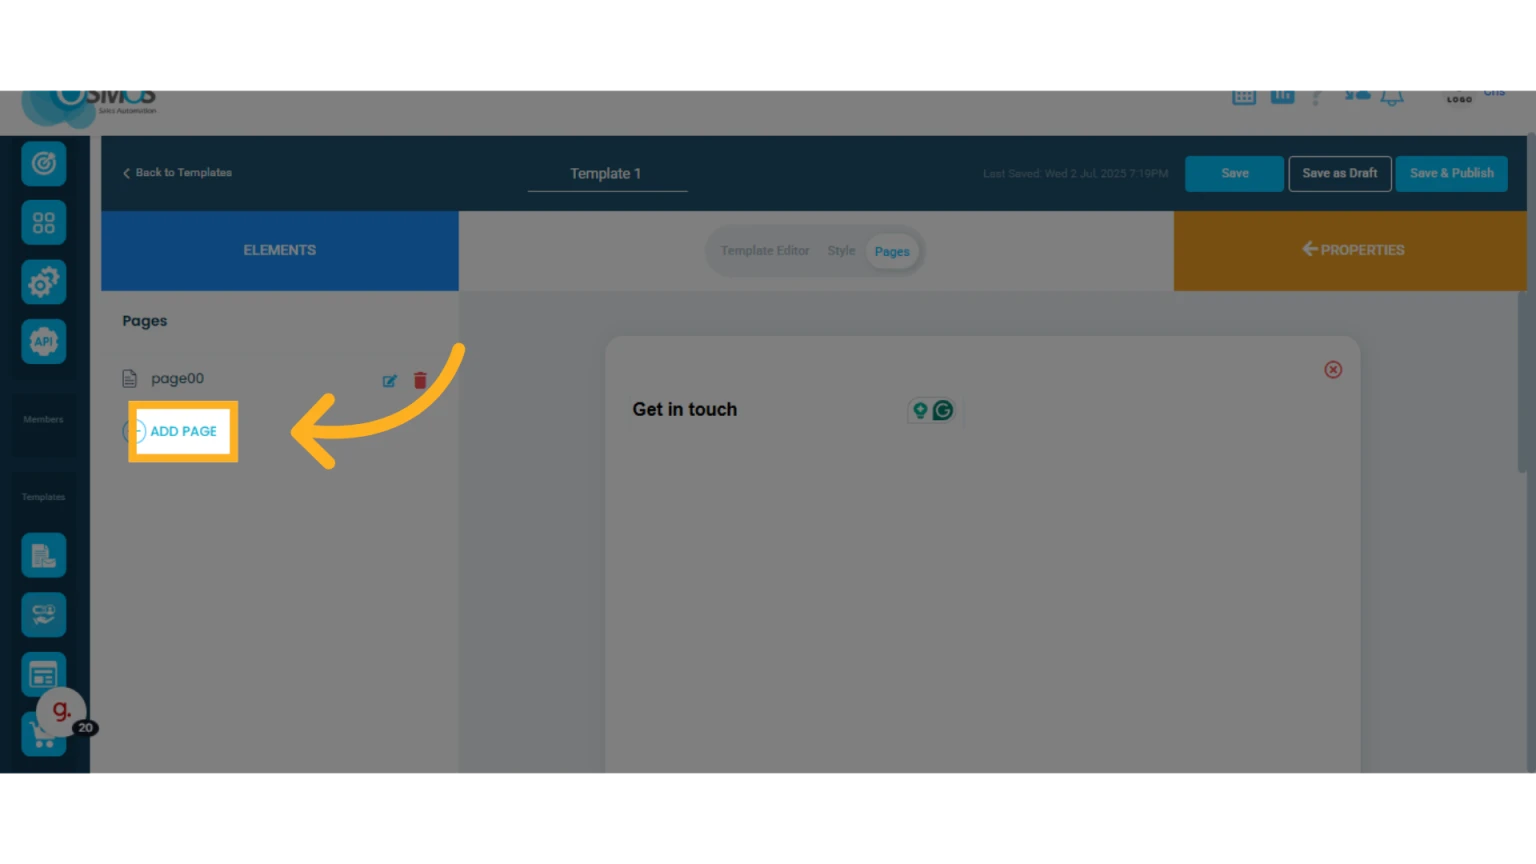
 Click "Add Page" to include more pages in your quote.
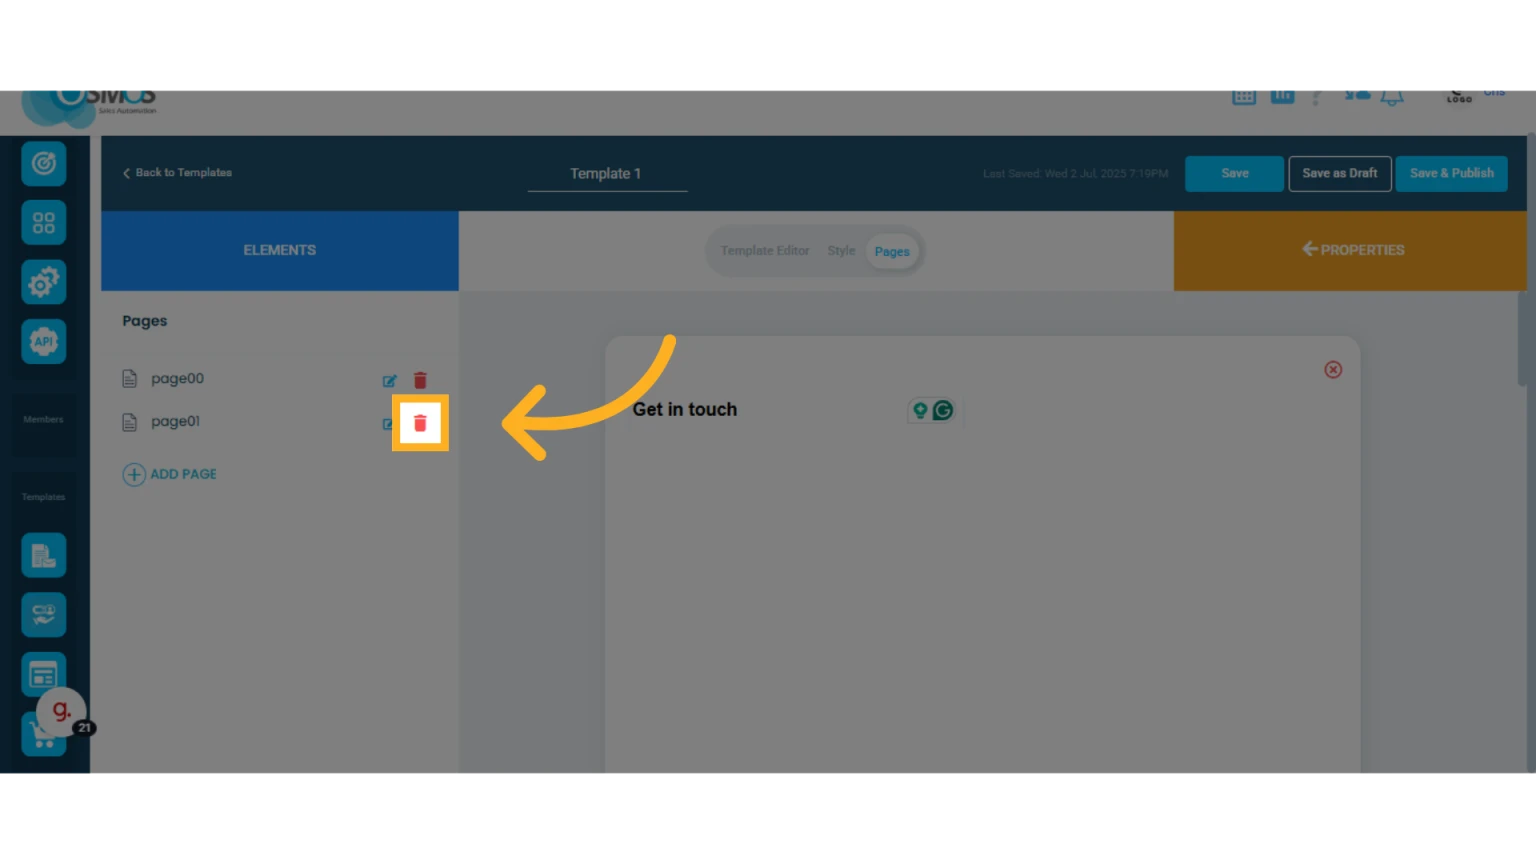
 Click the trash icon to delete pages from your quote.
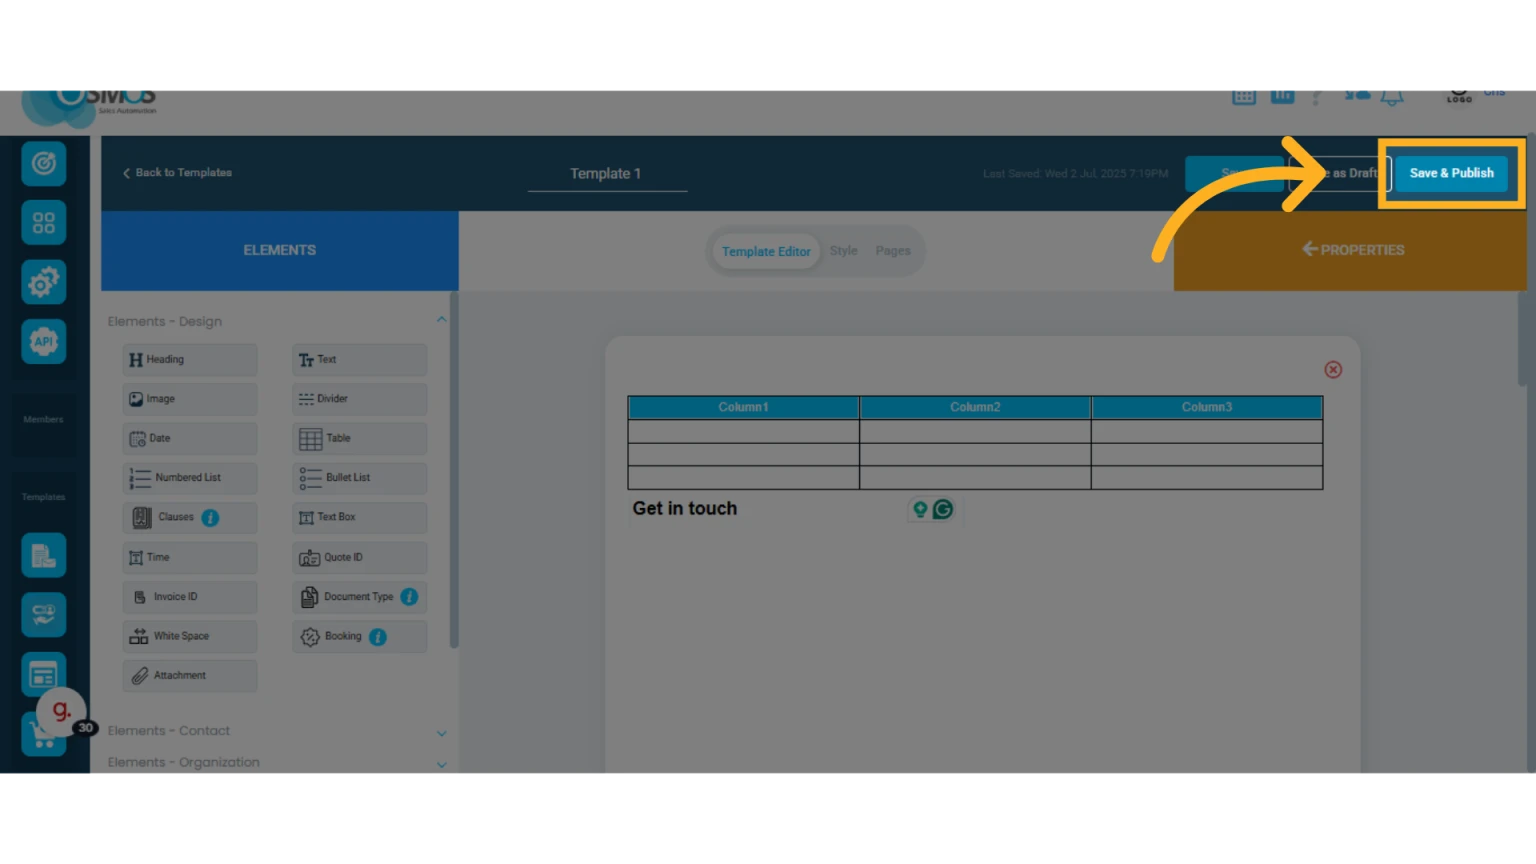
Save Your Template
When everything is ready, you can save your template using one of the following options:
A. Click "Save as Draft"
This saves the template, but it won’t be available for use in quotes.
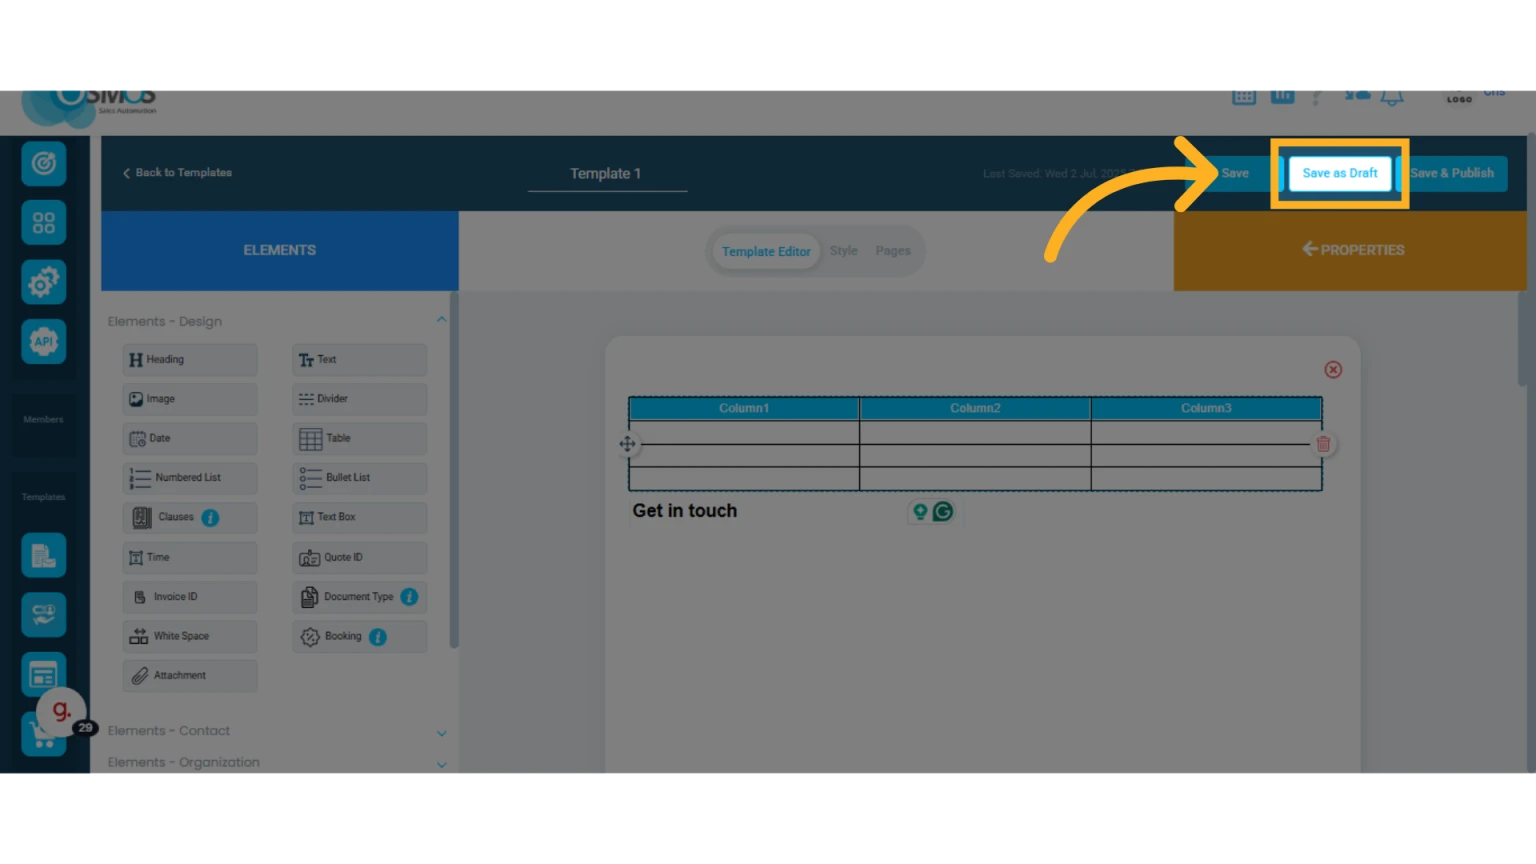
B. Click "Save & Publish"
This activates the template for immediate use.