
In this guide, you’ll learn how to add and customize payments within a quote in Osmos.
This will help you manage and track payments more effectively, ensuring no pending payments are overlooked.
Add Payments to a Quote
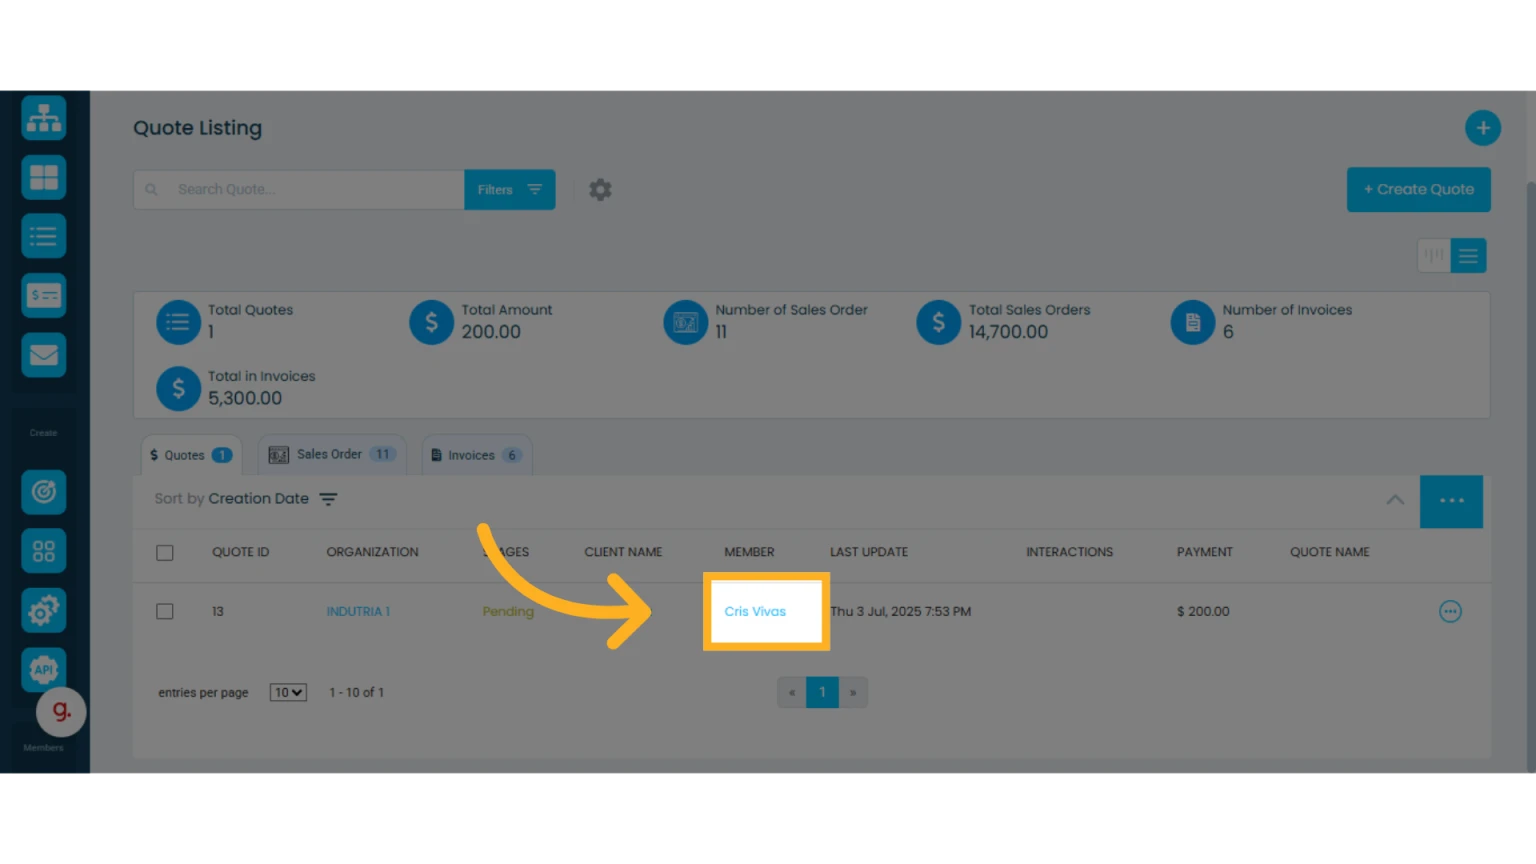
1. Open the quote you want to add payments to
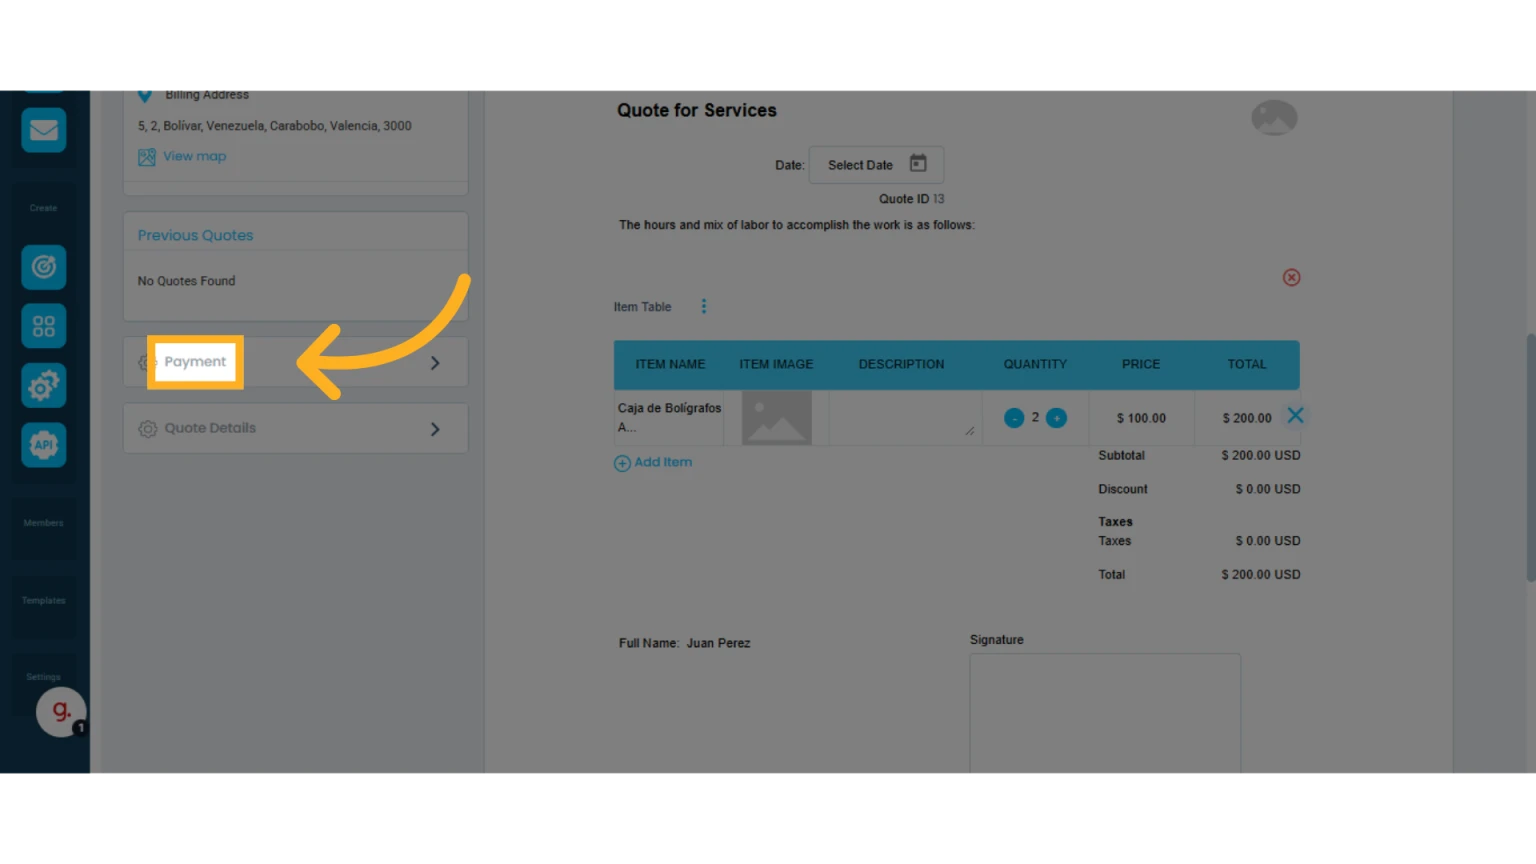
2. Click "Payment" on the left side of the quote
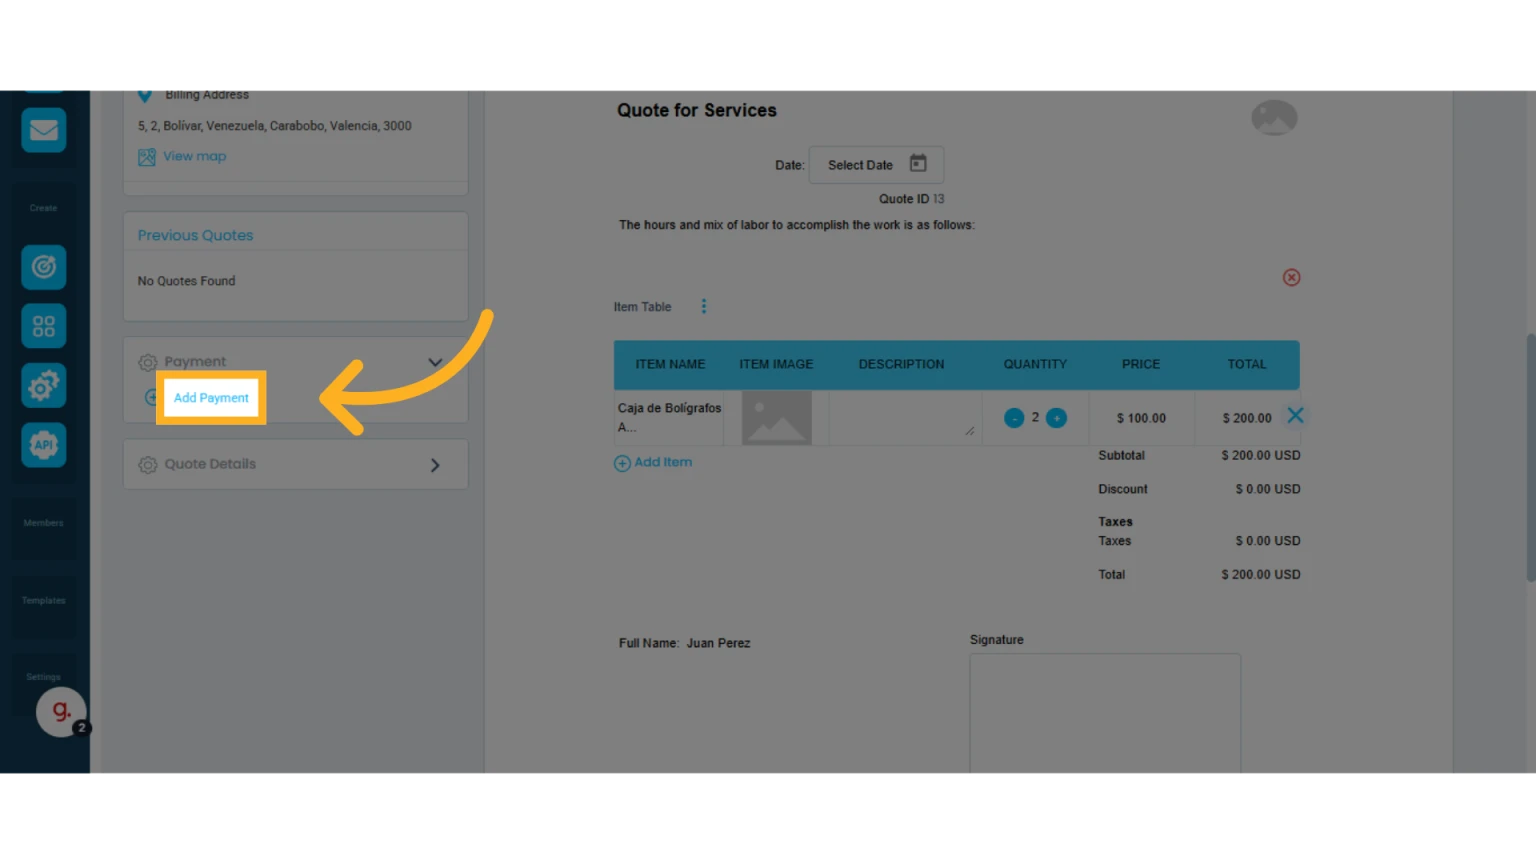
3. Click "Add Payment"
4. Customize the relevant payment details
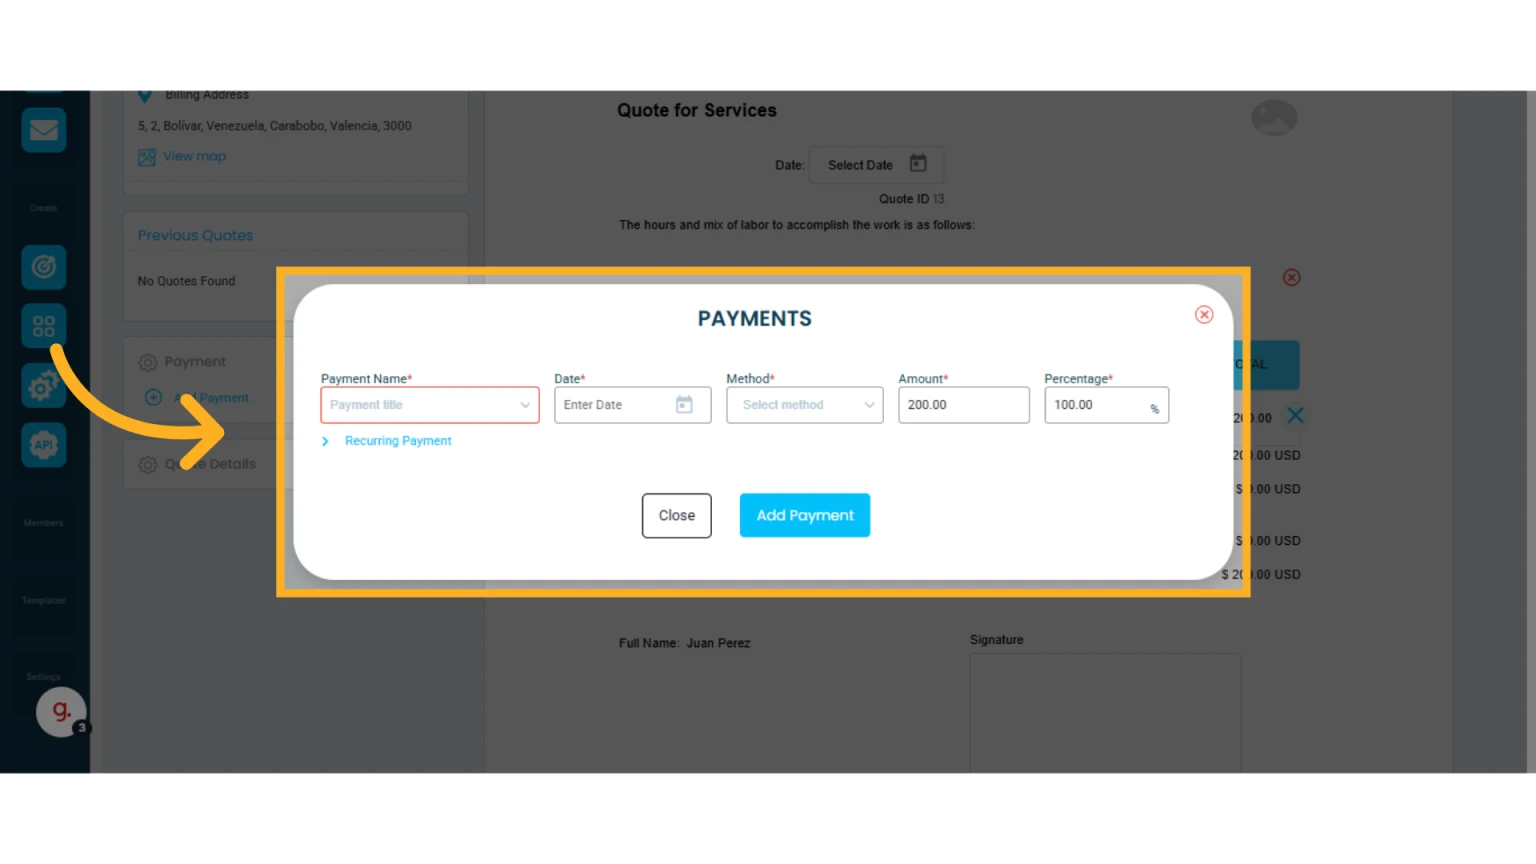
5. Click "Add Payment"

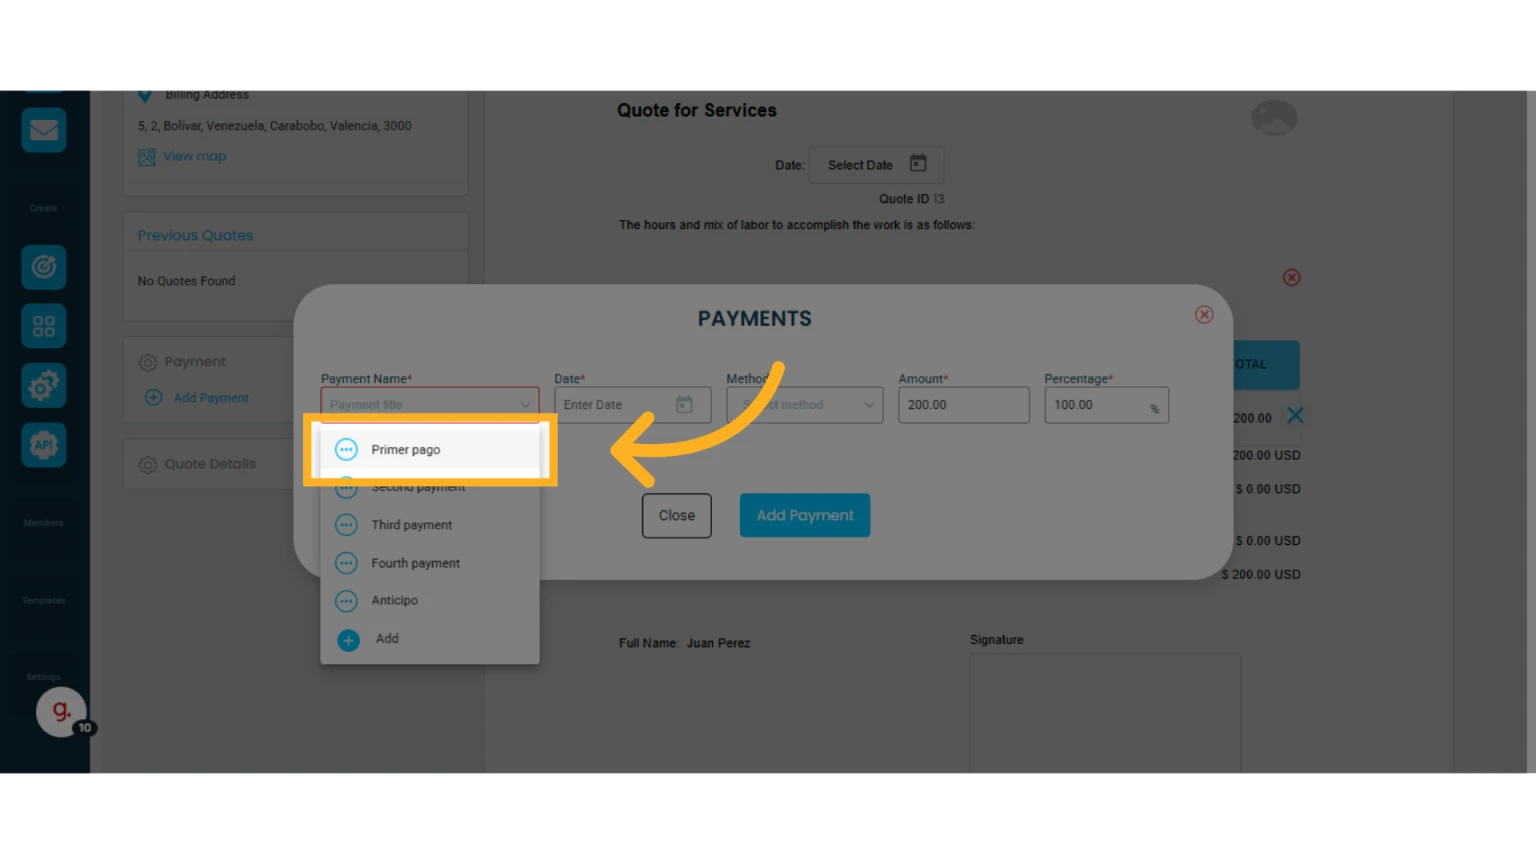
Customize the Payment Name
You can use a default name provided by Osmos or modify it to suit your needs.
1. Choose a pre-set payment name
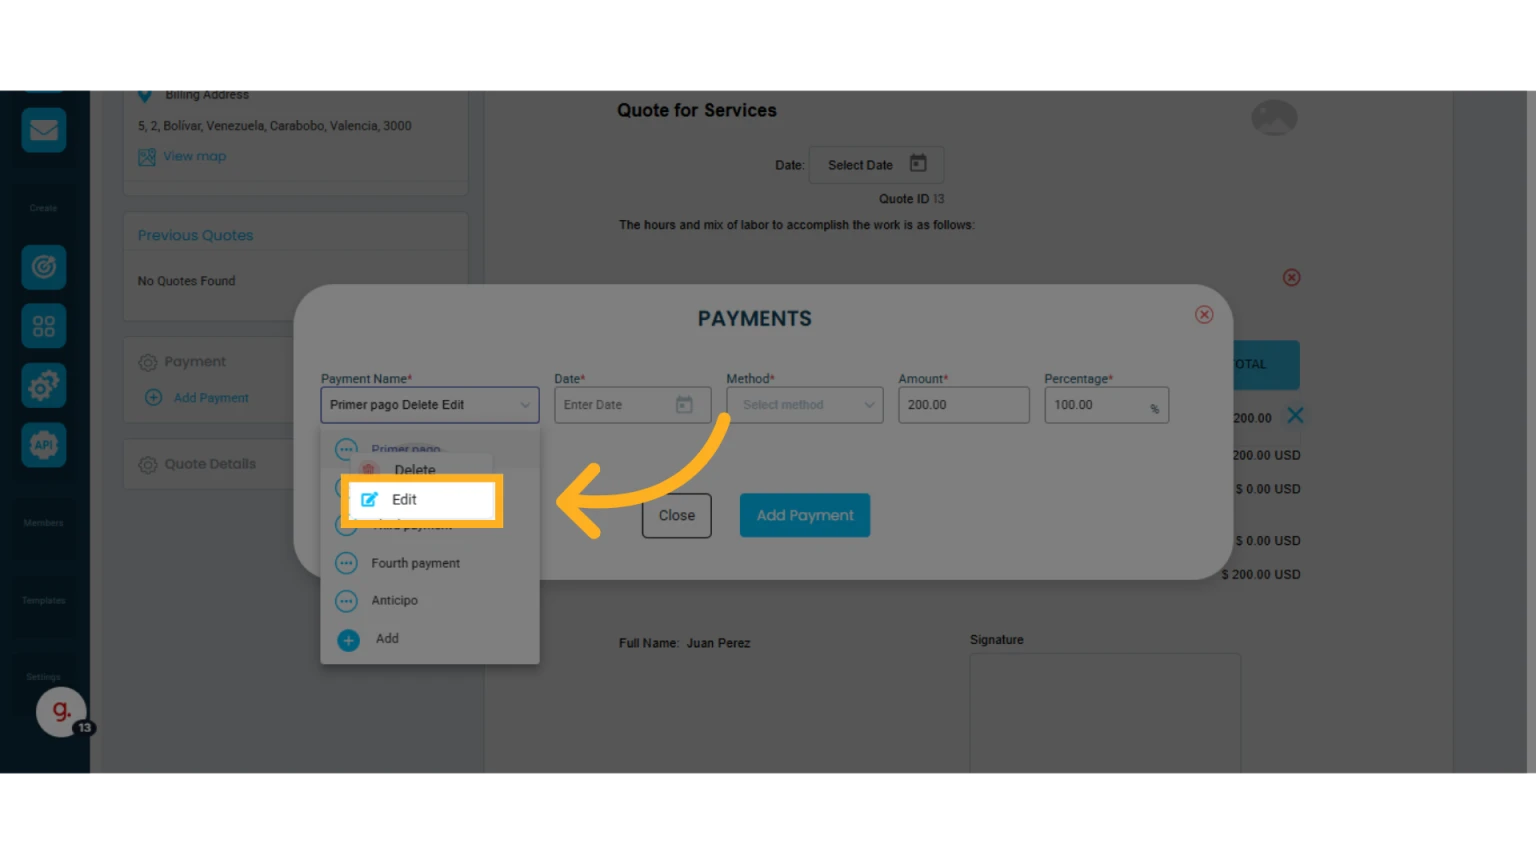
2. Click the three-dot menu next to the payment name and select "Edit"
You can modify existing names.
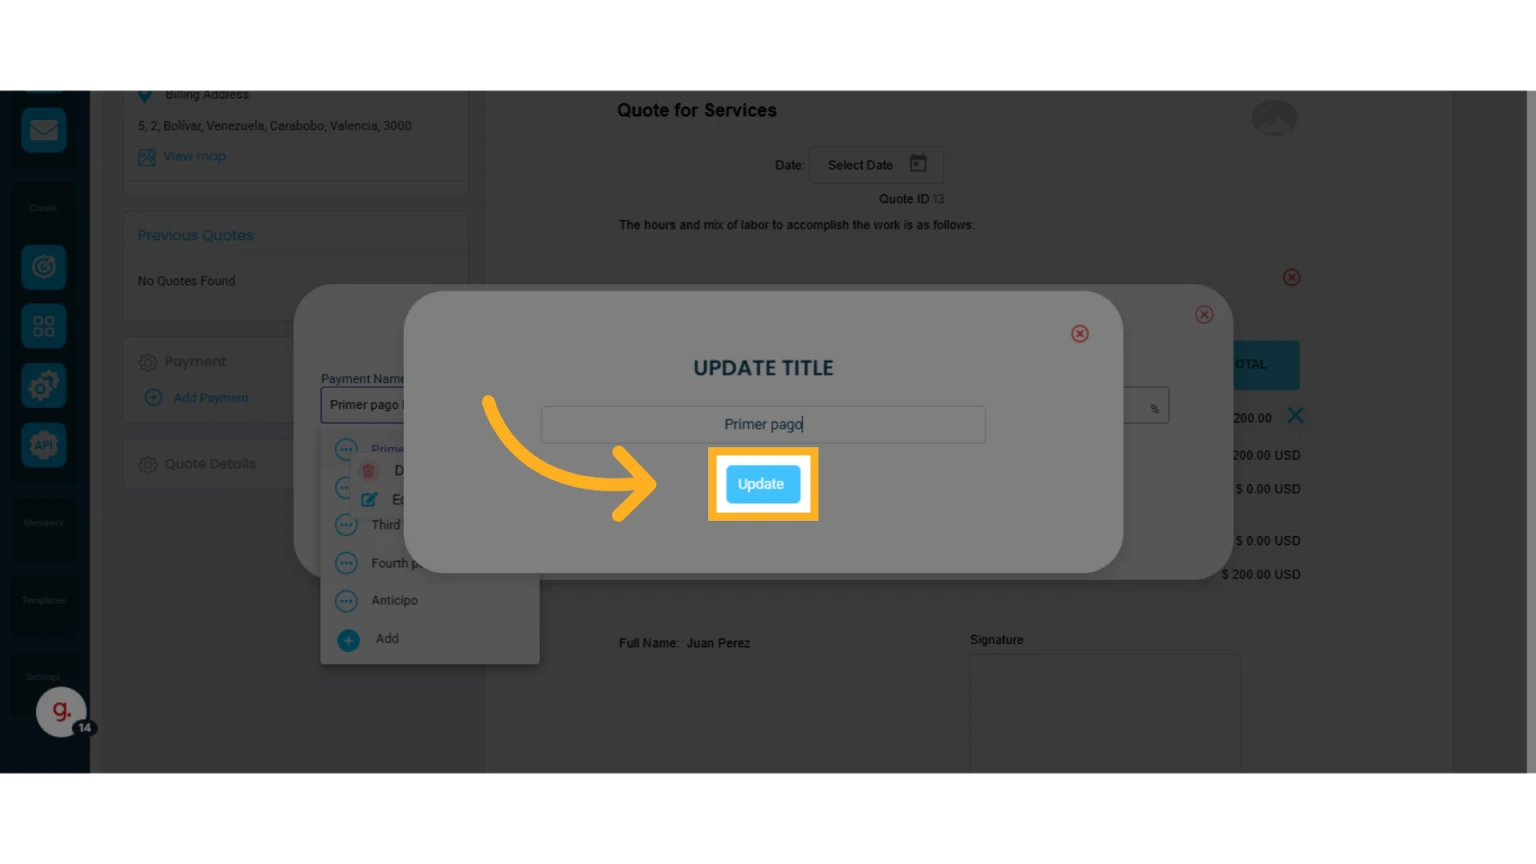
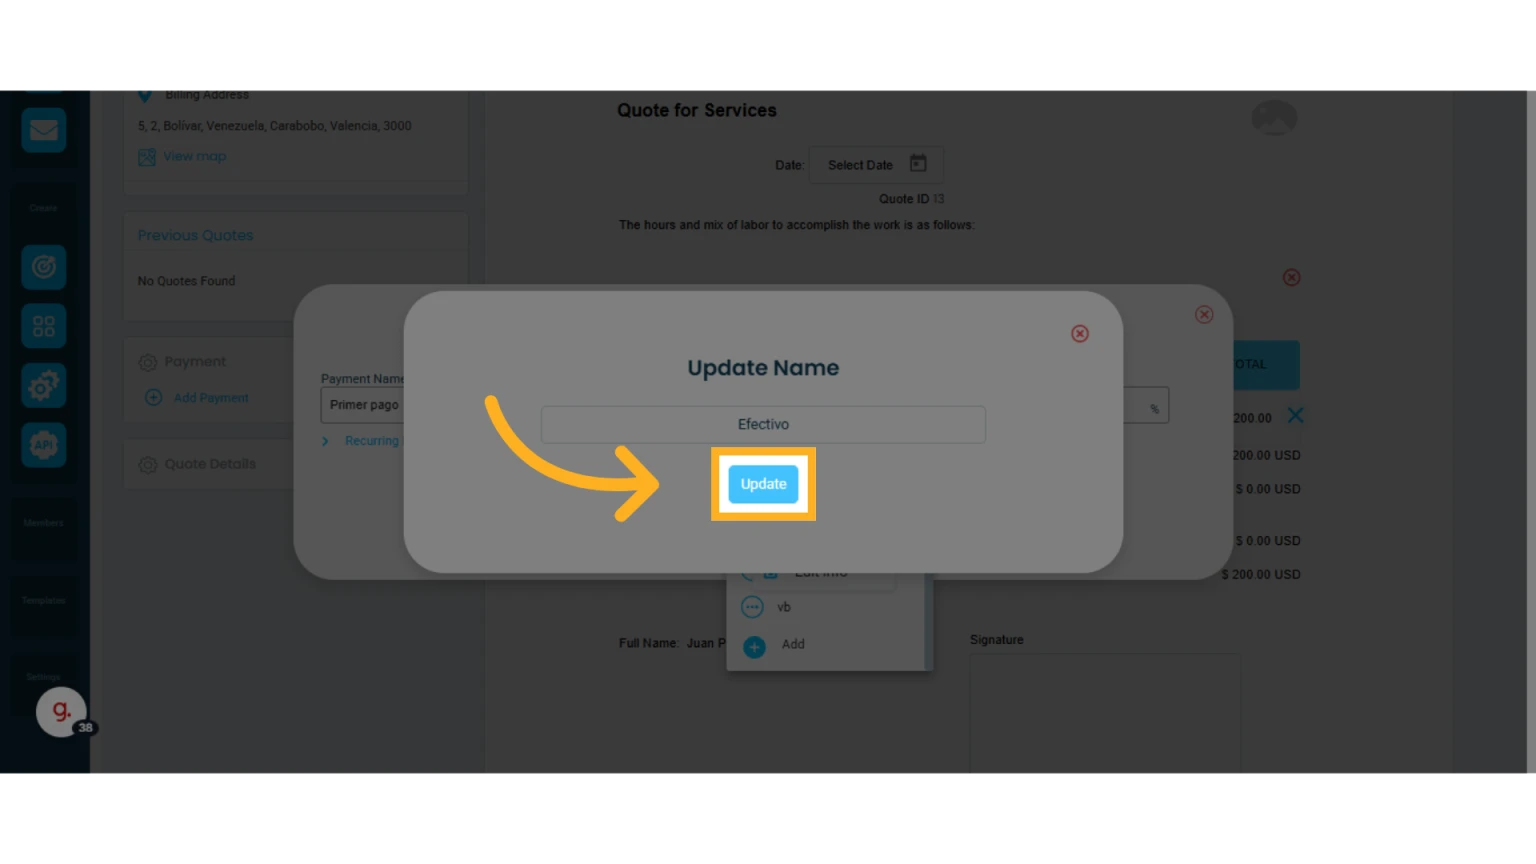
3. Enter the new payment name and click "Update"
Delete a Payment Name
Click the three-dot menu next to the pre-set payment name and select "Delete."

Add a New Payment Name
1. Click the three-dot menu next to the payment name and select "Add"
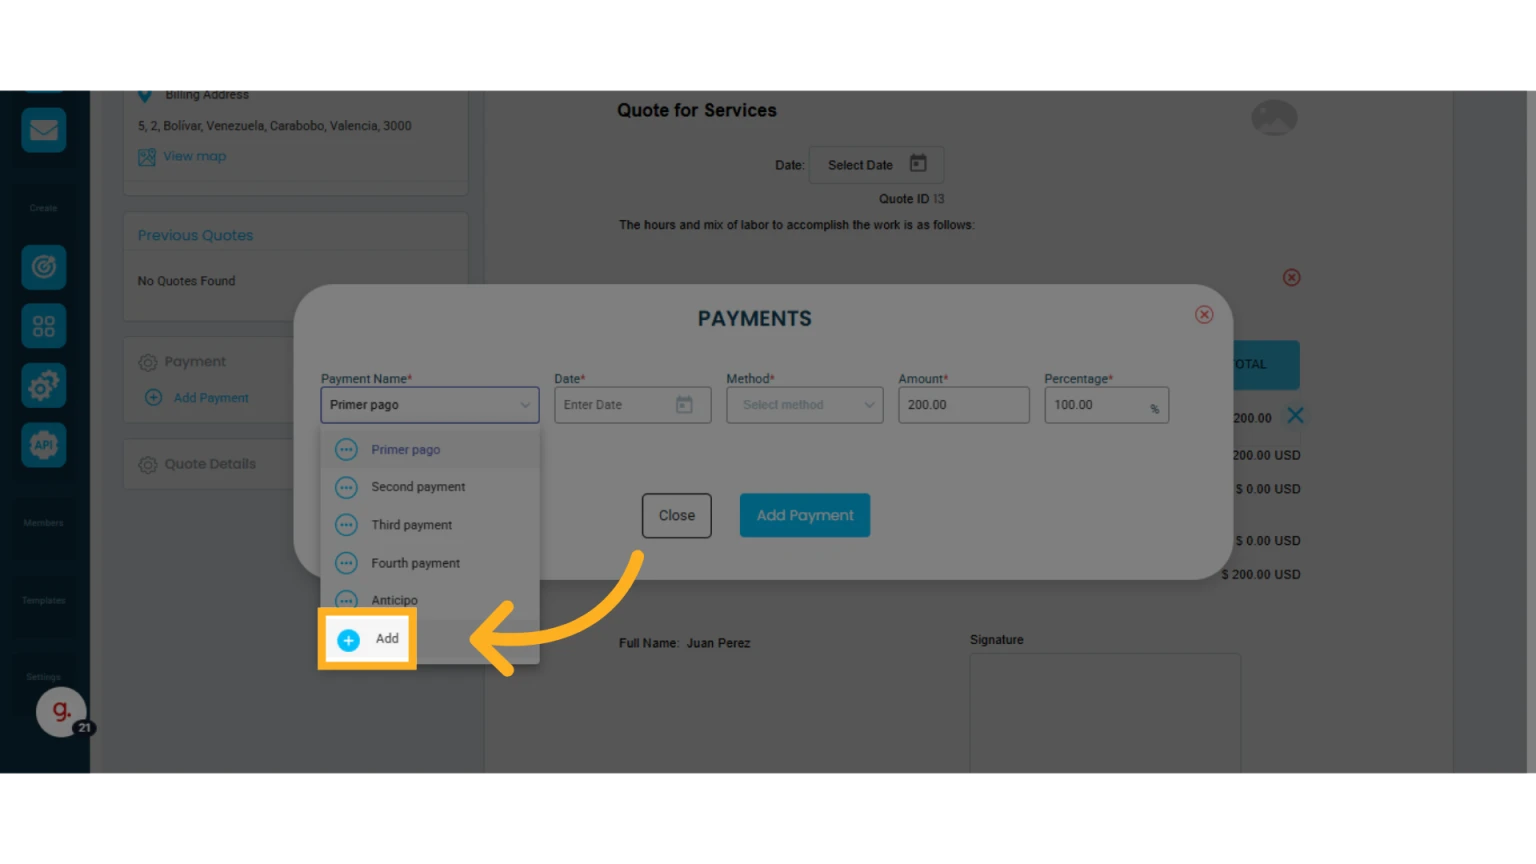
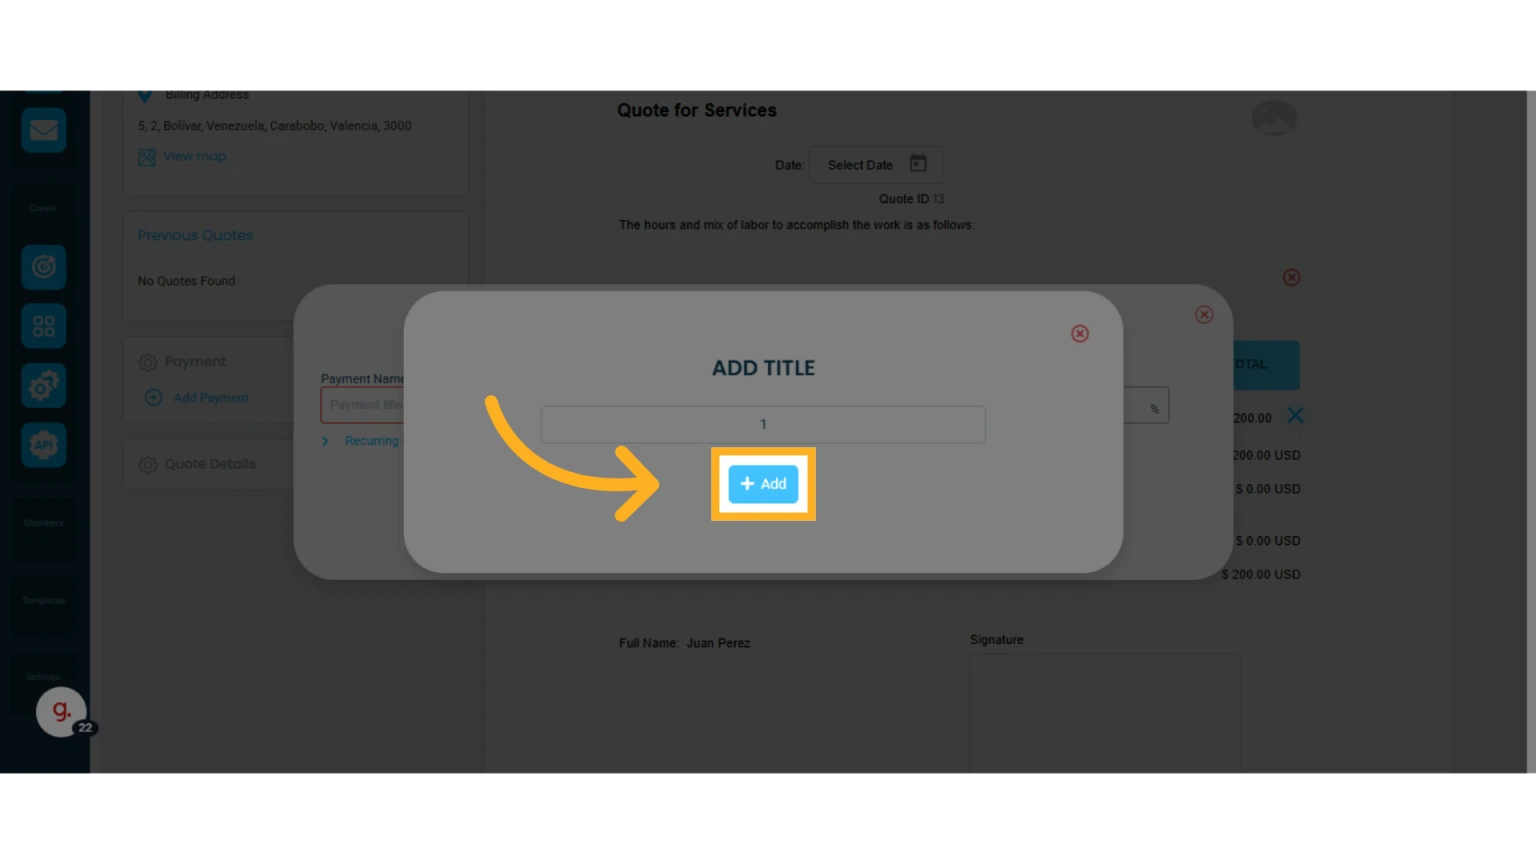
2. Type the desired name and click "Add"
Examples of payment names you can use: "First Payment," "Deposit," or "Final Payment."
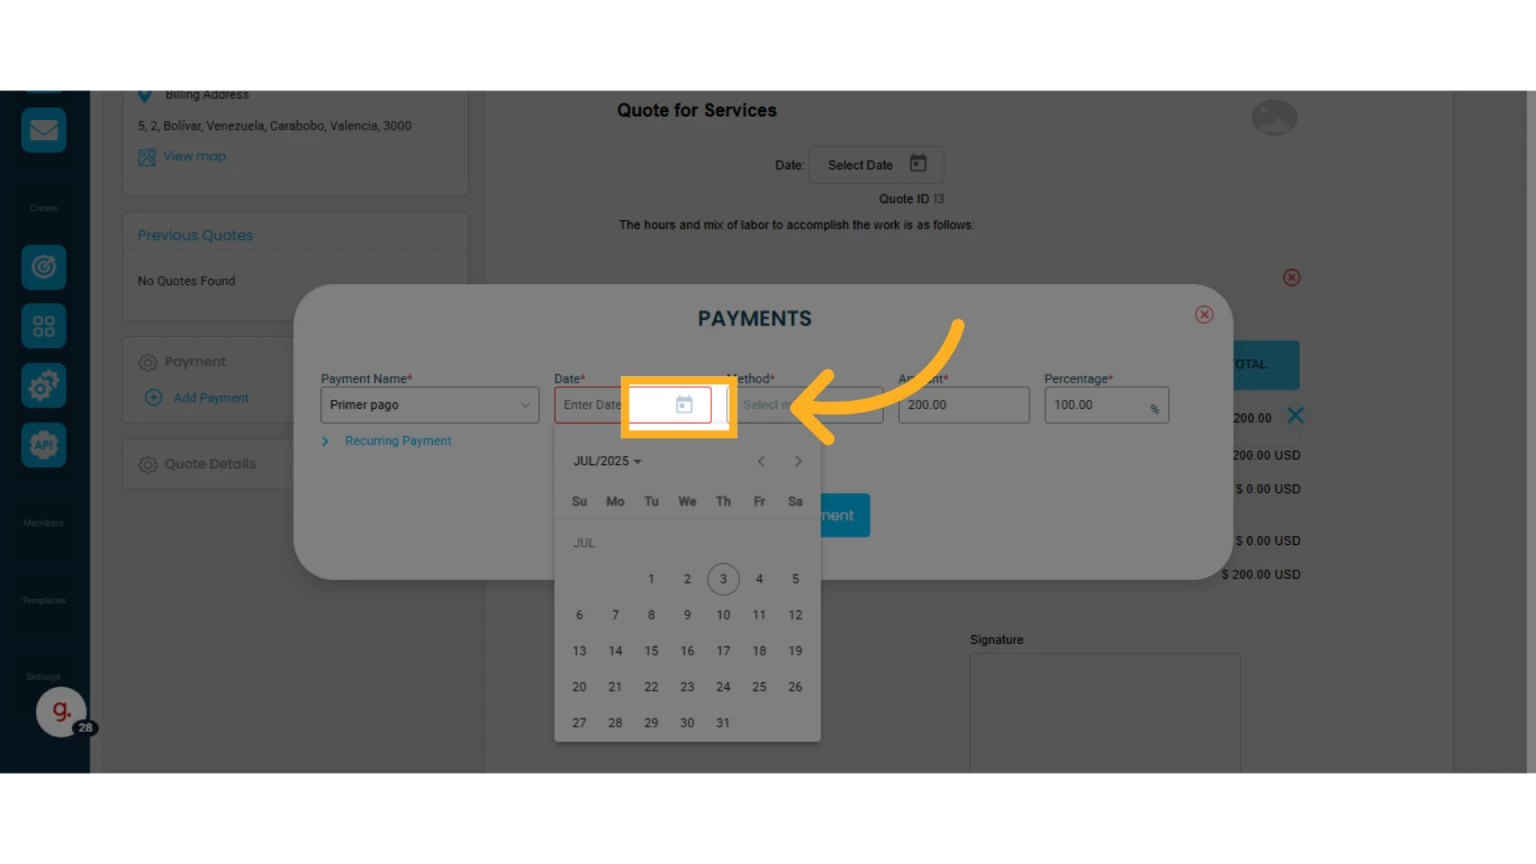
Enter the Payment Date
After naming the payment, enter the corresponding payment date.
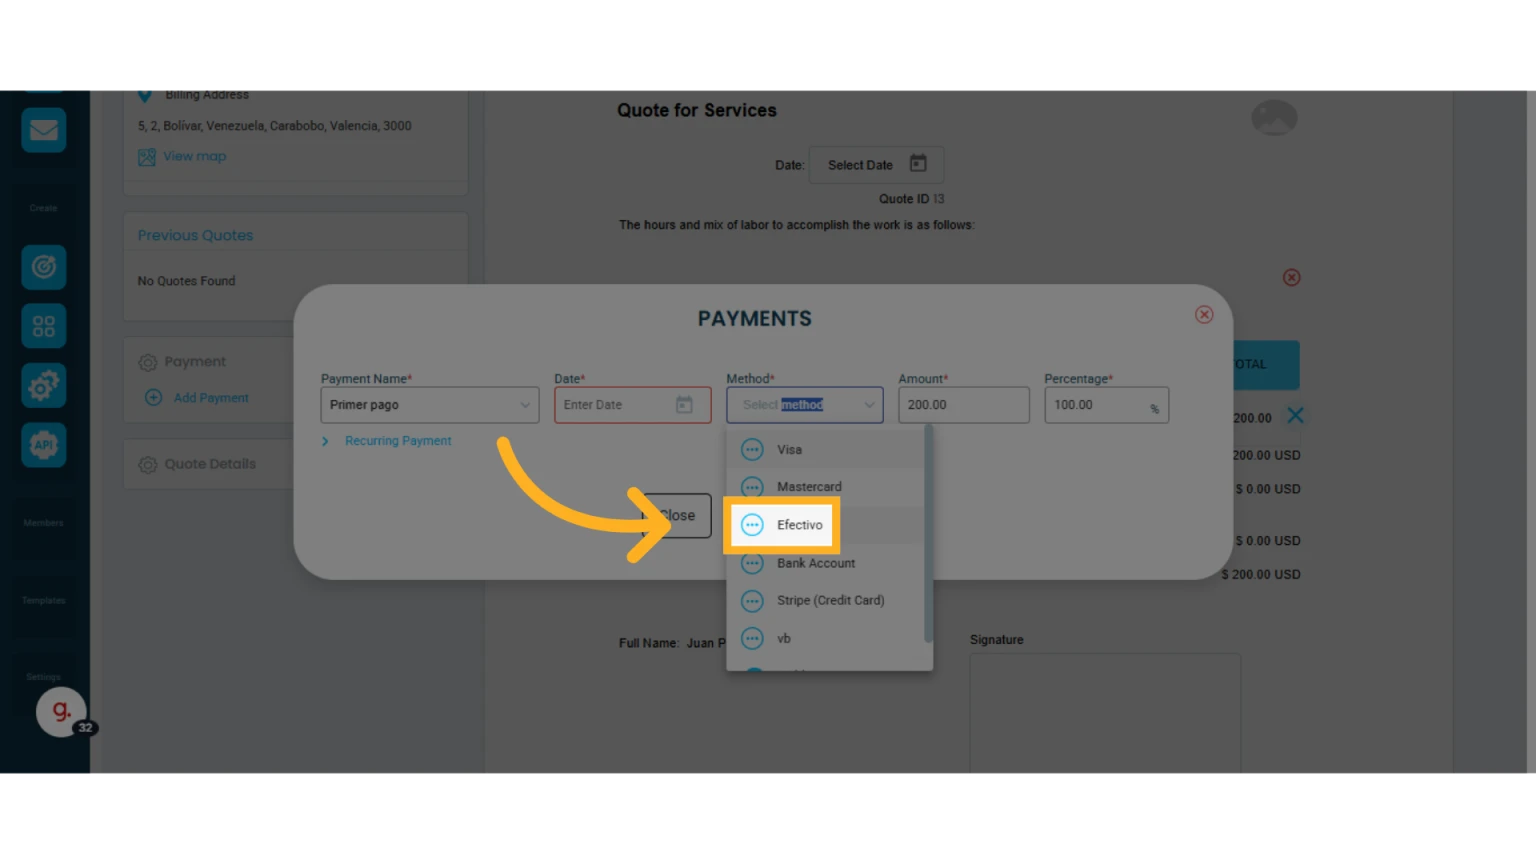
Select the Payment Method
Click the field under "Method" to choose the appropriate pre-set payment method
Edit the Payment Method
1. Click the three-dot menu next to the payment method and select "Edit Name"
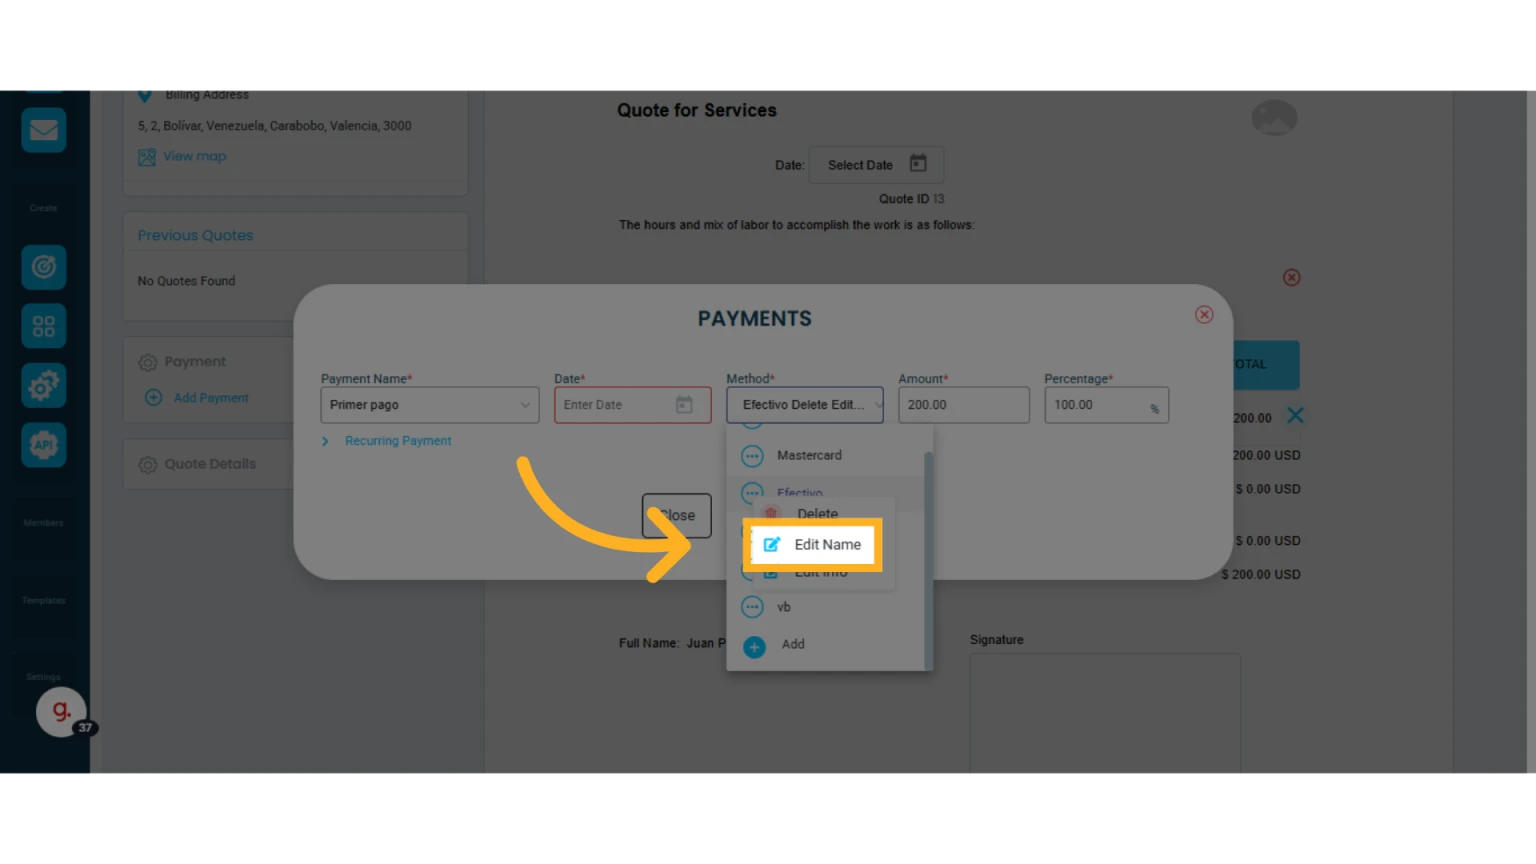
2. Enter the new payment method name and click "Update"
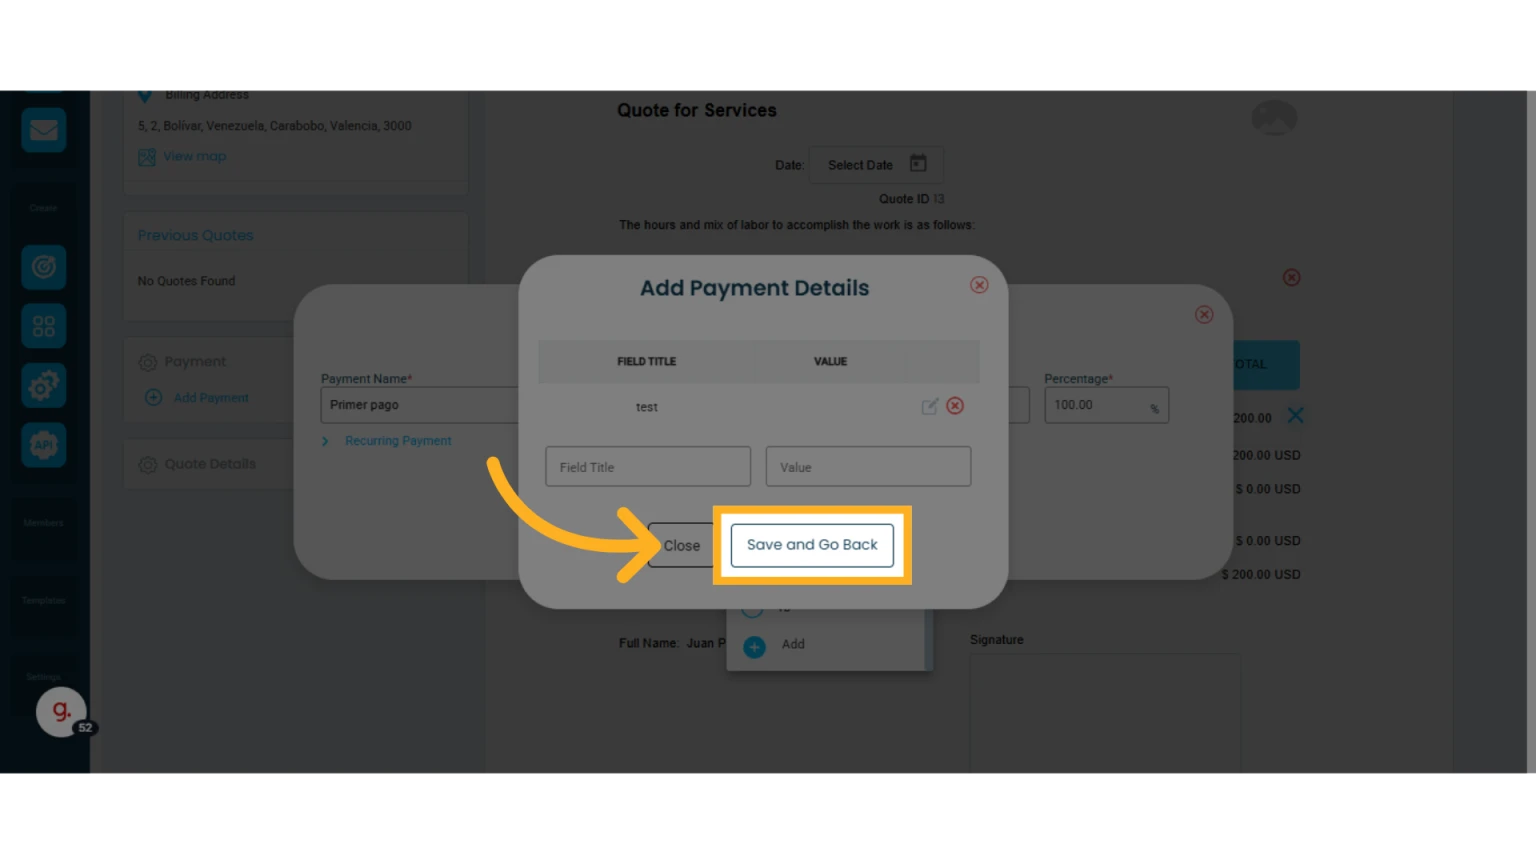
Add Payment Details to a Payment Method
You can add payment details such as Bank Name, Account Number, Account Holder, etc.
This information will appear in the electronic quote sent to your client providing them with the information they need to make deposits or transfers.
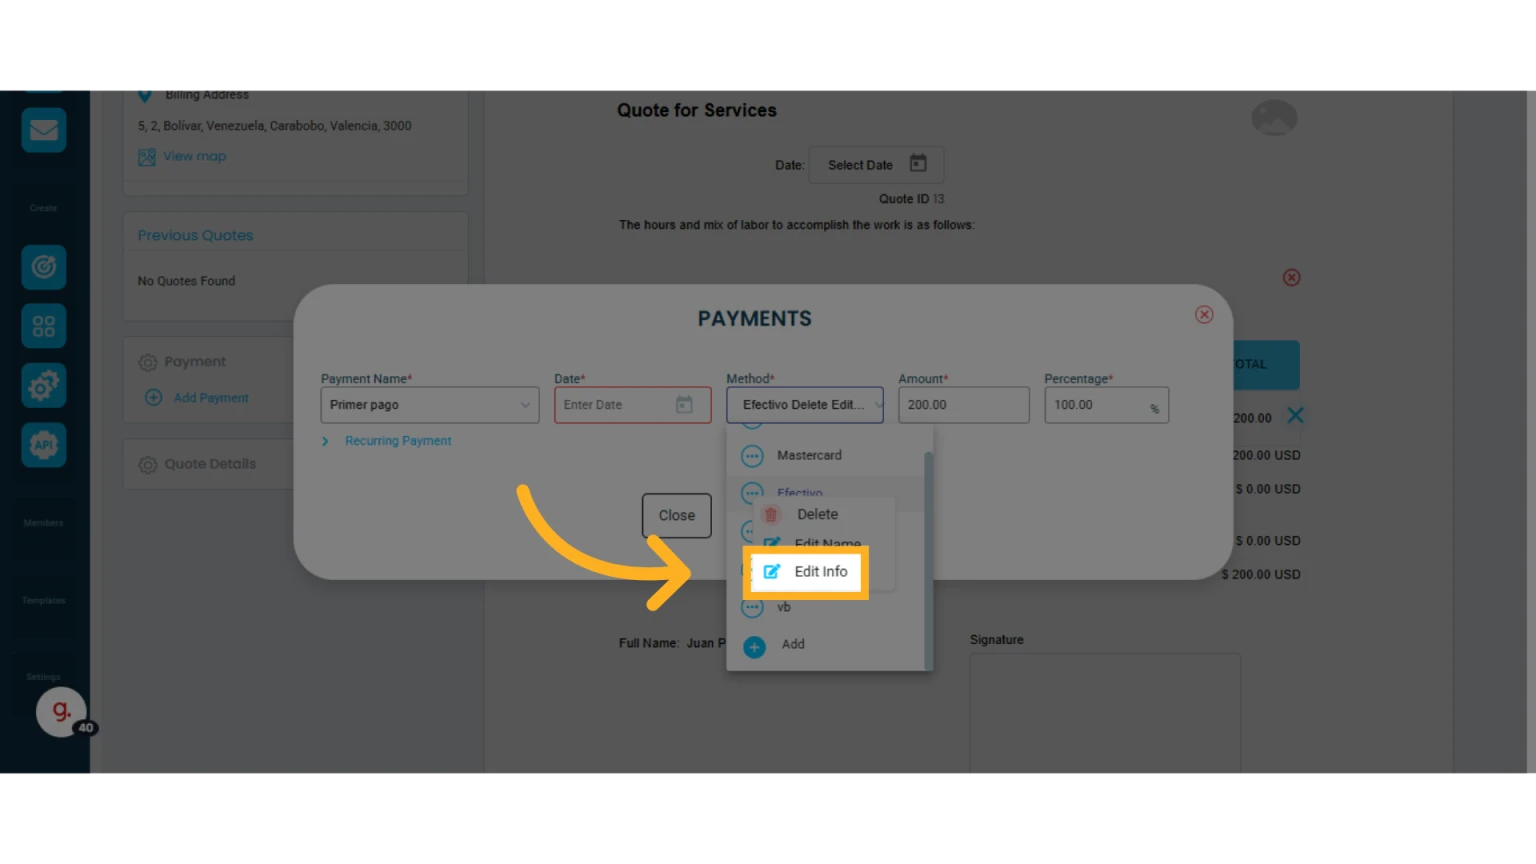
1. Click the three-dot menu next to the payment method and select "Edit Info"
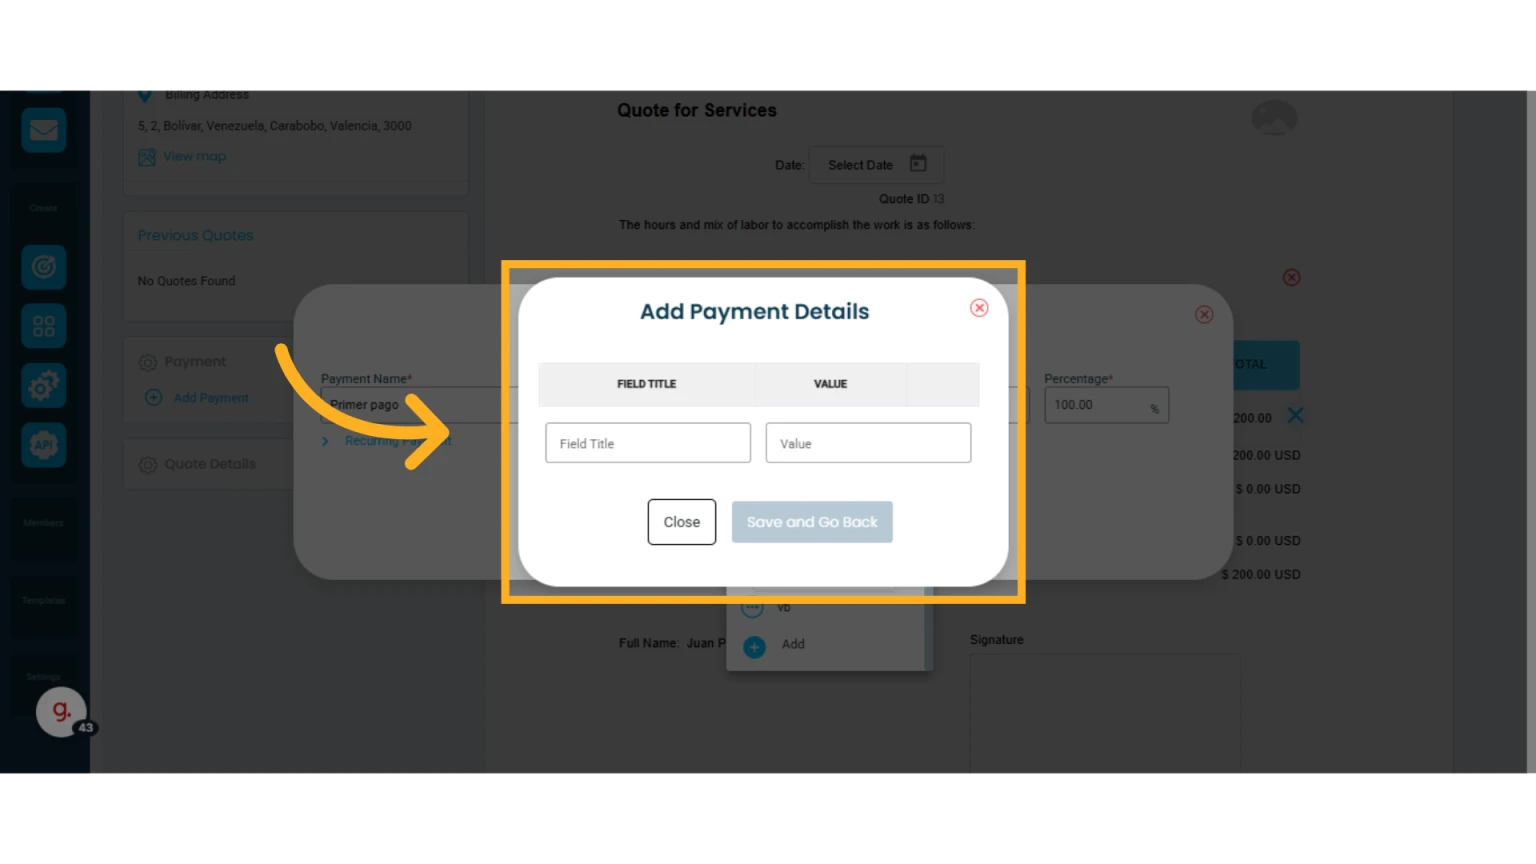
2. Add payment method details:
In the first column, enter the field label (e.g., Bank), and in the second column labeled "Value," enter the information (e.g., Santander). Repeat the process for additional fields.
3. Click "Add Field"
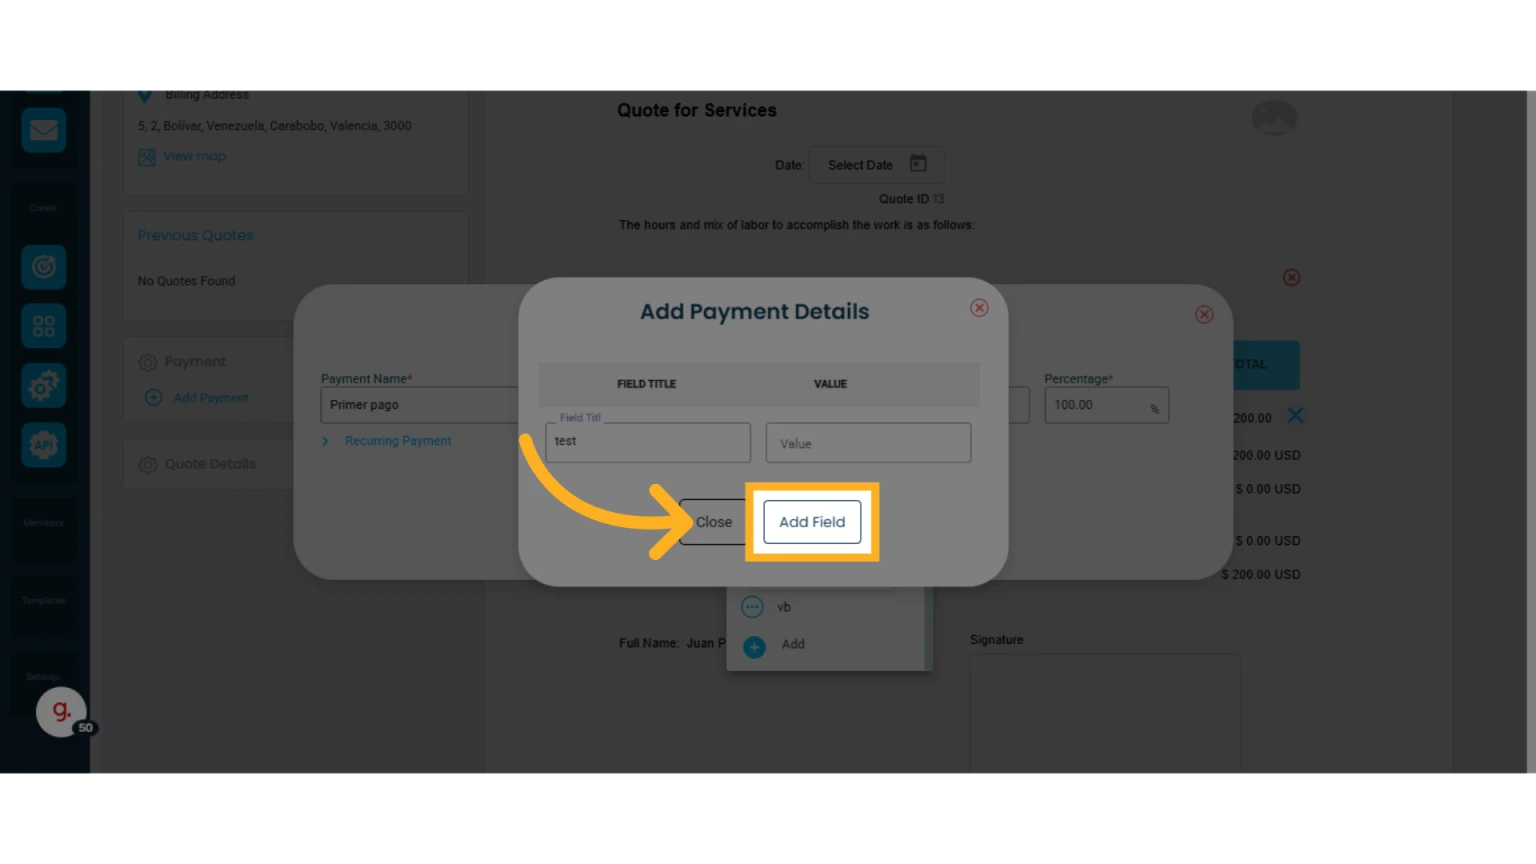
4. Click "Save and Go Back"
If needed, you can add more information before clicking "Save and Go Back."
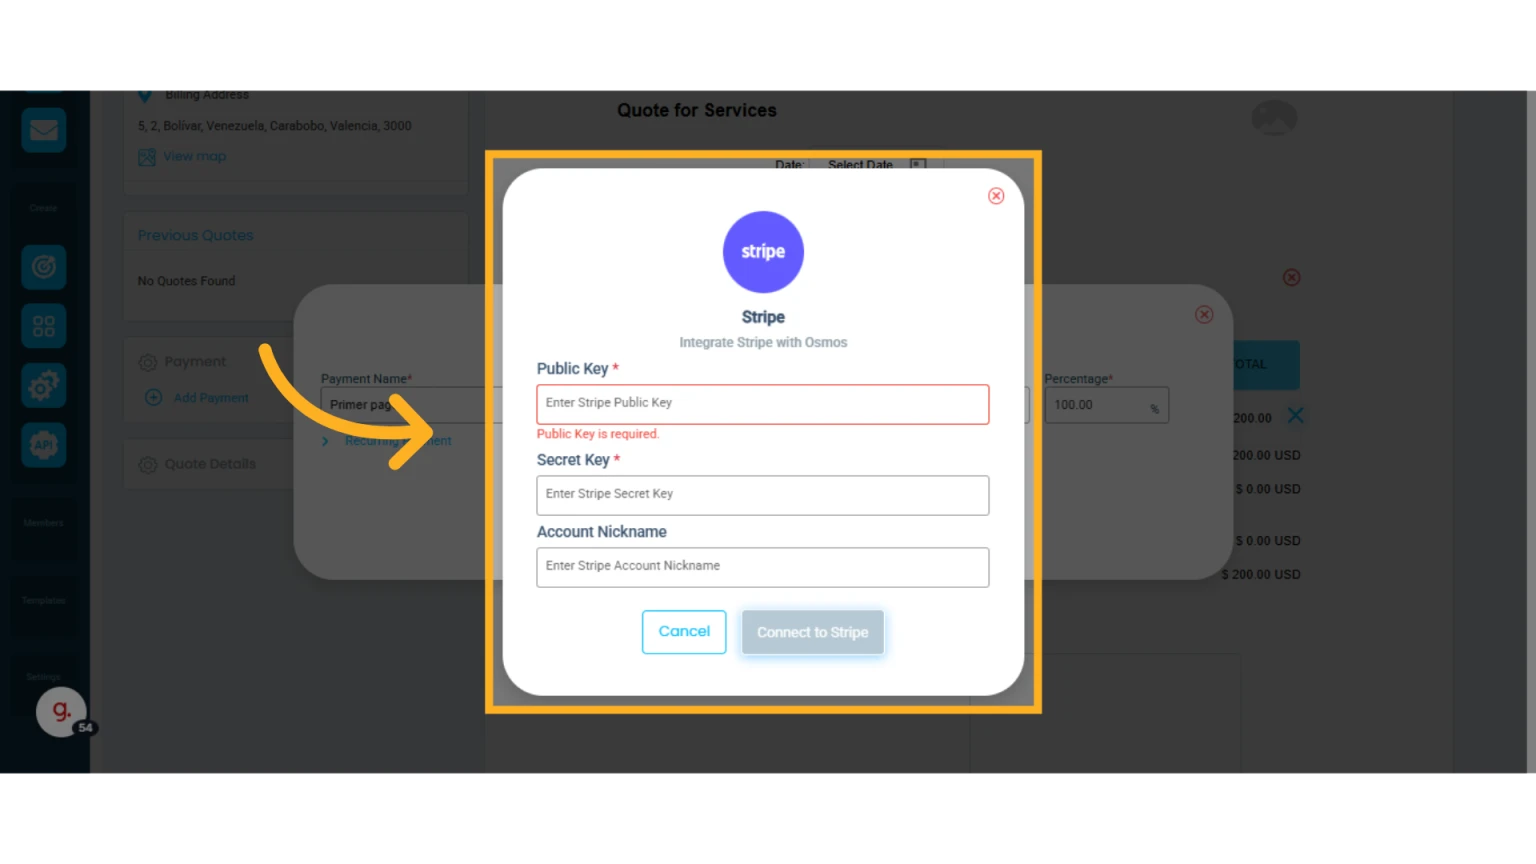
Accept Credit Card Payments
To receive credit card payments, select "Stripe Credit Card." Enter your public key, secret key, and Stripe account name.
NOTE: You must create an account directly with Stripe to accept credit card payments in Osmos.
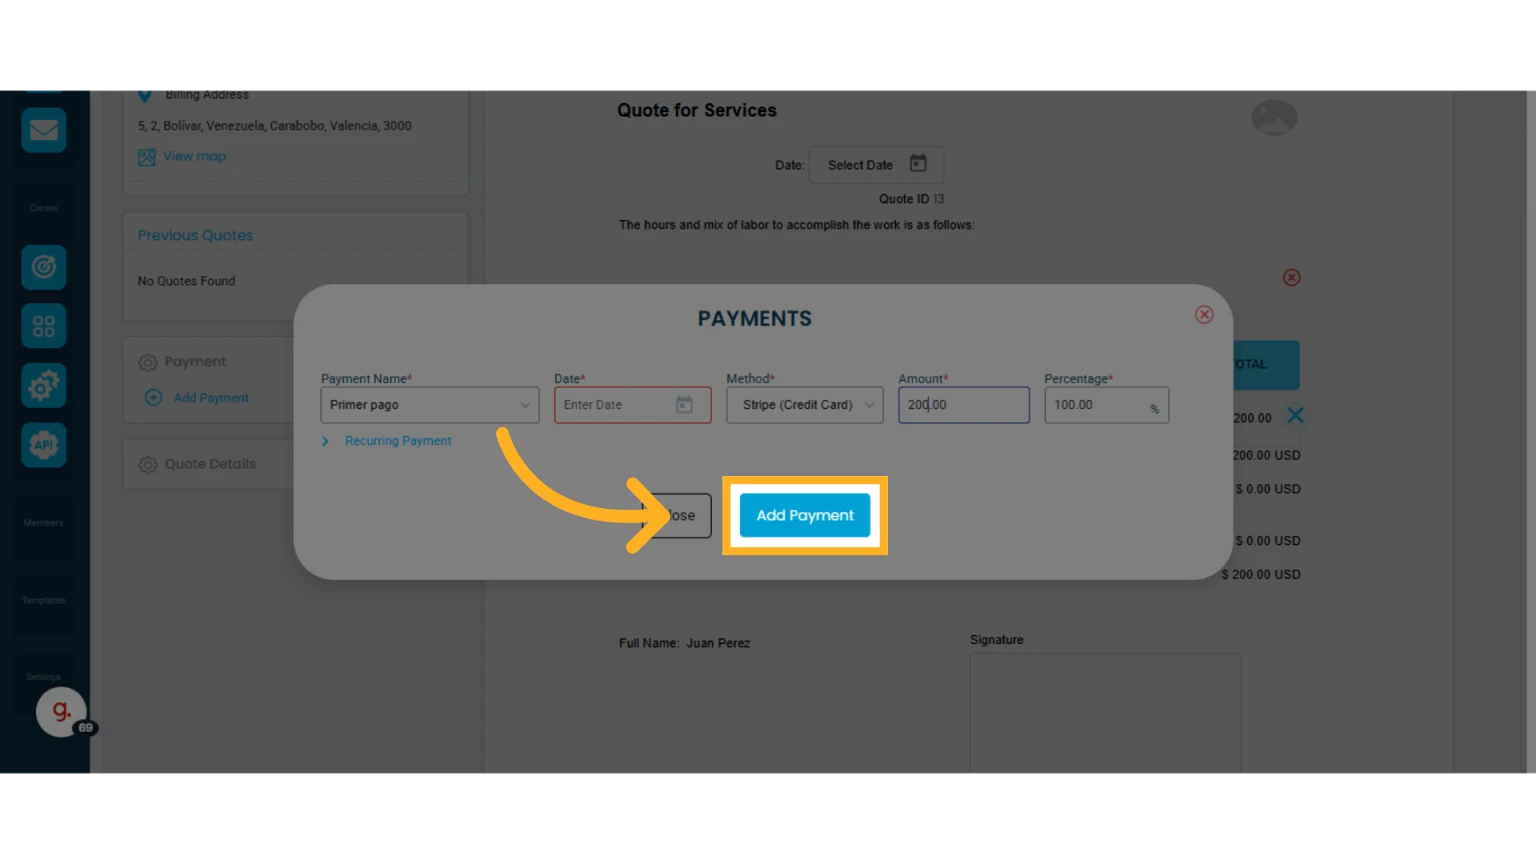
Set the Payment Amount
Select the amount or percentage for the first payment. If it's less than 100%, click "Add Payment"
Add a "Recurring Payment"
If you want to divide the total into multiple payments, use the "Recurring Payments" option.
1. Enter the number of recurring payments
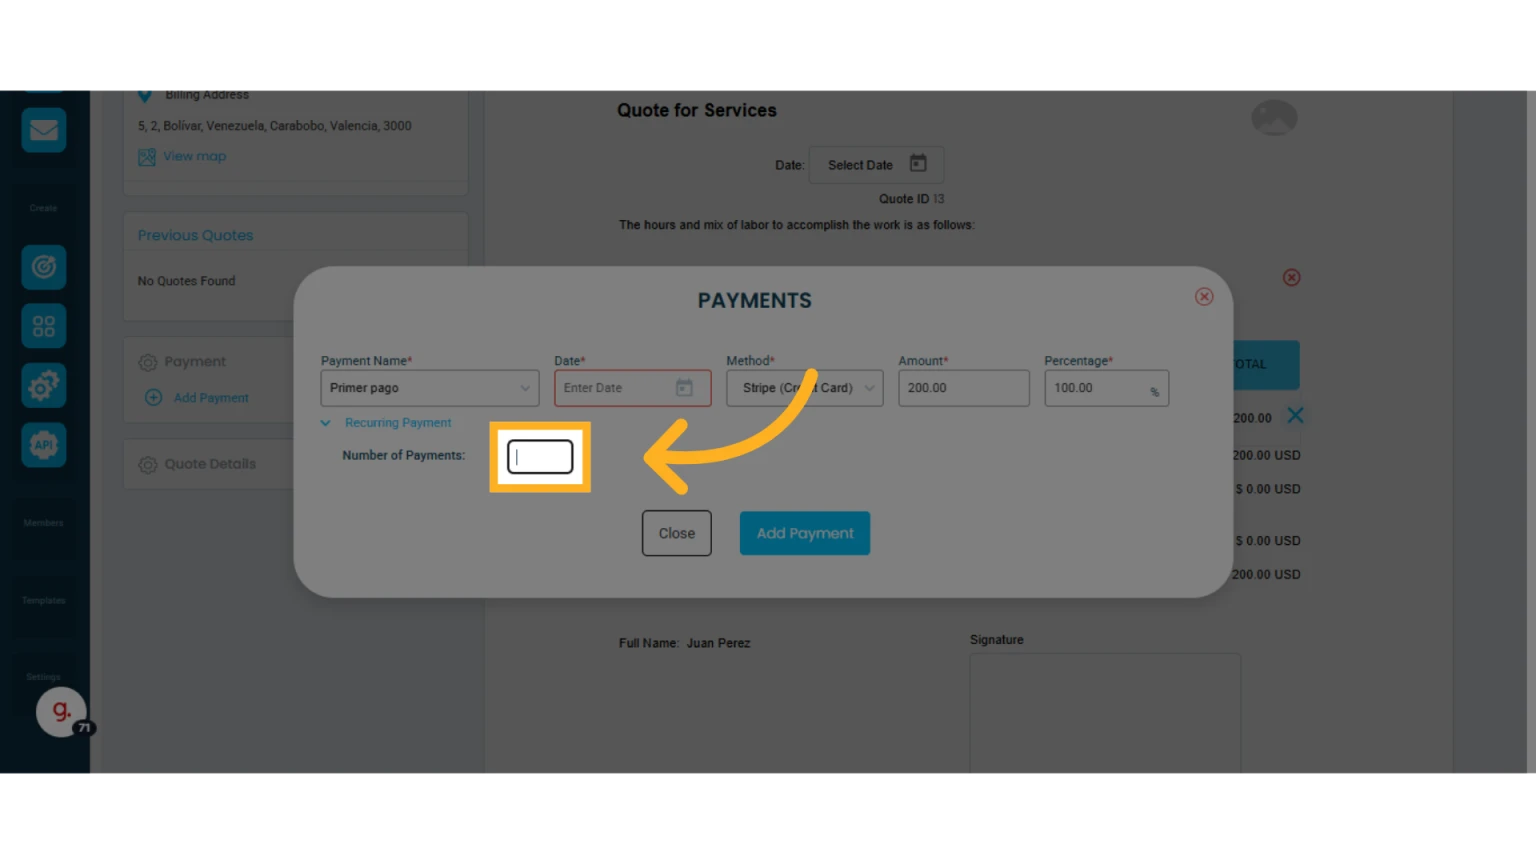
2. Osmos will automatically divide the total amount by the specified number of payments. Click "Save"

Edit Existing Payments
Click the pencil icon to modify a payment
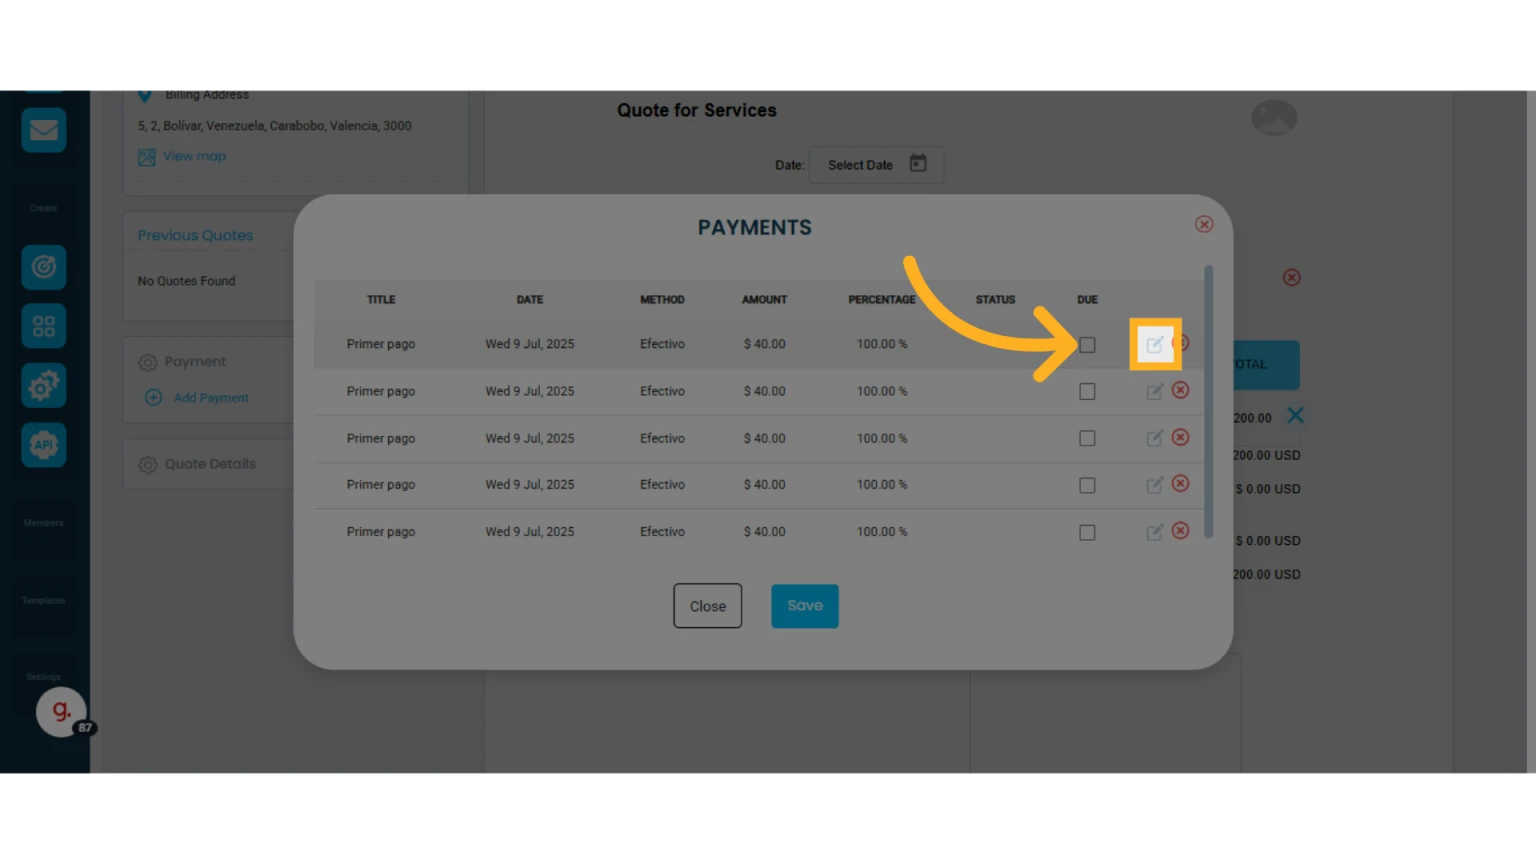
Click the "x" to delete a payment
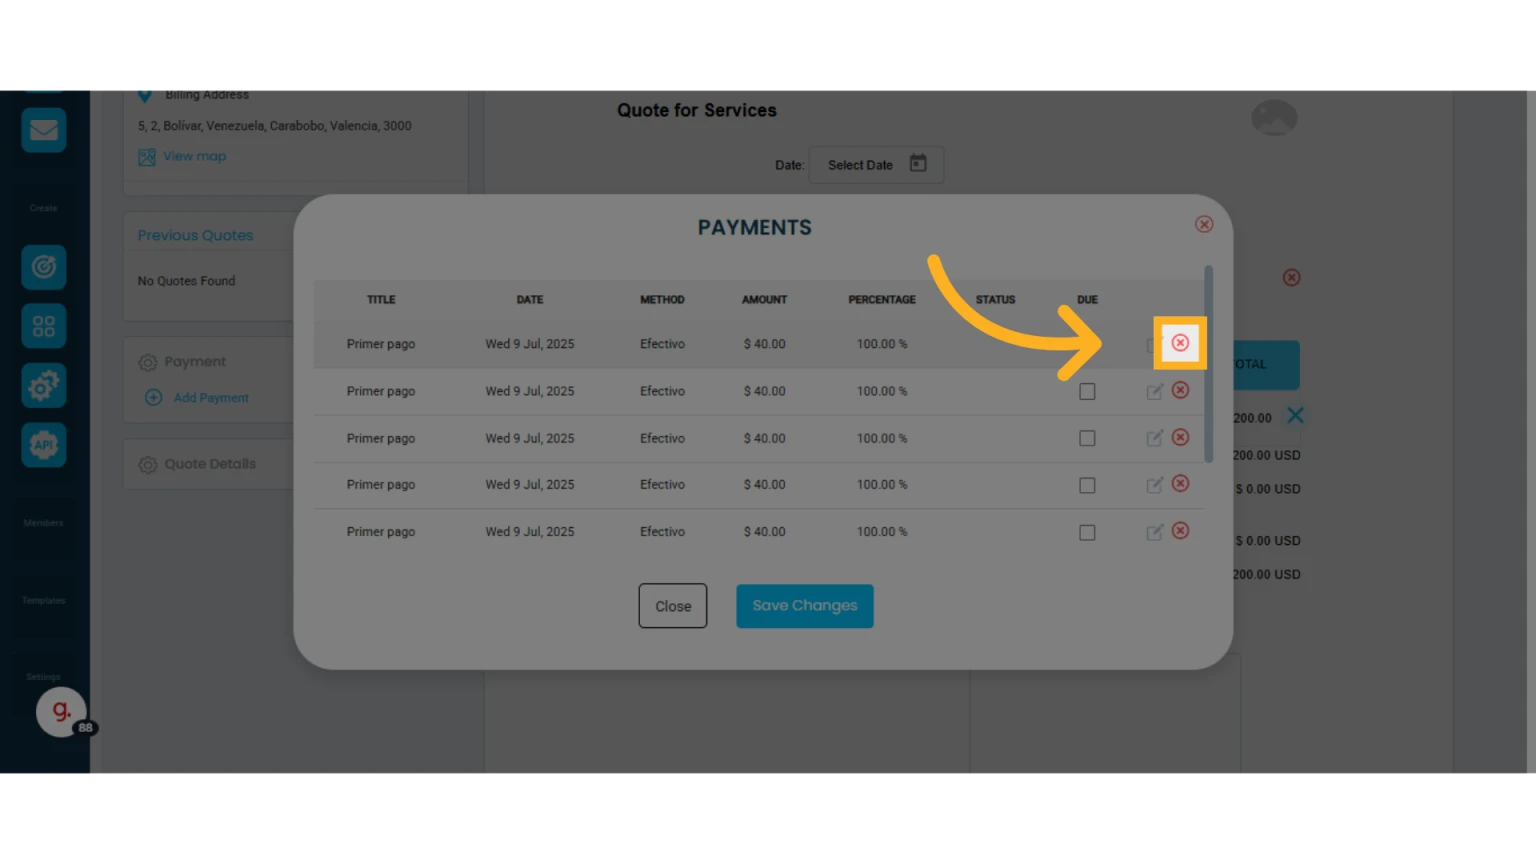
NOTE: The Due box will show all payments past their due date. These payments will be marked as required when the client opens their quote or invoice.
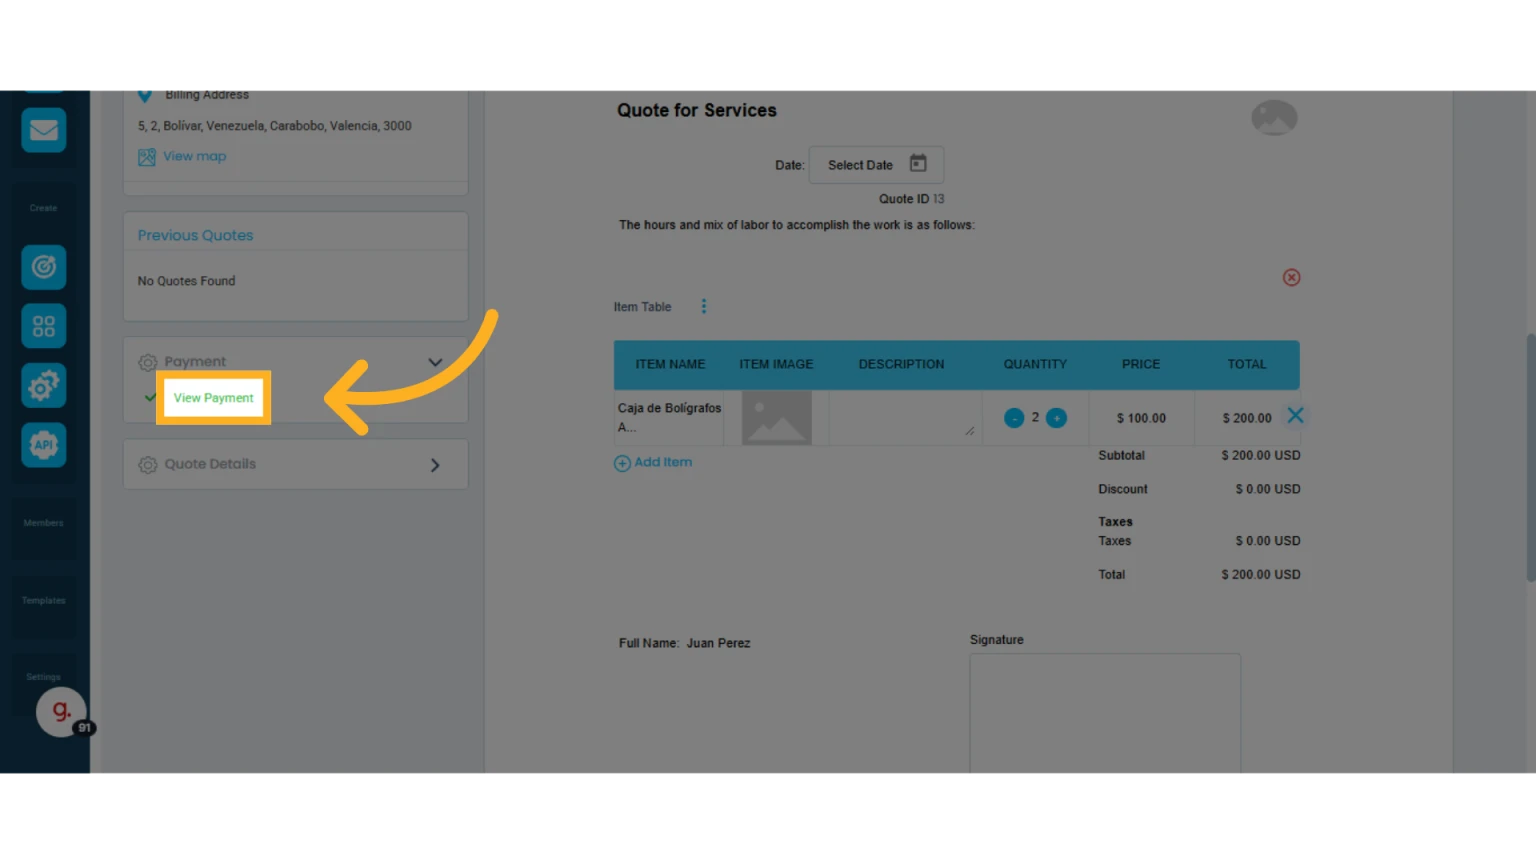
View Payments from the Quote
To view payments, click "View Payment" to open a window with all related payments.
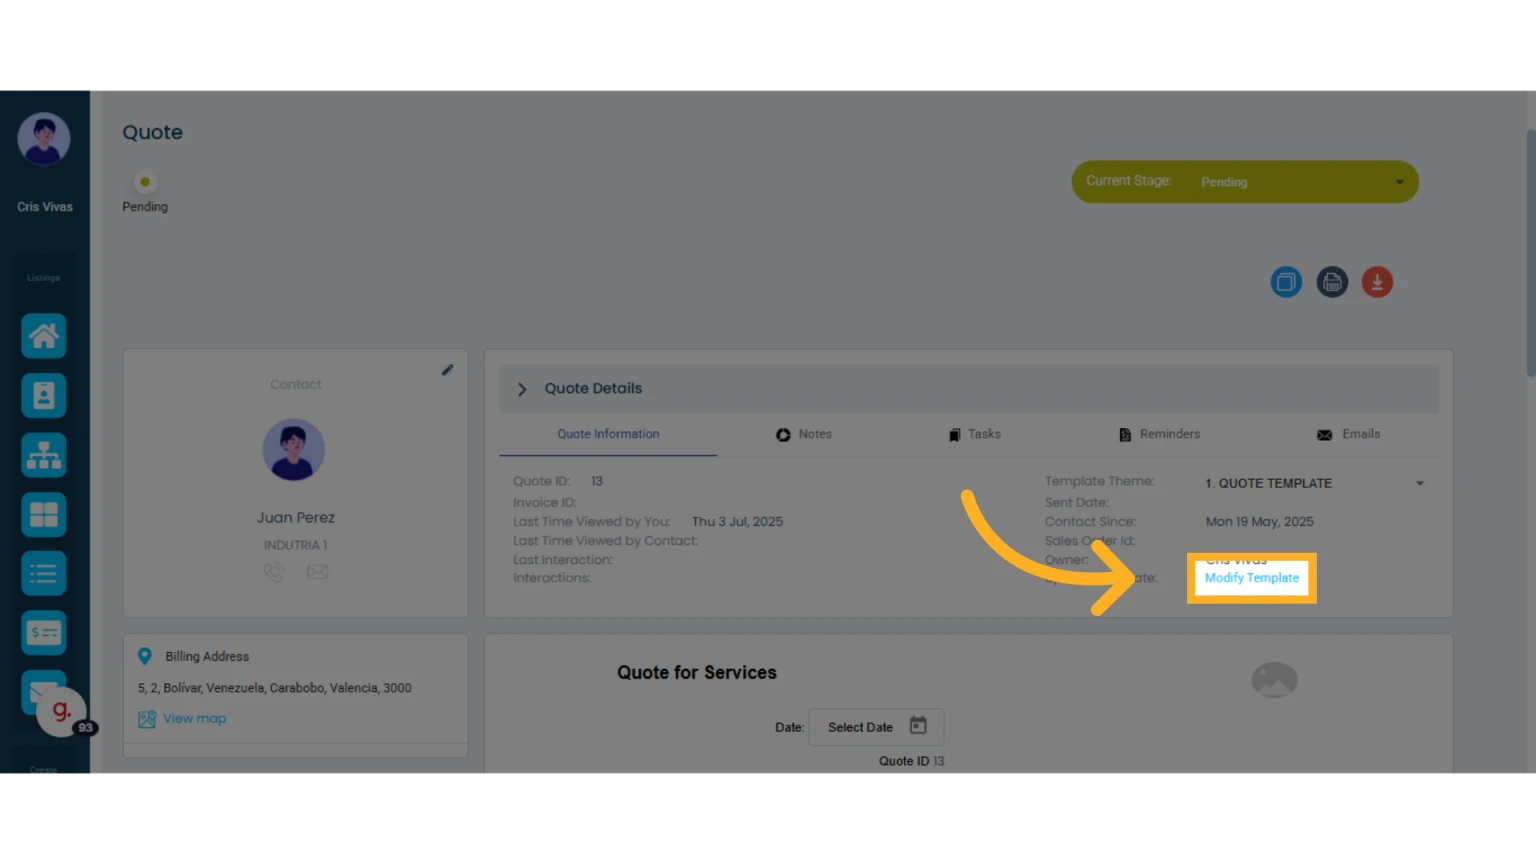
Add the “Payments” Element to Your Quote Template
The Payments element automatically displays a table with the details of the agreed payments in the quote, including name, date, method, amount, and percentage. It is useful for clearly communicating how and when the client is expected to pay.
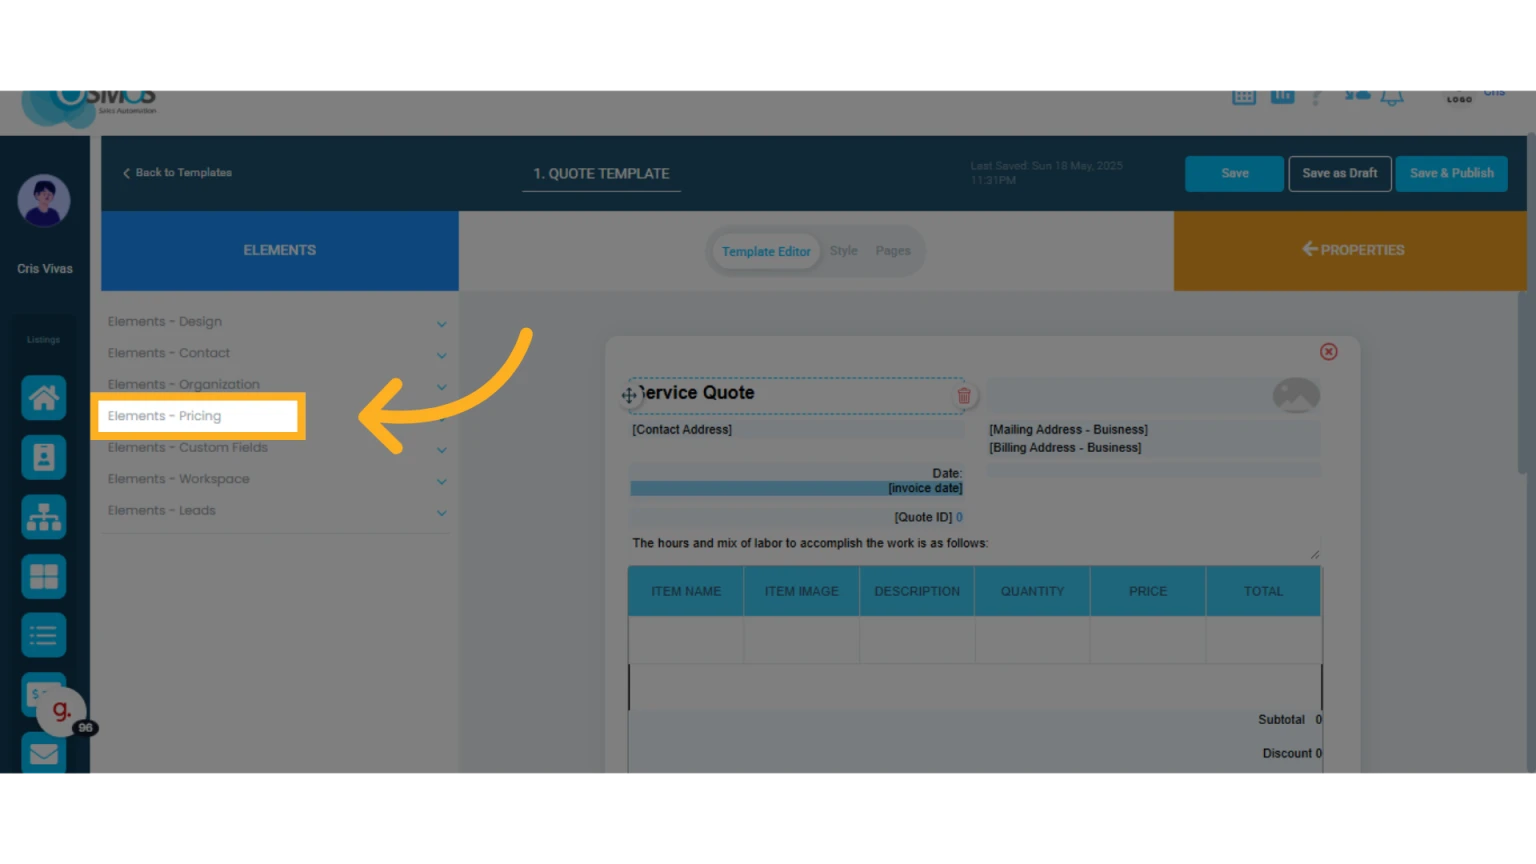
1. Click "Modify Template"
2. Click the "Elements – Pricing" list on the left-hand menu
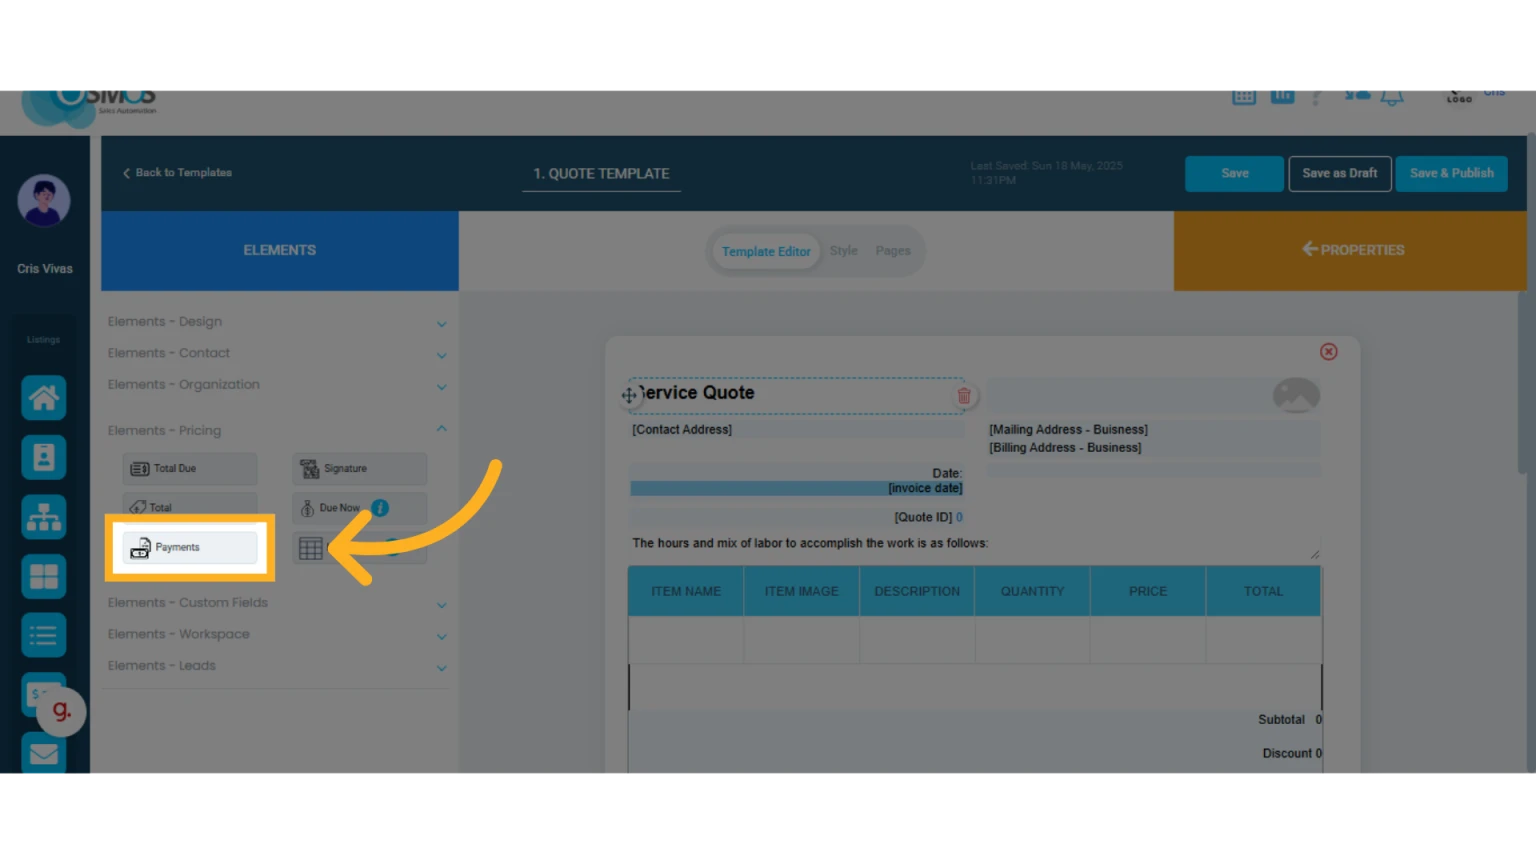
3. Select the "Payments" element and drag it into the template
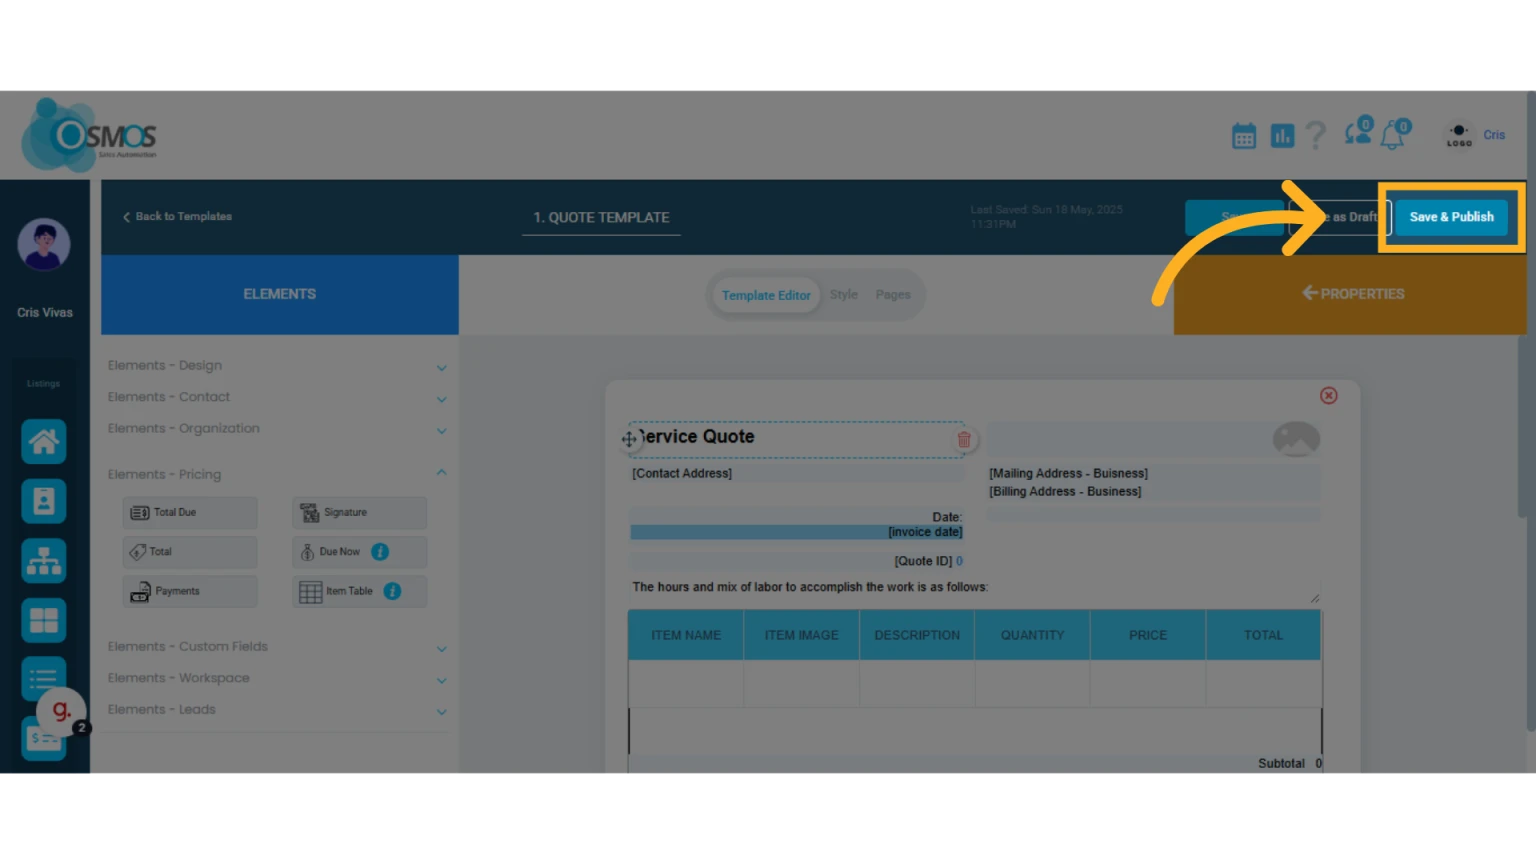
4. Click "Save & Publish"
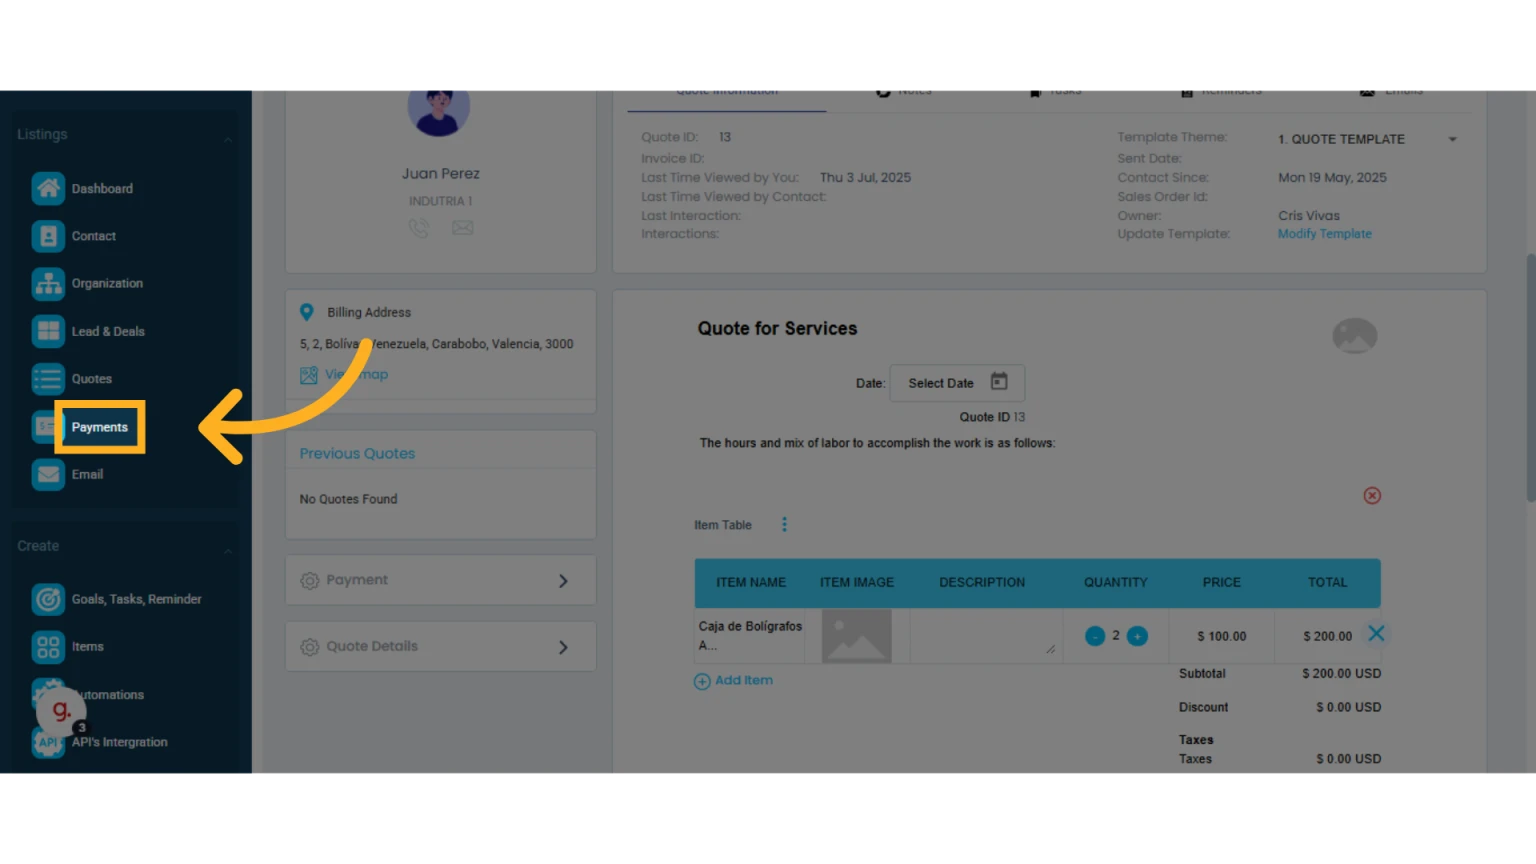
Payment Management in the Side Menu
Added payments are visible in the left-hand menu under "Payments."
From there, you can edit, mark as paid, issue refunds, and more.
NOTE: Adding payments to your quote helps maintain effective tracking of your clients’ pending payments.
Learn more about the Payments Module.