
Roles can be customized to assign permissions and access levels based on each member’s needs. You have the flexibility to create reusable role templates, making it easy to apply them to multiple users.
For example, you can create a “Sales Role” with specific permissions for the sales team. In addition to these templates, you can also adjust permissions individually to tailor access for each member as needed.
There are Two Ways to Manage Roles in Your Workspace:
A. From “Roles”
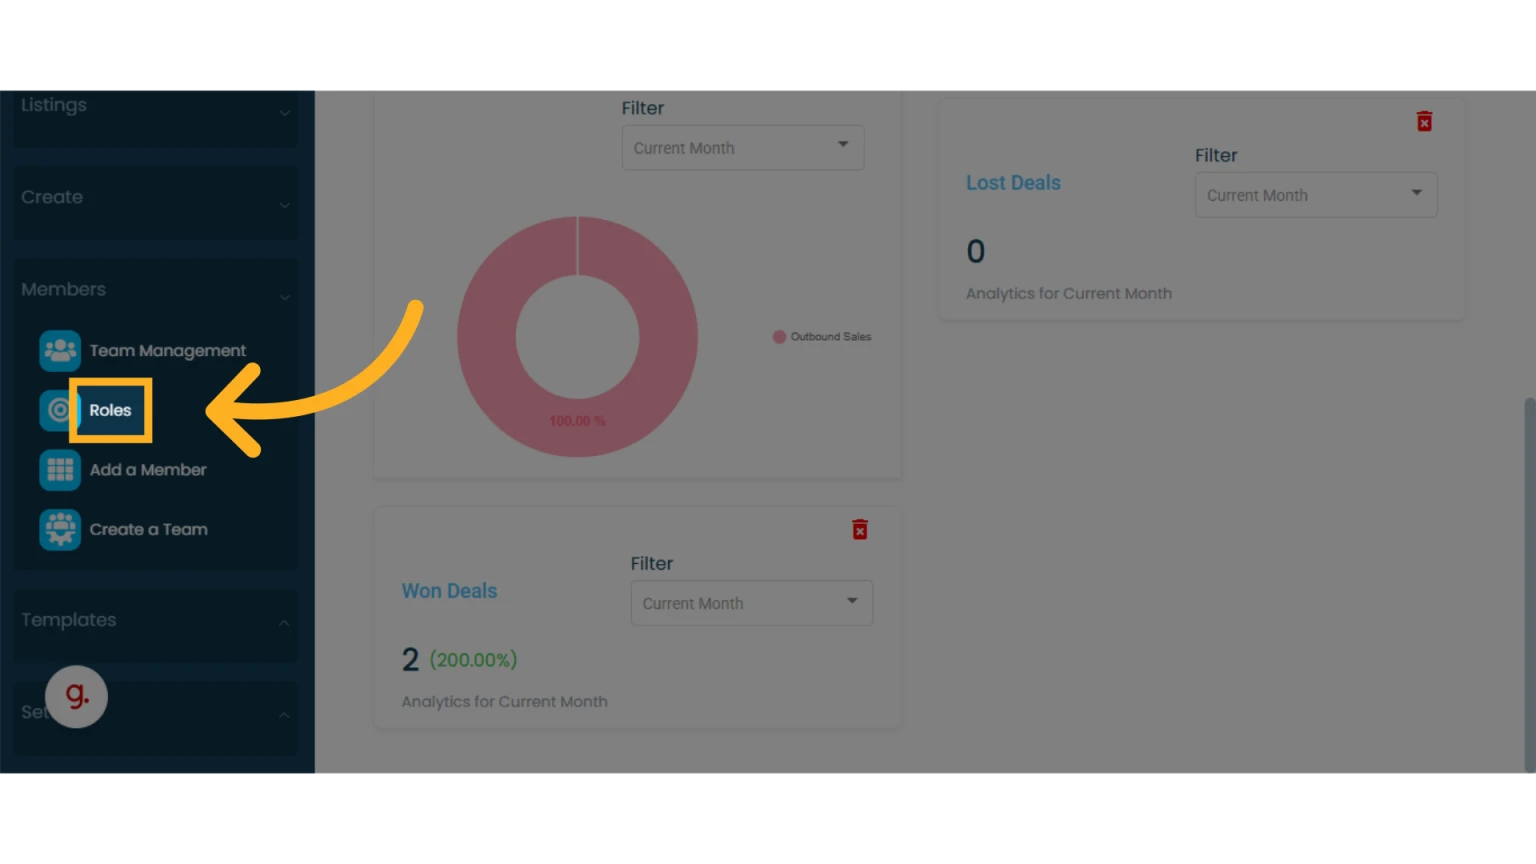
Click on “Roles”
In the sidebar menu, go to the “Members” module and select “Roles.”
B. From “Team Management”
1. Click on "Team Management"

2. Click on "Roles"

3. You can edit the existing predefined roles

4. Add a “New Role” by clicking “Add New Role”

5. Enter a name for the new role and click Continue

6. Add “Permissions” to the new role

7. Save the new role
