Email templates are practical for various sales activities, as they enable you to standardize communication and save time. These templates can be utilized for different purposes, some of them are:
Follow up on leads and quotes.
Confirm agreements.
Send important notifications.
By incorporating "Placeholders," email templates can be automatically personalized with contact information substituted accordingly.
To create an email template follow this steps:
1. Click on “Email Template” in the main left-hand menu
2. Click the “Add Template” button

3. Click on "Email Settings"

4. Enter a name for the new template

5. Select the email address to be used for sending emails in the “From” field
The email(s) you assign in the “From” field will be the members allowed to send this email template. This means that only the members selected here will have access to the email template.
You can also customize the “Reply-To” email address. All members listed here will receive any replies.

6. Add a “Category” to the template (optional)
Template categories help group your templates for better email management.

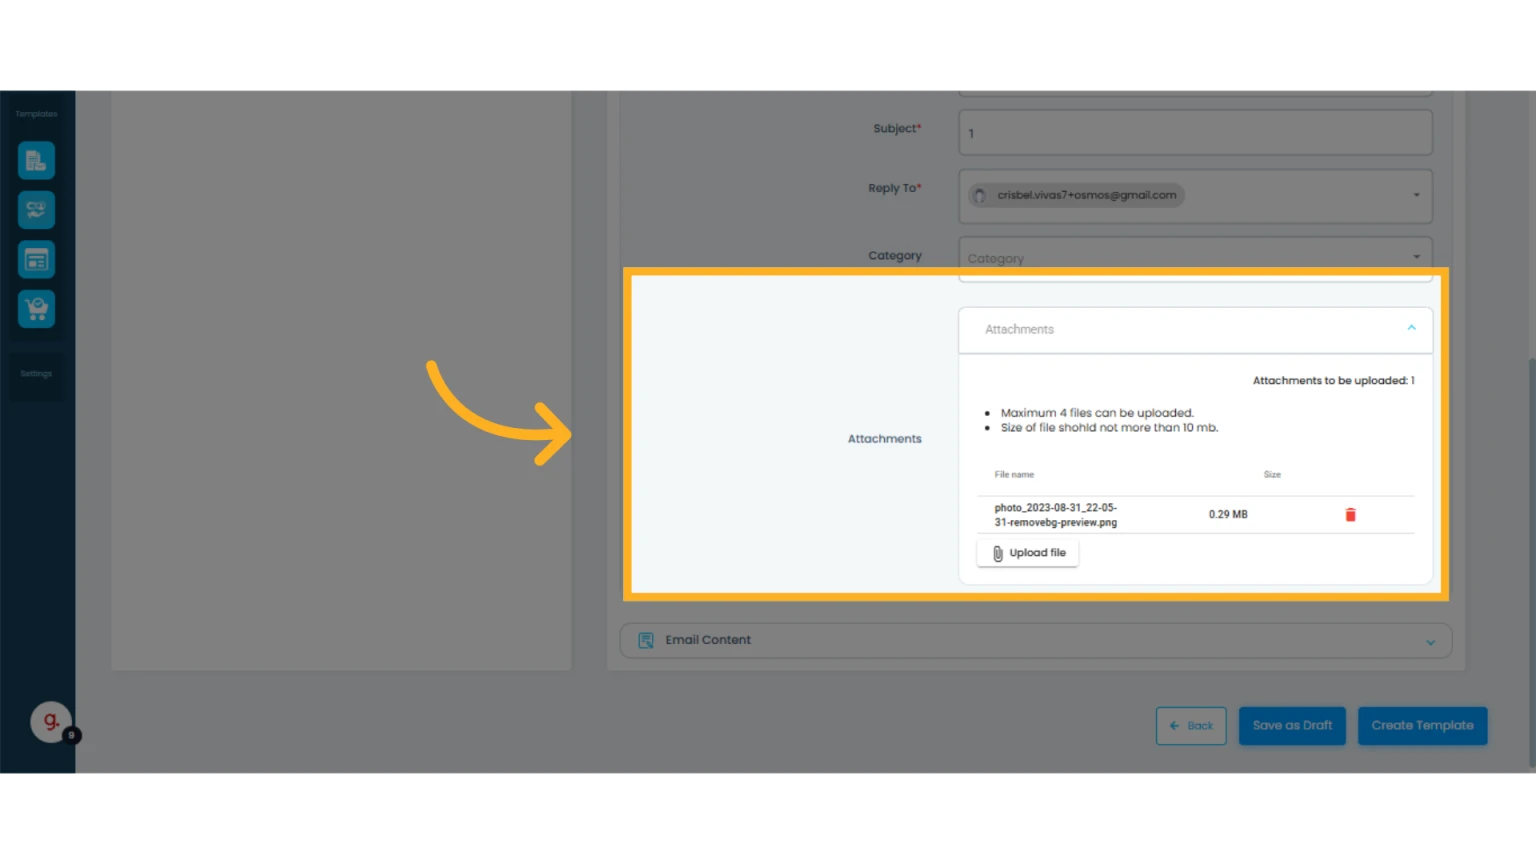
7. Add attachments to your template (optional)
You can add up to 4 attachments to your template with a total size of 10 MB. These files will be stored in Osmos and sent together with this template each time it is used.
8. Select one of the predefined email “Designs” (optional)

IMPORTANT: Choose the design before writing your email. If you change the design after composing your message, anything written previously will be lost.
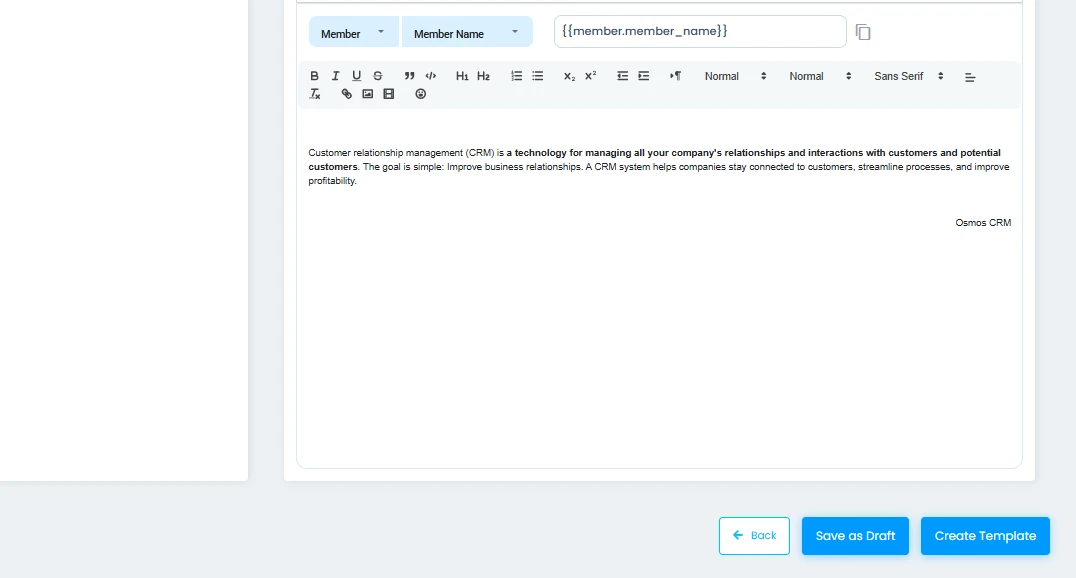
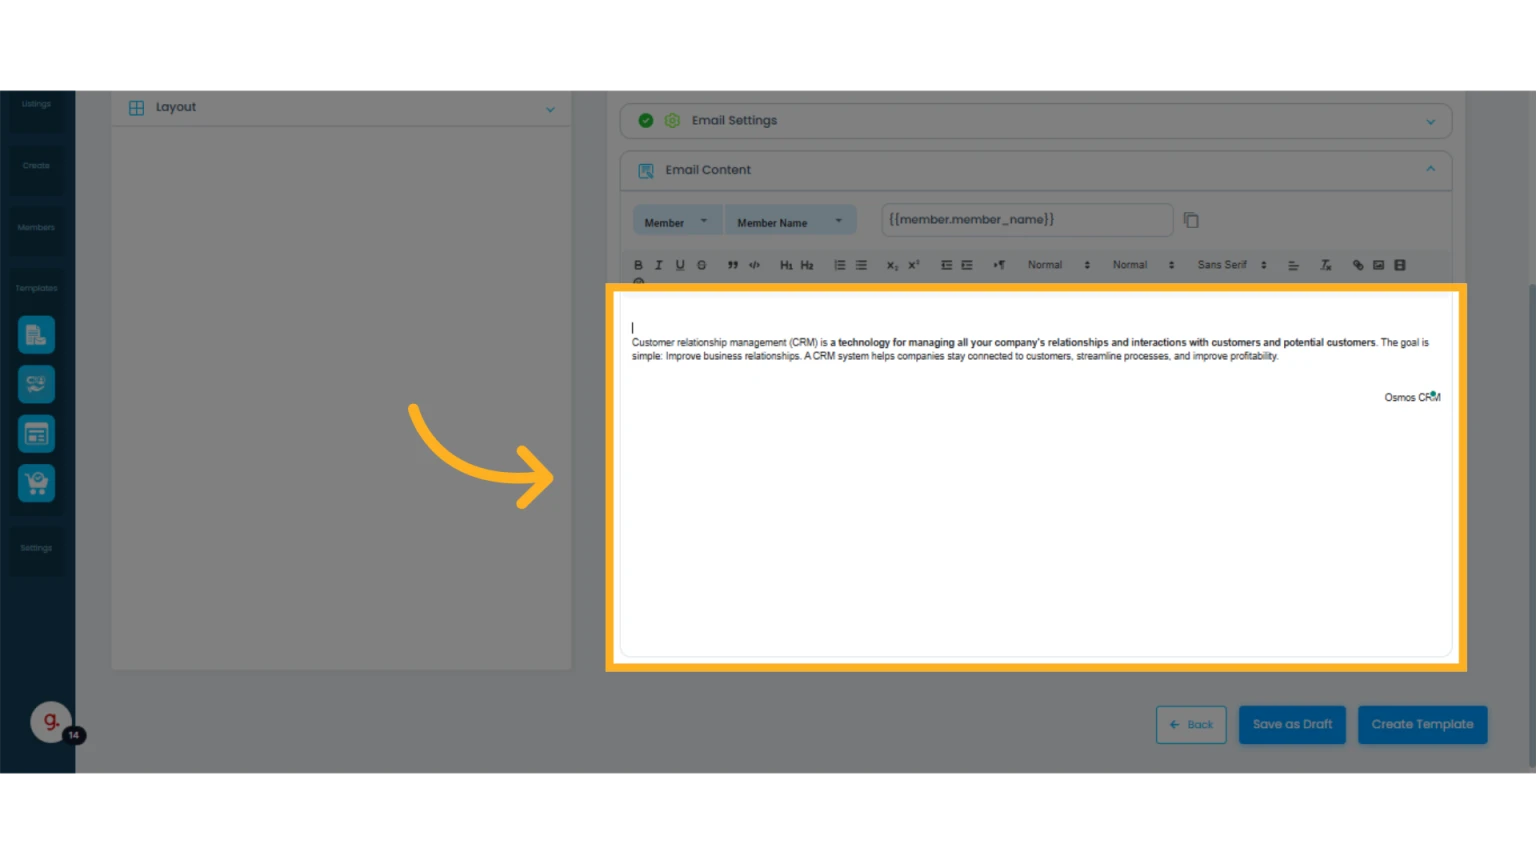
9. Click on “Email Content” to begin composing your message

10. Write the email
Write the email as you normally would. You can add styles, images, and links.
11. Add customizable "Place Holders" (optional)
If you want to personalize emails with variables (which you should), click the top bar inside the email composition window and select a variable category, then choose the type of variable/placeholder you want to use.
Copy the placeholder code and paste it in the body of the email or in the subject line. This variable will be replaced and personalized in every email you send.
Example: The variable {{contact.firstname}} will insert the customer’s first name exactly as it appears in your client database.

12. When you’re finished, click “Create Template”

Edit, delete, or save a template as a draft
You can delete templates that were previously created by clicking on “Delete.”
You can save templates as drafts by clicking on “Save as Draft”. When a template is saved as a draft, it won’t be available for use until you click “Create Template.”
You can also edit templates and save your changes by clicking on “Update.”